That sharp snap of a pickle slice — crisp, tangy, with just the right hint of garlic — still takes me straight to my grandmother’s cluttered kitchen table on a humid summer afternoon. The jar, half-filled with bubbling brine and floating dill sprigs, sat in the corner, a quiet promise of refreshment after a day chasing cicadas in the yard. She never measured anything precisely, just tossed in garlic cloves, peppercorns, and a pinch of mystery spice, then told me to wait a few days before tasting. Those quick tangy refrigerator dill pickles with garlic and spice were nothing like the store-bought versions; they had soul, a little bite, and a story behind every crunch.
I never thought making pickles could be so easy or so satisfying until I started making this recipe myself. Honestly, there’s something calming about layering fresh cucumbers with fragrant garlic and aromatic spices, knowing that in just 24 to 48 hours, I’d have that perfect tangy crunch waiting for me in the fridge. It’s quick, no fuss, and it feels almost like a secret handshake with my past — a simple ritual I can return to whenever I crave that comforting zing.
What made this recipe stick with me over time? It’s the kind of quick tangy refrigerator dill pickles with garlic and spice that doesn’t require boiling or canning—just a jar, fresh ingredients, and some patience. And the best part? It’s a blank canvas for your own twists, whether you like it extra garlicky, a bit spicier, or mellow with just a whisper of dill. It’s a humble recipe, but it delivers a quiet joy that lingers long after the last slice is gone.
Why You’ll Love This Recipe
- Quick & Easy: Ready to eat in as little as 24 hours, making it perfect for last-minute cravings or when you want homemade pickles without the wait.
- Simple Ingredients: Uses everyday pantry staples and fresh cucumbers—no fancy or hard-to-find items necessary.
- Perfect for Summer Gatherings: These tangy pickles add a crisp, refreshing bite to any BBQ or picnic, pairing wonderfully with dishes like honey bourbon baked beans or BBQ pulled pork sliders.
- Crowd-Pleaser: Kids and adults alike love the crunchy texture and balanced tangy flavor.
- Unbelievably Delicious: The perfect balance of garlic, dill, and spice creates a flavor profile that’s addictive and refreshing.
- Customizable: This isn’t just another pickle recipe; you can tweak the spices or add fresh herbs to make it uniquely yours.
During my test batches, I found that using fresh garlic cloves and whole dill heads, rather than dried or powdered, really amps up the flavor. Plus, skipping the boiling step means the cucumbers stay extra crunchy—a little trick I picked up from a chef friend. Honestly, these quick tangy refrigerator dill pickles with garlic and spice might seem simple, but they deliver a punch of flavor that makes every bite memorable.
What Ingredients You Will Need
This recipe uses simple, wholesome ingredients to deliver bold flavor and satisfying texture without the fuss. Most of these are pantry staples, with fresh cucumbers stealing the spotlight. I recommend using small to medium Kirby cucumbers for that classic crunch. Here’s what you’ll need:
- Fresh cucumbers: 4-5 medium Kirby cucumbers, sliced into spears or rounds (Kirby cucumbers have the best crunch and thin skin)
- Garlic cloves: 4-6 whole cloves, peeled (fresh garlic is key for authentic flavor)
- Dill sprigs: 4-5 fresh dill heads or sprigs (look for vibrant, fragrant dill; if unavailable, dill seeds can be used but fresh is best)
- White vinegar: 2 cups (480 ml) — I prefer Heinz for consistent acidity
- Water: 2 cups (480 ml), filtered or distilled to keep brine clear
- Pickling salt: 2 tablespoons (use kosher salt or pickling salt without additives to avoid cloudiness)
- Granulated sugar: 1 tablespoon (balances acidity just right)
- Black peppercorns: 1 teaspoon (whole for subtle spice)
- Red chili flakes: 1/2 teaspoon (optional, for a gentle heat kick)
- Mustard seeds: 1 teaspoon (adds a nice depth, but optional)
If you want to switch things up, you can use apple cider vinegar for a slightly sweeter tang or swap the granulated sugar for honey to add a floral note. For a gluten-free option, all these ingredients are naturally gluten-free, so no worries there. I once tried adding fresh horseradish slices for a bit of heat—totally worth experimenting if you like a spicy edge.
Equipment Needed
- Glass mason jars or any airtight glass containers: Quart or pint size works well. I like wide-mouth jars for easier packing.
- Measuring cups and spoons: For accurate brine ratios.
- Sharp knife and cutting board: For slicing cucumbers.
- Mixing bowl or saucepan: To mix the brine ingredients (no boiling required, but a saucepan helps dissolve salt and sugar quickly).
- Tongs or fork: To pack cucumbers tightly into jars without bruising.
If you don’t have mason jars, any clean, food-safe glass container with a lid will do. I once used recycled pickle jars — worked like a charm! Just make sure they seal well to keep the pickles fresh. Also, investing in a good sharp knife really pays off here, because uneven slices can change the texture experience. I’ve had my favorite kitchen knife for years, and it makes quick work of slicing cucumbers evenly every time.
Preparation Method
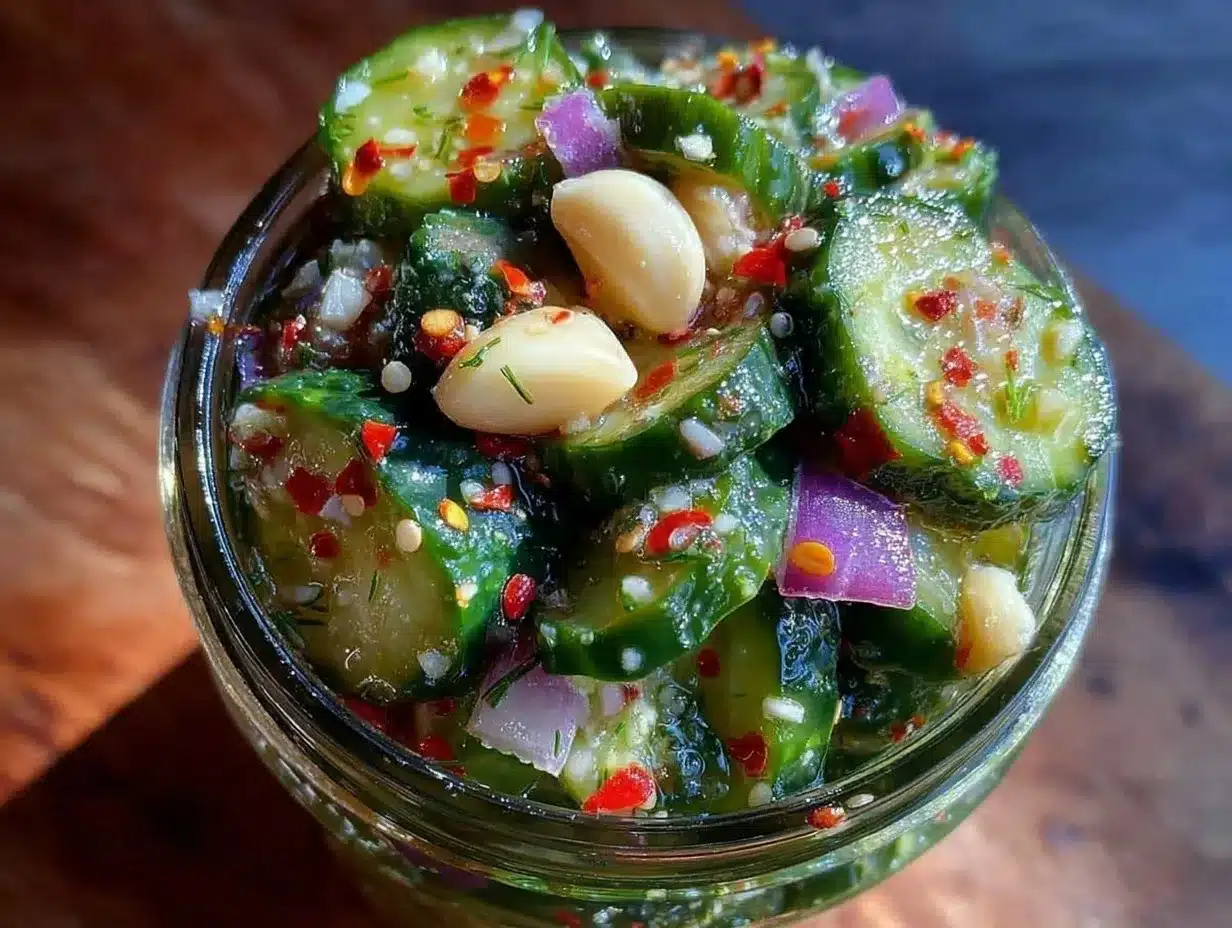
- Prepare the cucumbers: Wash cucumbers thoroughly, then slice into your preferred shape—spears or rounds work best. Aim for uniform thickness (about 1/4 inch or 6 mm) so they pickle evenly. This step takes about 5-7 minutes.
- Make the brine: In a mixing bowl or small saucepan, combine 2 cups (480 ml) white vinegar, 2 cups (480 ml) water, 2 tablespoons pickling salt, and 1 tablespoon granulated sugar. Stir until salt and sugar dissolve completely. This only takes 3-4 minutes. No need to boil; room temperature brine works perfectly for refrigerator pickles.
- Pack the jars: Place 4-5 peeled garlic cloves, 4-5 fresh dill sprigs, 1 teaspoon black peppercorns, 1 teaspoon mustard seeds, and 1/2 teaspoon red chili flakes (if using) into the bottom of each jar. Then tightly pack sliced cucumbers into the jars, leaving about 1/2 inch (1.25 cm) of headspace at the top. Use tongs or a fork to avoid bruising.
- Pour in the brine: Slowly pour the brine over the cucumbers, making sure they’re fully submerged. Leave a small gap at the top to allow for expansion. If needed, weigh down cucumbers with a small fermentation weight or a clean glass object to keep them submerged.
- Seal and refrigerate: Screw on lids tightly and place jars in the refrigerator. Let the pickles sit for at least 24 hours before tasting, though 48 hours yields a deeper flavor. They’ll keep fresh for up to 3 weeks refrigerated.
Pro tip: When packing cucumbers, don’t crowd them too tightly or you risk uneven pickling. Also, if your garlic starts to discolor during storage, it’s normal and doesn’t affect flavor. This method is forgiving and perfect for beginners who want fast, flavorful results without fuss.
Cooking Tips & Techniques
Honestly, making these quick tangy refrigerator dill pickles with garlic and spice is more about patience than complicated skills. But there are a few things I’ve learned along the way that make all the difference.
- Choose the right cucumbers: Pick firm, small to medium-sized Kirby cucumbers rather than large slicing ones—they stay crunchier and have fewer seeds.
- Don’t skip the salt and sugar: The salt helps draw out moisture and preserves crunch, while the sugar balances the acidity for that perfect tang.
- Use fresh herbs and whole spices: Fresh dill and whole peppercorns release flavor gradually, so your pickles taste vibrant instead of flat.
- Keep cucumbers submerged: Brine exposure is key to even flavor and texture. Weigh them down if they tend to float.
- Refrigerate immediately: Since these are no-heat pickles, refrigeration is crucial for safety and crispness.
One mistake I made early on was using too much vinegar, which made the pickles overly sharp and harsh. Sticking to the 1:1 vinegar to water ratio keeps the taste balanced and approachable. Also, I recommend tasting after 24 hours to decide if you want to leave the pickles longer; everyone’s palate is a little different.
Variations & Adaptations
This recipe is a perfect blank slate to customize your quick tangy refrigerator dill pickles. Here are some ideas I’ve tried or thought up:
- Spicy kick: Add sliced jalapeños or increase red chili flakes for a fiery punch.
- Herbal twist: Swap dill for fresh tarragon or add fresh thyme for a different aromatic profile.
- Sweet & sour: Increase sugar to 2 tablespoons or add a splash of honey to create a sweeter pickle.
- Low sodium: Reduce salt slightly and compensate with extra garlic and spices to keep flavor.
- Quick bread and butter pickles: Add thinly sliced onion and a pinch of turmeric for a sweeter, yellow-hued version.
For different cooking methods, these are fridge pickles, so they don’t require canning. But if you want to preserve them longer, you can adjust the recipe for traditional canning methods by boiling the jars and using sterilized lids. Personally, I love the crunch and freshness that comes from fridge pickling, though.
Serving & Storage Suggestions
These quick tangy refrigerator dill pickles with garlic and spice are best served chilled straight from the fridge. The crisp texture and bright flavors are refreshing as a snack or side dish. I often pair them with hearty sandwiches or dips like creamy buffalo chicken dip to cut through the richness.
Store pickles in their brine in the refrigerator, tightly sealed, for up to 3 weeks. Over time, flavors deepen and intensify, so if you like punchier pickles, let them sit a little longer. When reheating (if you want warm pickles for a recipe), gently warm without boiling to avoid mushiness.
These pickles also make a great addition to picnic baskets or charcuterie boards, adding a vibrant pop of acidity and crunch that balances rich meats and cheeses perfectly.
Nutritional Information & Benefits
These dill pickles are low-calorie and full of flavor, making them a guilt-free snack. Each serving (about 3 spears) roughly contains:
| Nutrient | Amount |
|---|---|
| Calories | 15 |
| Carbohydrates | 3g |
| Fat | 0g |
| Protein | 0.5g |
| Sodium | 400mg |
Dill is a natural antioxidant and may aid digestion, while garlic contributes immune-boosting properties. Using fresh cucumbers adds hydration benefits and fiber. Since this recipe is gluten-free and vegan, it suits a wide range of diets. Just watch the sodium if you’re on a low-salt plan.
I find these pickles a refreshing way to snack without feeling heavy, especially paired with lighter meals like my fresh caprese skewers.
Conclusion
Quick tangy refrigerator dill pickles with garlic and spice are one of those simple joys that bring a little crunch and zest to everyday meals. They’re approachable, fast to make, and endlessly customizable, making them perfect for anyone who loves a little tang with their snacks or sides. I keep a jar in my fridge almost all summer long because it feels like having a little bit of homemade comfort whenever I need it.
Feel free to tweak the garlic, spice, or herb levels to find your perfect pickle personality. And if you try these pickles alongside dishes like garlic butter chicken with asparagus, you’ll have a meal that’s both simple and satisfying.
I’d love to hear how you make these pickles your own—drop a comment or share your tweaks anytime. There’s something special about preserving flavor and memories in a jar, and this recipe is a little invitation to join that tradition.
FAQs About Quick Tangy Refrigerator Dill Pickles with Garlic and Spice
How long do refrigerator pickles last?
They typically stay fresh and tasty for up to 3 weeks when stored in the fridge in an airtight jar.
Can I use regular cucumbers instead of Kirby cucumbers?
Yes, but Kirby cucumbers are preferred for their firmness and thin skin, which keeps the pickles crunchier.
Do I need to boil the brine for this recipe?
Nope! This recipe uses a no-heat method, so just dissolve the salt and sugar in room temperature vinegar and water.
Can I make these pickles spicy?
Absolutely. Add extra red chili flakes or fresh jalapeño slices to the jar to increase heat.
What’s the best way to keep pickles crunchy?
Use fresh cucumbers, keep them submerged in brine, and refrigerate promptly. Avoid overpacking jars to allow even brining.
Pin This Recipe!
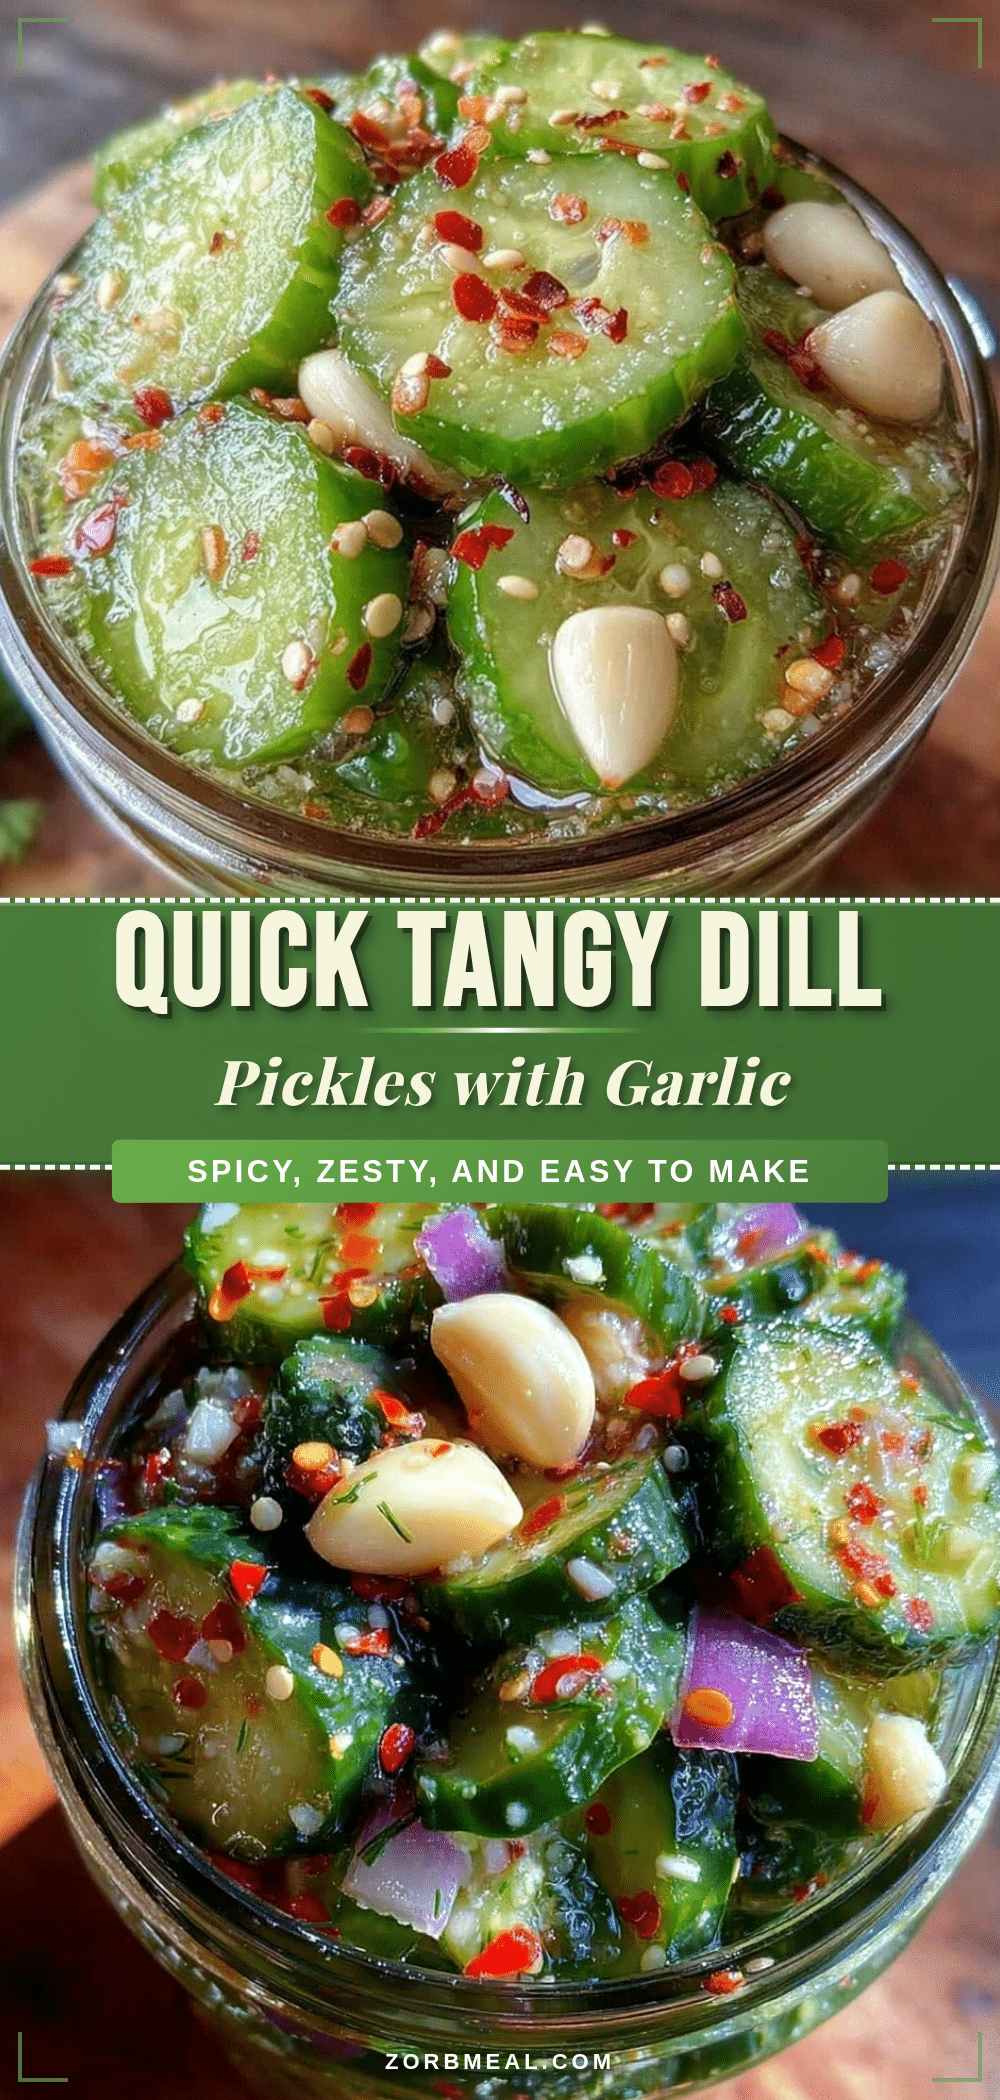
Quick Tangy Refrigerator Dill Pickles Recipe with Garlic and Spice
A quick and easy recipe for tangy, crunchy refrigerator dill pickles with fresh garlic and aromatic spices, ready in as little as 24 hours without boiling or canning.
- Prep Time: 10 minutes
- Cook Time: 0 minutes
- Total Time: 24 hours (minimum for pickling)
- Yield: 4-5 servings 1x
- Category: Side Dish
- Cuisine: American
Ingredients
- 4–5 medium Kirby cucumbers, sliced into spears or rounds
- 4–6 whole garlic cloves, peeled
- 4–5 fresh dill heads or sprigs
- 2 cups (480 ml) white vinegar
- 2 cups (480 ml) water, filtered or distilled
- 2 tablespoons pickling salt (kosher salt or pickling salt without additives)
- 1 tablespoon granulated sugar
- 1 teaspoon black peppercorns
- 1/2 teaspoon red chili flakes (optional)
- 1 teaspoon mustard seeds (optional)
Instructions
- Wash cucumbers thoroughly, then slice into spears or rounds about 1/4 inch (6 mm) thick.
- In a mixing bowl or small saucepan, combine 2 cups white vinegar, 2 cups water, 2 tablespoons pickling salt, and 1 tablespoon granulated sugar. Stir until salt and sugar dissolve completely. No boiling required.
- Place 4-5 peeled garlic cloves, 4-5 fresh dill sprigs, 1 teaspoon black peppercorns, 1 teaspoon mustard seeds, and 1/2 teaspoon red chili flakes (if using) into the bottom of each jar.
- Tightly pack sliced cucumbers into the jars, leaving about 1/2 inch (1.25 cm) headspace. Use tongs or a fork to avoid bruising.
- Slowly pour the brine over the cucumbers, ensuring they are fully submerged. Weigh down cucumbers if needed to keep submerged.
- Seal jars tightly and refrigerate. Let pickles sit for at least 24 hours before tasting; 48 hours yields deeper flavor.
- Store refrigerated for up to 3 weeks.
Notes
Use fresh Kirby cucumbers for best crunch. Keep cucumbers fully submerged in brine to ensure even pickling. Refrigerate immediately after sealing. Garlic discoloration during storage is normal and does not affect flavor. Customize spice levels by adjusting chili flakes or adding jalapeños.
Nutrition
- Serving Size: About 3 spears
- Calories: 15
- Sodium: 400
- Carbohydrates: 3
- Protein: 0.5
Keywords: quick pickles, refrigerator pickles, dill pickles, garlic pickles, easy pickles, no boil pickles, homemade pickles, tangy pickles