Third time this week and I finally stopped hovering over the air fryer like a hawk. The skin crackled instead of chewed, the meat pulled apart with a fork, and there wasn’t a single patch of sad, rubbery fat left behind. That was the moment I knew I had it — a method that delivers genuinely crispy air fryer chicken thighs without a speck of flour or breadcrumbs in sight.
Look, I love a good breaded chicken situation as much as the next person. But sometimes you want that shatteringly crisp skin without the extra coating, you know? The kind where the fat renders down to this thin, glass-like layer that snaps when you bite into it. The kind that doesn’t feel heavy or greasy afterward.
I started this quest because I was tired of soggy chicken thighs. You know the ones — they come out of the air fryer looking promising, but the skin has this weird, flabby texture that makes you wish you’d just pan-seared them. I tried different temperatures, different timings, different ways of drying the skin. I even tried leaving them uncovered in the fridge overnight (which works, honestly, but who plans that far ahead on a Tuesday?).
What I landed on is stupidly simple. And that’s what makes it so good. No complicated steps, no special equipment beyond the air fryer itself, and no waiting around for hours. Just juicy, golden-brown chicken thighs with skin so crispy it sounds like walking on autumn leaves.
This recipe became my weeknight dinner hero. It’s fast enough for those nights when you walk in the door at 6 PM and need food on the table by 6:20. But it’s also impressive enough that I’ve served it to guests without feeling the least bit embarrassed. Actually, I felt pretty proud.
Let me show you exactly how to get there.
Why You’ll Love This Recipe
I’ve tested this method about a dozen times across different air fryer brands — basket style, oven style, the fancy ones with the dual baskets. Every single time, these crispy air fryer chicken thighs delivered consistent results. That’s not bragging, that’s just me being annoyingly thorough in the kitchen.
- Quick & Easy : From fridge to plate in about 20 minutes. No marinating, no brining, no complicated prep work. Just pat, season, and cook.
- Simple Ingredients : You probably have everything in your kitchen right now. Chicken thighs, salt, pepper, maybe some garlic powder. That’s it. No buttermilk, no eggs, no breadcrumb situation.
- Perfect for Busy Weeknights : This is the kind of dinner you make when you’re tired, hungry, and don’t want to think too hard. It pairs with literally any side dish you have on hand.
- Crowd-Pleaser : I’ve made these for picky eaters, for people who claim they don’t like dark meat, for folks who think air fryers are just glorified toaster ovens. Everyone goes back for seconds.
- Unbelievably Crispy : The skin gets this almost bacon-like texture — thin, crunchy, and deeply savory. The meat underneath stays juicy and tender. It’s the best of both worlds.
What makes this recipe different from every other air fryer chicken thigh recipe out there? It’s the technique. Most recipes tell you to just toss the thighs in and hope for the best. I’ll show you exactly how to arrange them, when to flip them, and why a simple sprinkle of baking powder makes all the difference (without making them taste weird, I promise).
This isn’t just another version of crispy air fryer chicken thighs. It’s the version I make when I need dinner to be both effortless and absolutely satisfying. The kind that makes you close your eyes after that first bite and forget about the long day you just had.
What Ingredients You Will Need
This recipe uses minimal ingredients, which is exactly the point. When you’re working with so few components, each one matters. Here’s what you need and why it works.
- Bone-in, skin-on chicken thighs (4-6 thighs, about 1.5 to 2 pounds total) — This is non-negotiable for maximum crispiness. The bone helps the meat stay juicy during cooking, and the skin is what we’re trying to get perfectly crispy. Boneless, skinless thighs will not work here — they’ll dry out before the skin crisps up.
- 1 teaspoon baking powder (aluminum-free, preferably) — This is the secret ingredient. Baking powder raises the pH of the skin, which helps it brown faster and become more crispy. It also creates tiny bubbles on the skin surface, increasing the surface area for maximum crunch. Don’t use baking soda — it’s much stronger and will leave a metallic taste.
- 1 teaspoon kosher salt — I prefer Diamond Crystal or any coarse kosher salt. Fine table salt is much denser, so if you’re using that, reduce to about ½ teaspoon. The salt seasons the meat and helps draw out moisture from the skin, which is essential for crispiness.
- ½ teaspoon black pepper — Freshly ground is best. It adds a subtle warmth that complements the chicken without overpowering it.
- ½ teaspoon garlic powder (optional but recommended) — I add this almost every time. It’s not traditional, but it gives the skin this savory depth that makes the chicken taste like it cooked for hours instead of 20 minutes.
- Optional seasonings — You can add smoked paprika, onion powder, dried thyme, or cayenne pepper depending on your mood. I sometimes add ¼ teaspoon of smoked paprika for a subtle smoky flavor.
That’s genuinely it. Six ingredients, most of which are probably in your pantry right now. The beauty of this recipe is that it lets the chicken speak for itself. Good-quality chicken thighs from a brand you trust — I usually go with Bell & Evans or just whatever looks freshest at the store — will shine here.
One note on the baking powder: make sure it’s fresh. Baking powder loses its potency over time, and old baking powder won’t give you the same crispy results. If you can’t remember when you bought it, it’s probably time for a new can.
Equipment Needed
You don’t need much for this recipe, which is part of why I love it. Here’s what you’ll want to have on hand:
- Air fryer — Any brand works. I’ve used a Cosori basket-style air fryer and a Breville Smart Oven Air, and both produced excellent results. Basket style tends to give slightly better air circulation, but oven style works fine too.
- Paper towels — You need these to pat the chicken thighs completely dry. This step is crucial. Wet skin will not crisp up, no matter how hot your air fryer gets.
- Mixing bowl — Any medium-sized bowl works for tossing the chicken with the seasoning mixture.
- Tongs — For flipping the chicken halfway through cooking. Metal tongs are fine, just be careful not to scratch the nonstick coating on your air fryer basket.
- Instant-read thermometer (optional but recommended) — Chicken thighs are done at 175°F to 185°F, which is higher than chicken breasts. A thermometer takes the guesswork out of it.
- Cutting board and knife — For serving. Let the chicken rest for a few minutes before cutting into it.
If you don’t have an air fryer, you can technically make this in a convection oven set to 400°F. Place the chicken on a wire rack set inside a baking sheet to allow air circulation underneath. The cooking time will be slightly longer — about 25 to 30 minutes — but the results are similar.
Preparation Method
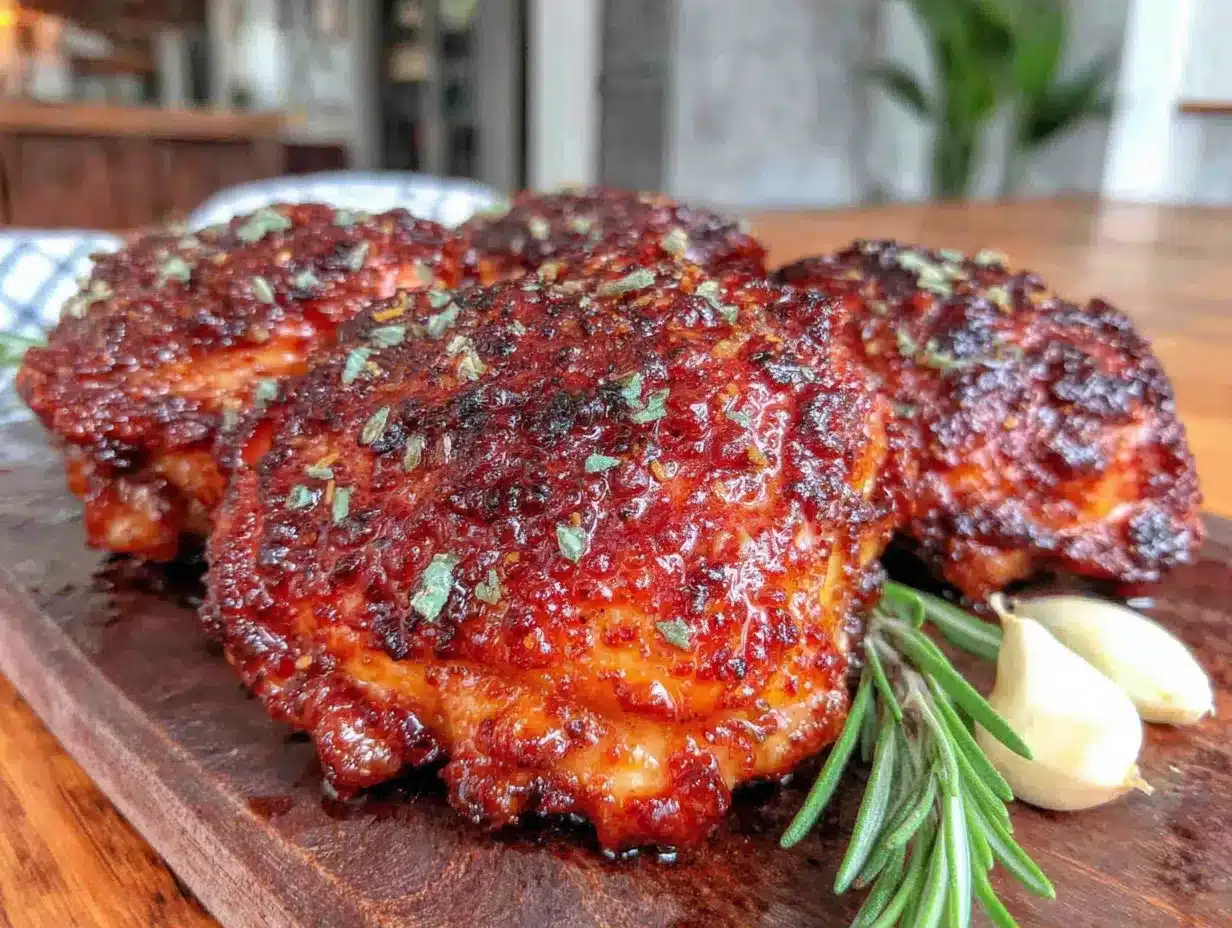
Follow these steps carefully, and you’ll have perfectly crispy air fryer chicken thighs every single time. I’ve arranged them in the exact order that works best, so don’t skip ahead.
- Pat the chicken thighs completely dry. This is the most important step. Take your chicken thighs out of the package and use paper towels to dry every surface — top, bottom, sides, under the skin flaps. You want the skin to feel tacky, not wet. If you have time, let them sit uncovered in the fridge for 15 to 30 minutes to dry out further. But honestly, even just a thorough pat-dry works fine.
- Preheat your air fryer to 400°F (200°C). Most air fryers need about 3 to 5 minutes to preheat. Do this while you’re seasoning the chicken so everything is ready at the same time. A hot air fryer is essential for getting that initial sear on the skin.
- Mix the dry seasonings. In a small bowl, combine the baking powder, salt, pepper, and garlic powder (if using). Whisk them together so the baking powder is evenly distributed. You don’t want clumps of baking powder sticking to one piece of chicken.
- Season the chicken thighs. Place the dried chicken thighs in a mixing bowl. Sprinkle the seasoning mixture over them, then toss with your hands until each thigh is evenly coated. Make sure you get seasoning on both sides and under any loose skin. Don’t be shy — the baking powder needs to be in contact with the skin to work its magic.
- Arrange the chicken in the air fryer basket. Place the thighs skin-side down in a single layer. This is crucial. They need space between them for hot air to circulate. If your air fryer is small, cook in batches. Crowding the basket will steam the chicken instead of crisping it, and you’ll end up with sad, soggy skin.
- Cook at 400°F for 10 minutes. Set a timer. Don’t open the air fryer during this time — you want the heat to stay consistent. The skin will start to brown and render some fat.
- Flip the chicken thighs. Using tongs, carefully flip each thigh so the skin side is now facing up. Be gentle — the skin might stick slightly to the basket, but it should release easily. If it doesn’t, give it another minute or two.
- Cook for another 8 to 12 minutes. The exact time depends on the size of your thighs and your air fryer model. Start checking at the 8-minute mark. The skin should be deep golden brown and crispy to the touch. The internal temperature should read at least 175°F (80°C) when inserted into the thickest part of the thigh, away from the bone.
- Rest for 5 minutes. Remove the chicken from the air fryer and let it rest on a cutting board or plate. This allows the juices to redistribute throughout the meat. If you cut into it immediately, all those delicious juices will run out onto the cutting board instead of staying in the meat.
- Serve immediately. These crispy air fryer chicken thighs are best eaten right away. The skin stays crispy for about 15 to 20 minutes, but after that, it starts to soften from the steam trapped underneath. If you need to keep them warm, place them on a wire rack in a low oven (200°F) with the door cracked open.
Here’s a sensory cue to watch for: when you flip the chicken at the 10-minute mark, the skin should look golden and slightly blistered. If it still looks pale and wet, give it another 2 to 3 minutes before flipping. Every air fryer runs a little differently, so trust your eyes more than the timer.
Cooking Tips & Techniques
I learned most of these the hard way — by making mistakes and eating mediocre chicken thighs. You get to benefit from my failures.
Don’t skip the drying step. I cannot emphasize this enough. Moisture is the enemy of crispy skin. If you’re in a hurry, at least pat the chicken dry as thoroughly as possible. If you have more time, leave the seasoned chicken uncovered in the fridge for an hour. The air circulation dries out the skin even more, and the results are noticeably better.
Use a wire rack if you have one. Some air fryer baskets have a removable wire rack that lifts the food off the bottom. If yours does, use it. It allows air to circulate underneath the chicken, which means the bottom gets crispy too. If you don’t have one, just flip the chicken halfway through.
Don’t overcrowd the basket. I know it’s tempting to throw all the thighs in at once and get dinner on the table faster. But overcrowding drops the temperature of the air fryer and creates steam instead of dry heat. Steam equals soggy skin. Cook in batches if you need to — it only adds a few minutes to the total time.
Let the chicken come to room temperature. If you have 15 minutes, let the seasoned chicken sit on the counter before cooking. Cold chicken going into a hot air fryer can cause the skin to shrink and tighten, which makes it tough. Room temperature chicken cooks more evenly.
Check the internal temperature. Chicken thighs are more forgiving than breasts — they can handle a bit of overcooking without drying out. But for the best texture, aim for 175°F to 185°F. The higher temperature allows the connective tissue to break down, making the meat more tender.
One mistake I made early on: I used too much baking powder. I thought if a little was good, more would be better. It wasn’t. The chicken had this weird, bitter aftertaste that took me three batches to figure out. Stick with the amount I’ve listed — it’s enough to crisp the skin without affecting the flavor.
Timing strategy: While the chicken cooks, prepare your side dishes. Roasted vegetables, a simple salad, or some rice all work beautifully. I often make a quick side of roasted asparagus or a fresh watermelon feta mint salad with zesty lime dressing when I want something refreshing alongside the rich chicken.
Variations & Adaptations
Once you master the basic technique, you can customize these crispy air fryer chicken thighs in endless ways. Here are some of my favorites.
Spicy version: Add ½ teaspoon of cayenne pepper and 1 teaspoon of smoked paprika to the seasoning mixture. The cayenne gives it heat, and the smoked paprika adds a subtle barbecue-like flavor. I make this version when I’m craving something with a kick.
Herb and garlic version: Skip the garlic powder and instead rub the chicken with a mixture of minced fresh garlic, chopped rosemary, and thyme. Let it sit for 15 minutes before cooking. The fresh herbs crisp up in the air fryer and add this incredible aromatic quality.
Lemon pepper version: Add 1 tablespoon of lemon zest and 1 teaspoon of cracked black pepper to the seasoning mixture. The lemon zest brightens up the richness of the chicken thighs beautifully. Serve with lemon wedges for squeezing over the top.
Dietary adaptations: This recipe is naturally gluten-free, low-carb, and keto-friendly. If you’re watching your sodium, reduce the salt to ½ teaspoon and skip the baking powder (though the skin won’t be quite as crispy). For a dairy-free version, this recipe already fits — just make sure your baking powder doesn’t contain any dairy-based additives.
Different cooking methods: If you don’t have an air fryer, you can achieve similar results in a convection oven. Place the seasoned chicken on a wire rack set inside a baking sheet and bake at 425°F for 25 to 30 minutes, flipping halfway through. The skin won’t be quite as crispy as the air fryer version, but it’s still delicious.
One personal variation I’ve been loving lately: after the chicken finishes cooking, I brush the skin with a mixture of honey and sriracha and return it to the air fryer for 2 minutes. The glaze caramelizes and creates this sticky, spicy, sweet coating that’s absolutely addictive. It reminds me of the honey sriracha glazed salmon I make when I want something with that same sweet-heat balance.
Serving & Storage Suggestions
These crispy air fryer chicken thighs are incredibly versatile when it comes to serving. Here’s how I like to enjoy them.
Serving temperature: Serve the chicken hot, straight from the air fryer. The skin is at its crispiest within the first 10 minutes of cooking. If you’re serving a crowd, cook the chicken in batches and keep the finished pieces warm on a wire rack in a 200°F oven with the door cracked open.
Presentation: Arrange the chicken thighs on a platter with the crispy skin facing up. Garnish with fresh herbs like parsley or thyme, and add lemon wedges on the side for squeezing. The bright acidity of lemon cuts through the richness of the dark meat beautifully.
What to serve with it: These chicken thighs pair well with almost any side dish. I love them with roasted vegetables, a simple green salad, mashed potatoes, rice, or crusty bread. For a complete meal, try serving them alongside a fresh watermelon cucumber gazpacho for a refreshing contrast on warm evenings.
Storage: Leftover chicken thighs can be stored in an airtight container in the refrigerator for up to 4 days. The skin will soften during storage, unfortunately. To reheat and restore some crispiness, place the thighs back in the air fryer at 375°F for 3 to 4 minutes. The microwave will make the skin rubbery, so avoid it if possible.
Freezing: Cooked chicken thighs freeze well for up to 3 months. Let them cool completely, then wrap each thigh individually in plastic wrap and place them in a freezer-safe bag. To reheat, thaw overnight in the refrigerator, then reheat in the air fryer at 375°F for 5 to 6 minutes.
How flavors develop: These chicken thighs are best fresh, but the leftovers are still delicious. The seasoning melds with the meat overnight, so the flavor is actually more pronounced the next day. I sometimes make extra just so I have leftovers for lunch — tossed into a salad or shredded over rice.
Nutritional Information & Benefits
Here’s the approximate nutritional breakdown for one serving (one chicken thigh, based on a 4-ounce cooked portion):
- Calories: 220-260
- Protein: 22-25g
- Fat: 14-17g
- Saturated Fat: 4-5g
- Carbohydrates: 1g
- Fiber: 0g
- Sugar: 0g
- Sodium: 400-500mg (varies based on salt used)
Health benefits: Chicken thighs are an excellent source of high-quality protein, which is essential for muscle repair and growth. They also provide important B vitamins, particularly B6 and B12, which support energy metabolism and brain function. Dark meat contains more iron and zinc than white meat, making it a nutritious choice.
Dietary considerations: This recipe is naturally gluten-free, low-carb, and keto-friendly. It’s also Whole30-compliant if you skip the baking powder (though the crispiness won’t be as dramatic). If you’re watching your sodium, reduce the salt and skip the baking powder entirely.
Potential allergens: This recipe contains no common allergens. However, if you have a sensitivity to cornstarch, check your baking powder label — some brands use cornstarch as a filler.
From a personal wellness perspective, I love that this recipe lets me enjoy a satisfying, flavorful dinner without feeling heavy or guilty afterward. The air fryer uses significantly less oil than traditional frying methods, so you get that crispy texture with far fewer calories and less fat.
Conclusion
These crispy air fryer chicken thighs have become a staple in my kitchen for good reason. They’re fast, they’re simple, and they deliver results that honestly rival any restaurant version I’ve had. The skin crackles when you bite into it, the meat stays juicy and tender, and the whole thing comes together in about 20 minutes with minimal cleanup.
What I love most about this recipe is how adaptable it is. Once you have the basic technique down, you can play with different seasonings, glazes, and serving suggestions to keep things interesting. It’s the kind of recipe that becomes a foundation — something you return to again and again, tweaking and improving each time.
I’d love to hear how these turn out for you. Did you try a different seasoning blend? Did you serve them with something unexpected? Drop a comment below and let me know. Your variations might inspire someone else to try something new.
And if you’re looking for another easy weeknight dinner that delivers big flavor with minimal effort, check out my recipe for easy one-pan honey garlic chicken and vegetables. It’s another one of those meals that feels special but takes almost no work.
Happy cooking, friends. Go make some crispy chicken thighs and enjoy every single crunchy bite.
Frequently Asked Questions
Can I use boneless, skinless chicken thighs for this recipe?
Technically yes, but you won’t get the same crispy skin result since there’s no skin to crisp. Boneless, skinless thighs will cook faster — about 12 to 15 minutes total — but they won’t have that crackly exterior. If you’re using boneless thighs, I recommend marinating them first for extra flavor.
Why did my chicken skin come out chewy instead of crispy?
This usually happens for one of three reasons: the skin wasn’t dried thoroughly before cooking, the air fryer wasn’t hot enough when the chicken went in, or the basket was overcrowded. Make sure to pat the skin completely dry, preheat your air fryer fully, and leave space between each thigh for air circulation.
Can I make this recipe with chicken breasts instead?
Yes, but the cooking time will be different. Bone-in, skin-on chicken breasts will need about 20 to 25 minutes at 400°F, depending on size. The internal temperature should reach 160°F to 165°F. Keep in mind that chicken breasts have less fat than thighs, so they’re more prone to drying out. I recommend checking the temperature early and often.
Is the baking powder absolutely necessary?
No, but it makes a noticeable difference. The baking powder helps the skin crisp up faster and more evenly by raising its pH. Without it, the skin will still get crispy — it just might take a few extra minutes and won’t be quite as shatteringly crunchy. If you’re sensitive to the taste of baking powder, you can skip it and rely on thorough drying and high heat instead.
How do I reheat leftover chicken thighs without losing the crispiness?
The air fryer is your best friend here. Preheat it to 375°F, then reheat the chicken thighs for 3 to 4 minutes. The skin will crisp back up nicely. Avoid the microwave — it will make the skin rubbery and sad. If you don’t have an air fryer, reheat them in a 400°F oven on a wire rack for about 5 to 7 minutes.
Pin This Recipe!
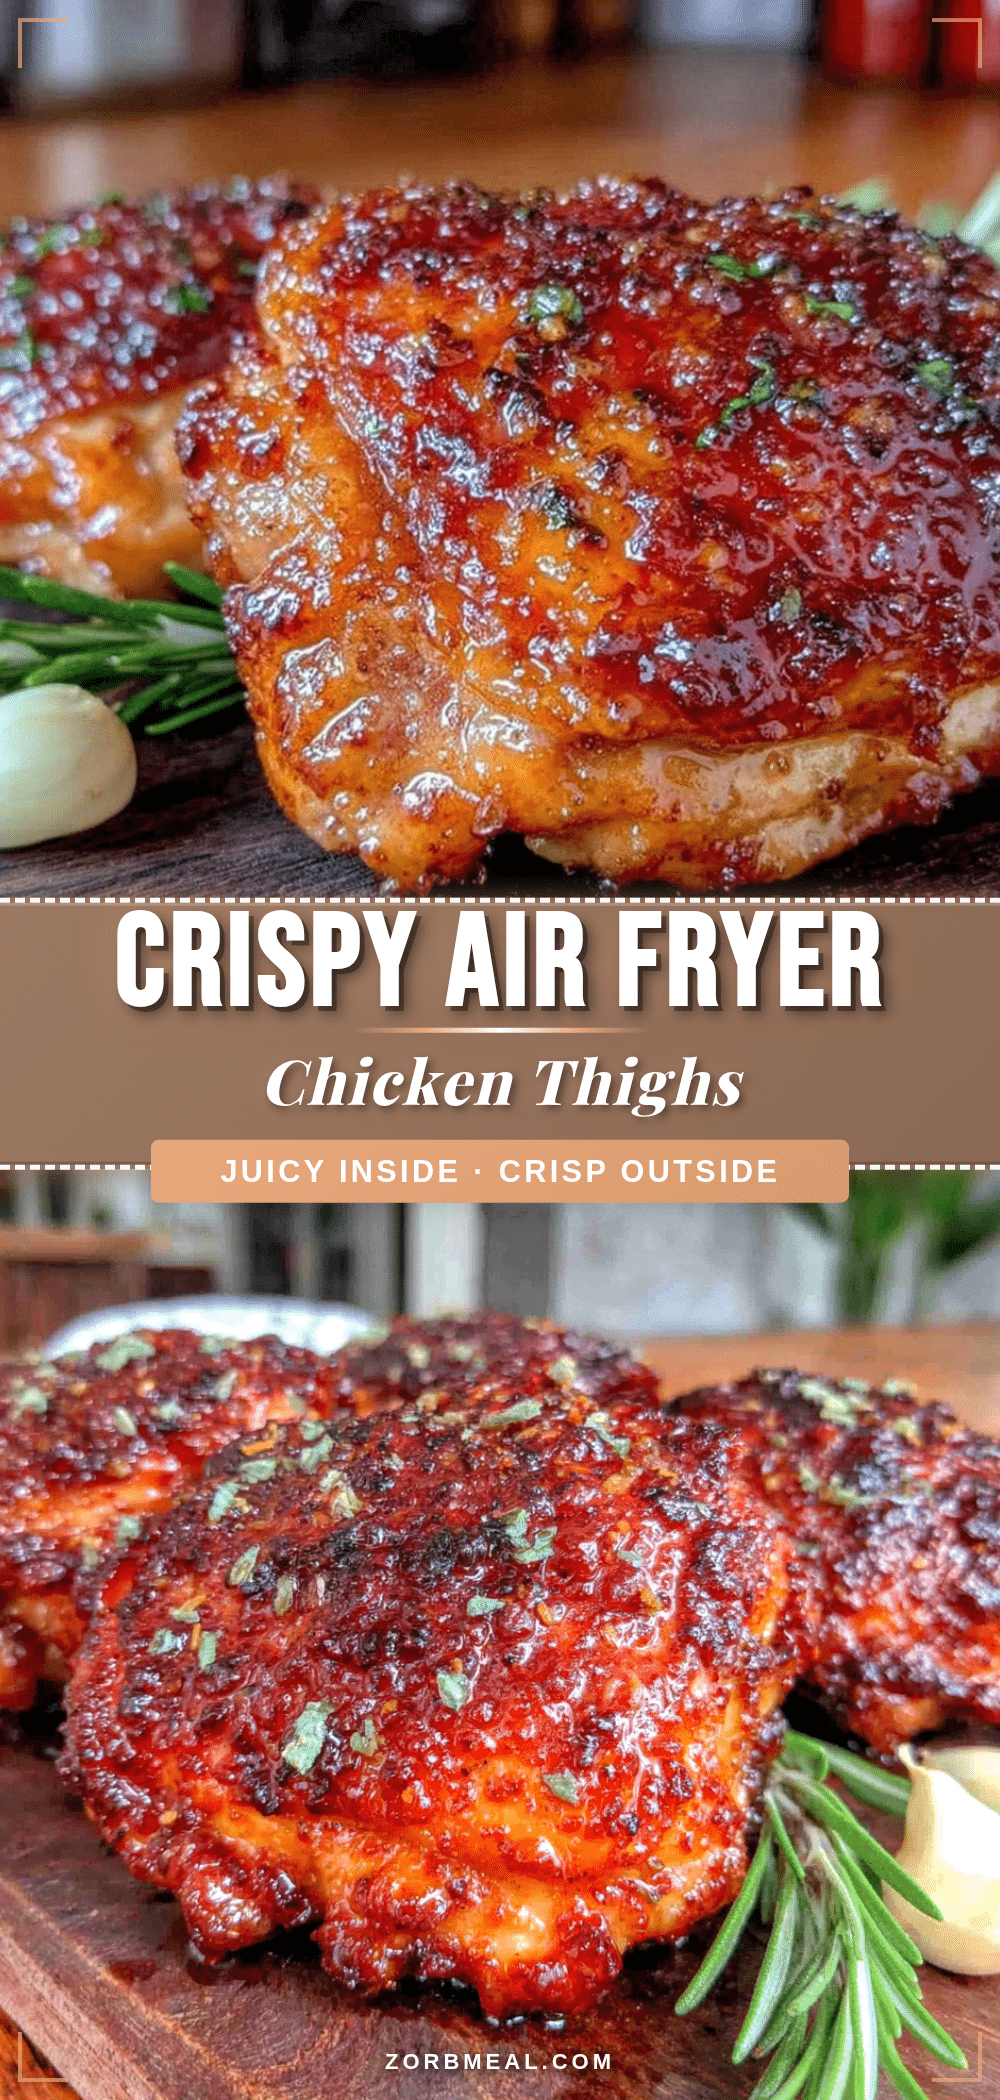
Crispy Air Fryer Chicken Thighs: Easy 20-Minute Dinner

Juicy, golden-brown chicken thighs with shatteringly crisp skin, made in the air fryer in about 20 minutes. No flour or breadcrumbs needed—just simple ingredients and a clever technique for perfect results every time.
- Prep Time: 5 minutes
- Cook Time: 18-22 minutes
- Total Time: 23-27 minutes
- Yield: 4 servings 1x
- Category: Main Course
- Cuisine: American
Ingredients
- 4–6 bone-in, skin-on chicken thighs (about 1.5 to 2 pounds total)
- 1 teaspoon baking powder (aluminum-free preferred)
- 1 teaspoon kosher salt (or ½ teaspoon fine table salt)
- ½ teaspoon black pepper (freshly ground)
- ½ teaspoon garlic powder (optional but recommended)
- Optional seasonings: smoked paprika, onion powder, dried thyme, cayenne pepper
Instructions
- Pat the chicken thighs completely dry with paper towels. Remove as much moisture as possible from all surfaces.
- Preheat your air fryer to 400°F (200°C).
- In a small bowl, mix together the baking powder, salt, pepper, and garlic powder (if using).
- Place the dried chicken thighs in a mixing bowl. Sprinkle the seasoning mixture over them and toss with your hands until each thigh is evenly coated, including under any loose skin.
- Arrange the chicken thighs skin-side down in a single layer in the air fryer basket, leaving space between each for air circulation. Cook in batches if necessary.
- Cook at 400°F for 10 minutes. Do not open the air fryer during this time.
- Carefully flip the chicken thighs using tongs so the skin side is facing up.
- Cook for another 8 to 12 minutes, until the skin is deep golden brown and crispy, and the internal temperature reaches at least 175°F (80°C) in the thickest part away from the bone.
- Remove the chicken from the air fryer and let it rest for 5 minutes before serving.
- Serve immediately. The skin stays crispy for about 15-20 minutes.
Notes
Pat the chicken completely dry for maximum crispiness. Do not overcrowd the air fryer basket. For best results, let seasoned chicken sit at room temperature for 15 minutes before cooking. Leftovers can be reheated in the air fryer at 375°F for 3-4 minutes to restore crispiness.
Nutrition
- Serving Size: 1 chicken thigh (4 o
- Calories: 240
- Sodium: 450
- Fat: 15.5
- Saturated Fat: 4.5
- Carbohydrates: 1
- Protein: 23.5
Keywords: air fryer chicken thighs, crispy chicken thighs, easy chicken dinner, weeknight dinner, gluten-free chicken, keto chicken, low-carb chicken


