I want crispy skin. Not the flabby, rubbery kind that slides off the chicken and sits there looking sad. I want it so brittle that when I press my fork against it, I hear a crack. And I want it to taste like garlic butter that has been basted and baked until it’s practically caramelized. That’s the whole thought. No preamble. No romantic kitchen scene. Just a specific, greedy craving for something that feels impossible to get from an oven—crispy chicken skin without deep frying it.
Honestly, I’ve been burned before. You know how it goes. You follow a recipe for baked chicken thighs, you pat the skin dry, you season it, you bake it at a decent temperature, and what do you get? Edible chicken, sure. But crispy? Not really. The skin gets that weird, leathery texture that’s neither here nor there. It’s frustrating because chicken thighs are already forgiving—they stay juicy even when you accidentally overcook them. So why is the skin so hard to nail?
I spent a few Sundays testing this. I wanted the answer. Turns out, it’s not about one magic trick. It’s about a few small, specific choices that stack on top of each other. Baking powder on the skin. A screaming hot oven. Butter that’s melted and brushed, not just thrown in. Garlic that doesn’t burn. And the most important part—patience. You can’t rush the skin. You have to let it do its thing. The first time I pulled these thighs out of the oven and heard that crackle, I actually laughed. It felt like a small victory. And the smell? Garlic butter filling the whole kitchen, mixing with that roasted chicken smell that just feels like comfort.
This isn’t a complicated recipe. It’s simple on purpose. But the details matter. And once you get them right, you’ll never look at baked chicken the same way again.
Why You’ll Love This Recipe
Let me tell you why this one is different from every other baked chicken recipe you’ve tried.
- Crispy Skin, Every Time: No more sad, flabby skin. This method delivers a crackling, golden-brown crust that stays crispy even after the chicken rests. It’s the kind of texture you usually only get from frying.
- Simple Pantry Ingredients: You don’t need anything fancy. Chicken thighs, butter, garlic, salt, pepper, and a few basic seasonings. That’s it. No weird specialty items that you’ll use once and forget about.
- One Pan, Zero Fuss: Everything happens in a single baking dish. Less cleanup, more time to relax. Perfect for busy weeknights when you want something satisfying without a mountain of dishes.
- Juicy, Not Dry: Chicken thighs are naturally more forgiving than breasts, but this recipe locks in moisture with the butter basting. The meat stays tender and succulent while the skin gets all the attention.
- Garlic Butter That Actually Works: The garlic flavor infuses the chicken without burning. We’re not just brushing butter on top—we’re basting and roasting so every bite has that rich, savory garlic taste.
I’ve tested this recipe at least six times. I tried different temperatures, different amounts of butter, different ways of prepping the skin. This version is the one that finally worked. It’s the one I make when I want to impress myself—not guests, just me. And honestly, that’s the best kind of recipe to have in your back pocket.
What Ingredients You Will Need
This recipe keeps things simple. You probably have most of these ingredients already. Here’s what you need and why each one matters.
- Bone-in, Skin-on Chicken Thighs (4 to 6 thighs, about 2 lbs): This is non-negotiable. Boneless thighs won’t give you the same texture, and skinless thighs obviously won’t get crispy. The bone adds flavor and helps the meat stay moist during the longer baking time. Look for thighs that have the skin still attached and intact.
- Unsalted Butter (4 tablespoons, melted): I use unsalted so I can control the salt level. The butter does two things—it helps the skin brown and crisp, and it carries the garlic flavor deep into the meat. Don’t substitute margarine here. Real butter makes a difference.
- Garlic (4 to 5 cloves, minced): Fresh garlic is a must. The jarred stuff won’t give you the same punch. Mince it finely so it distributes evenly in the butter. If you love garlic, go ahead and add an extra clove or two. I won’t judge.
- Baking Powder (1 teaspoon): This is the secret to crispy skin. It raises the pH of the skin, which helps it brown faster and become more brittle. Make sure it’s baking powder, not baking soda. And check that it’s aluminum-free if you’re worried about aftertaste.
- Salt (1 teaspoon, plus more for seasoning): I use kosher salt because it’s easier to distribute evenly. Salt draws out moisture from the skin, which helps it dry out and crisp up. Don’t skip this step.
- Black Pepper (½ teaspoon, freshly ground): Freshly ground pepper has more flavor than pre-ground. It adds a subtle heat that balances the richness of the butter.
- Garlic Powder (½ teaspoon): This is different from the fresh garlic. It adds a deeper, roasted garlic flavor that the fresh garlic alone can’t provide. It’s a small addition that makes a big difference.
- Paprika (½ teaspoon): Paprika adds color and a mild smokiness. I use sweet paprika, but smoked paprika works too if you want a more intense flavor.
- Fresh Parsley (optional, for garnish): A little bit of green makes the dish look finished. It’s optional, but it adds a fresh pop of color and a mild herbaceous note.
That’s it. Seven ingredients (eight if you count the parsley). Nothing complicated. The magic is in how you use them.
Equipment Needed
You don’t need a professional kitchen for this recipe. Here’s what you’ll need.
- Baking Dish or Cast Iron Skillet: A 9×13 baking dish works great. A cast iron skillet is even better because it holds heat well and helps the skin crisp from the bottom. I’ve used both, and the skillet gives slightly better results.
- Wire Rack: This is optional but helpful. Placing the chicken on a wire rack inside the baking dish allows air to circulate underneath the thighs, which helps the bottom skin crisp too. If you don’t have one, just flip the thighs halfway through baking.
- Small Saucepan or Microwave-safe Bowl: For melting the butter and mixing the garlic. A small saucepan works best because you can gently warm the garlic without burning it.
- Pastry Brush or Spoon: For brushing the garlic butter onto the chicken. A brush gives you more control, but a spoon works fine too.
- Paper Towels: Absolutely essential. You need to pat the chicken skin completely dry before seasoning. Wet skin won’t crisp.
- Meat Thermometer: A reliable one is worth its weight in gold. Chicken thighs are done at 165°F, but I prefer taking them to 175°F for better texture. The thermometer takes the guesswork out.
If you don’t have a wire rack, don’t stress. Just flip the thighs after 25 minutes and they’ll still come out great.
Preparation Method
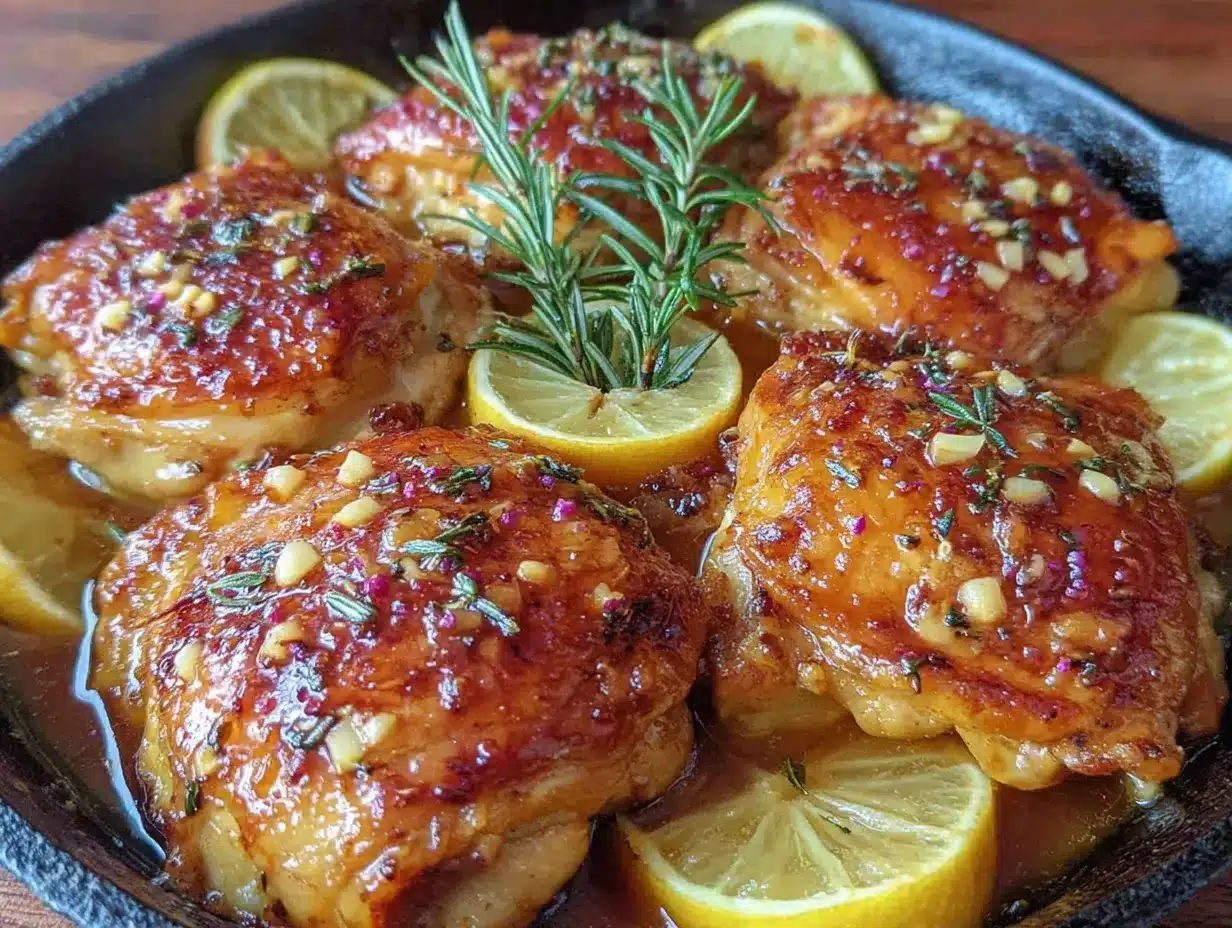
Let’s get cooking. Follow these steps carefully, and you’ll have the crispiest baked chicken thighs of your life.
- Preheat the oven to 400°F (200°C). Give it at least 15 minutes to fully heat. A hot oven is crucial for crispy skin. While the oven heats, take the chicken out of the fridge and let it sit at room temperature for about 15 minutes. Cold chicken won’t cook evenly.
- Pat the chicken thighs completely dry. This is the most important step. Use paper towels and press firmly on both sides of each thigh. You want the skin to feel dry to the touch, not damp. Any moisture left on the skin will turn into steam in the oven, and steam means soggy skin. I usually go through three or four paper towels for a full batch.
- Season the skin. In a small bowl, mix together the baking powder, 1 teaspoon of salt, black pepper, garlic powder, and paprika. Sprinkle this mixture evenly over the skin side of each thigh. Rub it in gently with your fingers. Don’t forget to season the underside too, though you can be lighter there. The salt and baking powder need time to work, so let the chicken rest for 10 minutes after seasoning. This allows the baking powder to start drying out the skin.
- Melt the butter and garlic. In a small saucepan over low heat, melt the butter. Add the minced garlic and cook for about 30 seconds, just until fragrant. Don’t let the garlic brown—it will burn in the oven. Remove from heat immediately. If you’re using a microwave, melt the butter in a bowl for 20 seconds, then stir in the garlic.
- Arrange the chicken in the baking dish. If you’re using a wire rack, place it inside the dish and arrange the thighs skin side up. If not, place them directly in the dish. Make sure the thighs aren’t touching each other—leave a little space between them so the hot air can circulate. Crowded chicken steams instead of crisps.
- Brush with garlic butter. Using a pastry brush, coat the skin of each thigh generously with the garlic butter mixture. Reserve about a tablespoon of butter for basting later. The butter will pool slightly around the thighs, and that’s fine—it will keep the bottom of the meat moist while the top crisps.
- Bake for 25 minutes. Place the dish on the middle rack. After 25 minutes, the skin should be starting to brown and crisp. Remove the dish from the oven and brush the thighs with the reserved garlic butter. This extra basting adds another layer of flavor and helps the browning process.
- Increase the temperature to 425°F (220°C) and bake for another 15 to 20 minutes. The higher temperature is what gives you that final, shatteringly crispy skin. Keep an eye on the chicken during this last stage—oven temperatures vary, and you don’t want the garlic to burn. The skin should be deep golden brown and feel firm to the touch. If you’re using a meat thermometer, the internal temperature should read at least 175°F (80°C) for the best texture.
- Rest for 5 minutes. This is important. Let the chicken rest in the dish for 5 minutes before serving. The juices redistribute, and the skin stays crispy. If you serve it immediately, the juices will run out and the skin might soften slightly. Patience pays off here.
- Garnish and serve. Sprinkle fresh parsley over the top if you’re using it. Serve the thighs with the pan juices spooned over the top. The juices are pure gold—garlic butter mixed with chicken drippings. Don’t waste them.
One thing I learned the hard way—don’t cover the chicken after it comes out of the oven. I made that mistake once, and the steam from the trapped heat turned the crispy skin into a sad, wrinkled mess. Let it breathe.
Cooking Tips & Techniques
I’ve made this recipe enough times to know where things can go wrong. Here are the tips that make the difference between good chicken and unforgettable chicken.
Dry the skin aggressively. I cannot overstate this. Pat the skin dry, then let it air-dry in the fridge for an hour if you have time. The drier the skin, the crispier it gets. I’ve even left seasoned thighs uncovered in the fridge overnight, and the results were incredible. The skin was so brittle I could hear it crack from across the table.
Don’t skip the baking powder. Some people are skeptical about this, but it works. Baking powder creates tiny bubbles on the skin’s surface, increasing the surface area and helping it brown faster. Just make sure you’re using baking powder, not baking soda. Baking soda will leave a bitter, metallic taste. I speak from experience—I made that mistake once, and the chicken was borderline inedible.
Watch the garlic. Garlic burns easily at high temperatures. That’s why we add it to the butter instead of sprinkling it directly on the chicken. The butter protects the garlic and helps it infuse the meat without scorching. If you see the garlic starting to turn dark brown during baking, you can tent the dish loosely with foil for the last 5 minutes.
Use a meat thermometer. Chicken thighs are done at 165°F, but I recommend taking them to 175°F to 180°F. The higher temperature breaks down more of the connective tissue, making the meat even more tender. The thermometer takes the guesswork out and ensures you never serve undercooked chicken.
Let the chicken rest. I know I said this already, but it’s worth repeating. Resting allows the juices to redistribute. If you cut into the chicken right away, the juices will run out onto the plate, leaving the meat dry. Five minutes is all it takes.
Variations & Adaptations
This recipe is flexible. Here are a few ways to change it up based on what you have or what you’re craving.
Lemon Herb Version: Add the zest of one lemon and a teaspoon of dried thyme or rosemary to the garlic butter. The lemon cuts through the richness of the butter, and the herbs add a fresh, aromatic note. I made this version for a summer dinner, and it was bright and satisfying without being heavy.
Spicy Version: Add ½ teaspoon of red pepper flakes or a minced serrano pepper to the garlic butter. If you want even more heat, sprinkle a little cayenne pepper into the dry seasoning mix. This version pairs perfectly with a cold beer or a crisp white wine.
Honey Garlic Version: Stir a tablespoon of honey into the garlic butter before basting. The honey adds a subtle sweetness that caramelizes beautifully in the oven. Just watch the chicken closely during the last few minutes—honey can burn quickly. I tried this on a whim one night, and it turned into my husband’s favorite version.
Herb Crust Version: Mix a tablespoon of finely chopped fresh herbs—parsley, thyme, rosemary, or sage—into the dry seasoning. Press the herbs gently into the skin before baking. The herbs create a beautiful crust and add layers of flavor that complement the garlic butter.
Dietary Adaptations: For a dairy-free version, substitute the butter with a high-quality olive oil or avocado oil. The texture won’t be exactly the same, but the garlic flavor will still come through. For a lower-fat version, you can reduce the butter to 2 tablespoons, but the skin won’t be as crispy.
Serving & Storage Suggestions
These chicken thighs are incredibly versatile. Here’s how to serve them and what to do with leftovers.
Serving Temperature: Serve the chicken hot, straight from the oven. The skin is at its crispiest within the first 10 minutes after baking. If you need to hold it for a bit, keep it in a warm oven (200°F) on a wire rack so the bottom doesn’t get soggy.
What to Serve With: These thighs pair well with almost anything. For a complete meal, serve them with roasted vegetables like asparagus, broccoli, or Brussels sprouts. Mashed potatoes or creamy polenta are perfect for soaking up the garlic butter pan juices. A simple green salad with a lemon vinaigrette balances the richness. If you’re looking for something more substantial, try serving them alongside a creamy parmesan risotto for an indulgent dinner that feels restaurant-quality.
Storage: Store leftover chicken thighs in an airtight container in the refrigerator for up to 4 days. The skin will soften during storage, but the flavor will still be excellent. I actually love cold leftover chicken thighs straight from the fridge—the garlic butter flavor is even more pronounced.
Reheating: To bring back some of the crispiness, reheat the thighs in a 375°F oven for 10 to 12 minutes. Place them on a wire rack over a baking sheet so the heat circulates around them. Avoid the microwave—it will turn the skin into rubber. If you’re in a hurry, an air fryer works wonders. Reheat at 375°F for 5 to 6 minutes, and the skin will crisp right back up.
Freezing: You can freeze cooked chicken thighs for up to 3 months. Wrap each thigh individually in plastic wrap, then place them in a freezer-safe bag. To thaw, transfer them to the refrigerator overnight. Reheat using the oven or air fryer method above.
Nutritional Information & Benefits
Here’s a rough estimate of the nutritional values per serving (based on 4 servings, using 4 chicken thighs with skin and butter).
| Nutrient | Amount per Serving |
|---|---|
| Calories | 380-420 |
| Protein | 28g |
| Fat | 30g |
| Saturated Fat | 12g |
| Carbohydrates | 2g |
| Fiber | 0g |
| Sugar | 0g |
| Sodium | 550mg |
Chicken thighs are a great source of protein, iron, and B vitamins. The skin contains some saturated fat, but it also provides a significant amount of flavor and satisfaction—sometimes that’s worth the trade-off. If you’re watching your fat intake, you can remove the skin before eating, though you’ll lose the crispy texture that makes this recipe special.
Garlic is known for its anti-inflammatory and immune-boosting properties. It contains compounds like allicin that may help lower blood pressure and cholesterol. So even though this recipe feels indulgent, it has some solid health benefits hiding in those cloves.
This recipe is naturally gluten-free and low-carb. If you’re following a keto or paleo diet, it fits perfectly. Just be mindful of the butter if you’re dairy-sensitive—you can substitute ghee or a high-quality olive oil for a dairy-free option.
Conclusion
This recipe is proof that you don’t need complicated techniques or fancy equipment to make restaurant-quality chicken at home. It’s simple, honest cooking that delivers every single time. The crispy skin, the juicy meat, the rich garlic butter—it all comes together in one pan with minimal effort.
I’ve made this recipe on lazy Sundays, busy weeknights, and even for dinner guests who thought I spent hours in the kitchen. Every time, it delivers. And every time, I’m reminded that the best recipes aren’t the ones with the longest ingredient lists. They’re the ones that respect the ingredients and let them shine.
Try this recipe and let me know how it turns out. Did you add your own twist? Did you serve it with something unexpected? I’d love to hear about it. Leave a comment below, share your photos, and tag me if you post it online. And if you’re looking for another quick and satisfying chicken dinner, check out this garlic butter chicken with asparagus—it’s another one-pan wonder that’s perfect for busy nights.
Happy cooking, and may your chicken always be crispy.
Frequently Asked Questions
Can I use boneless, skinless chicken thighs?
You can, but the results won’t be the same. Boneless thighs cook faster and don’t have the skin that gives this recipe its signature crunch. If you use boneless thighs, reduce the cooking time to about 25 to 30 minutes total, and skip the baking powder step since there’s no skin to crisp.
Why is my chicken skin not crispy?
There are a few common culprits. The skin might not have been dry enough before seasoning. You might have skipped the baking powder. Or the oven temperature might have been too low. Make sure you pat the skin completely dry, use baking powder, and bake at a high enough temperature (400°F to 425°F). Also, don’t crowd the pan—the thighs need space for air to circulate.
Can I use chicken breasts instead of thighs?
You can, but chicken breasts are leaner and dry out more easily. If you substitute breasts, use bone-in, skin-on breasts and reduce the cooking time slightly. Check the internal temperature at 30 minutes—breasts are done at 165°F. The skin might not be quite as crispy because breasts release more moisture as they cook.
How do I reheat leftovers without losing the crispiness?
The oven or an air fryer is your best bet. Reheat in a 375°F oven for 10 to 12 minutes on a wire rack, or in an air fryer at 375°F for 5 to 6 minutes. Avoid the microwave—it will steam the skin and make it rubbery. If you’re in a rush, you can reheat in a hot skillet with a little butter, but watch it closely so the butter doesn’t burn.
Can I prepare this recipe ahead of time?
Yes, with some adjustments. You can season the chicken and refrigerate it uncovered for up to 24 hours before baking. This actually helps the skin dry out even more, which leads to better crispiness. Just bring the chicken to room temperature for 15 minutes before baking, and add the garlic butter right before it goes into the oven. For a complete meal prep option, try serving these thighs alongside a watermelon feta mint salad for a refreshing contrast to the rich garlic butter.
Pin This Recipe!
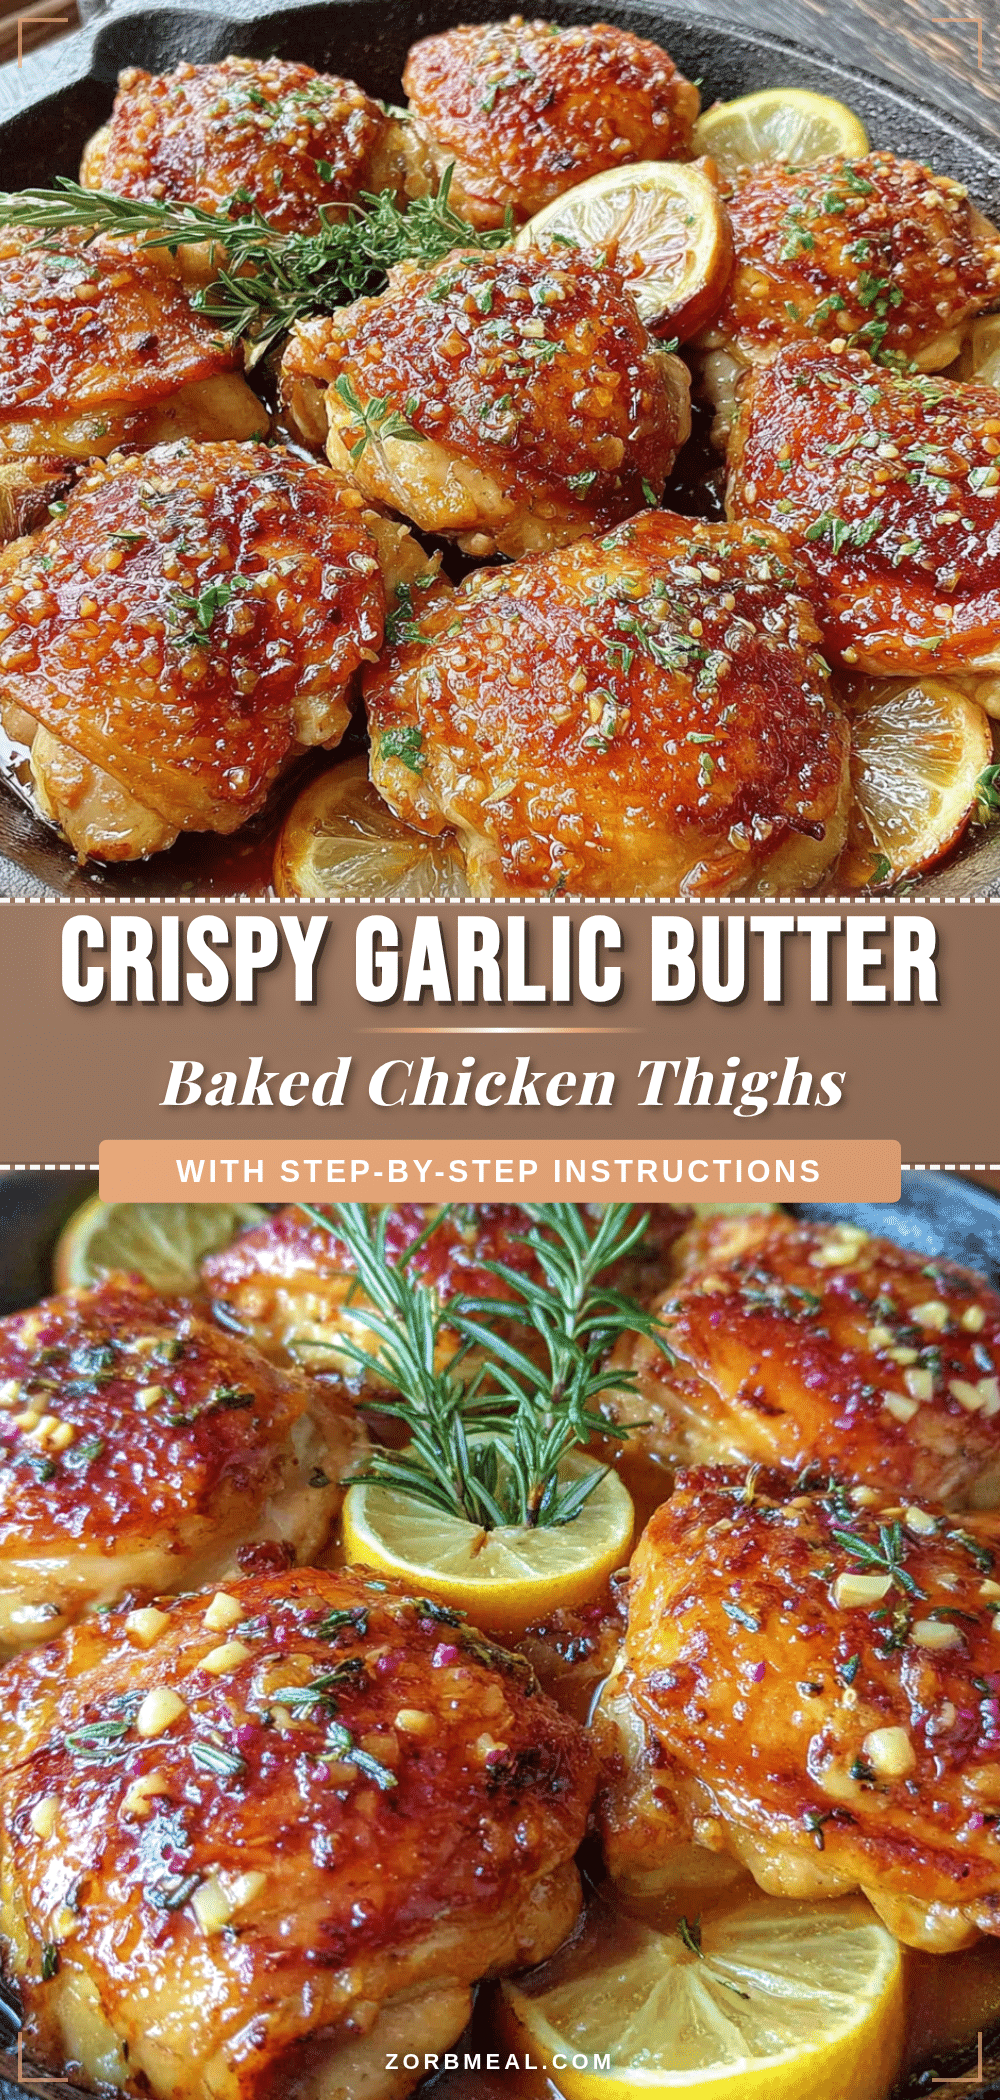
Best Crispy Garlic Butter Baked Chicken Thighs Recipe

Crackling, golden-brown baked chicken thighs with garlic butter that are juicy inside and impossibly crispy outside. Simple ingredients and one pan make this an easy weeknight dinner.
- Prep Time: 15 minutes
- Cook Time: 40 minutes
- Total Time: 55 minutes
- Yield: 4 servings 1x
- Category: Main Course
- Cuisine: American
Ingredients
- 4 to 6 bone-in, skin-on chicken thighs (about 2 lbs)
- 4 tablespoons unsalted butter, melted
- 4 to 5 cloves garlic, minced
- 1 teaspoon baking powder
- 1 teaspoon kosher salt, plus more for seasoning
- ½ teaspoon freshly ground black pepper
- ½ teaspoon garlic powder
- ½ teaspoon paprika (sweet or smoked)
- Fresh parsley for garnish (optional)
Instructions
- Preheat the oven to 400°F (200°C). Let the chicken sit at room temperature for 15 minutes.
- Pat the chicken thighs completely dry with paper towels.
- In a small bowl, mix baking powder, 1 teaspoon salt, black pepper, garlic powder, and paprika. Sprinkle evenly over the skin side of each thigh and rub in gently. Season the underside lightly. Let rest for 10 minutes.
- In a small saucepan over low heat, melt the butter. Add minced garlic and cook for 30 seconds until fragrant. Remove from heat.
- Arrange the chicken thighs skin side up in a baking dish or cast iron skillet, leaving space between them. If using a wire rack, place it in the dish first.
- Brush the skin generously with the garlic butter mixture. Reserve about 1 tablespoon for basting later.
- Bake for 25 minutes. Remove from oven and brush with reserved garlic butter.
- Increase oven temperature to 425°F (220°C) and bake for another 15 to 20 minutes, until skin is deep golden brown and internal temperature reaches at least 175°F (80°C).
- Let the chicken rest in the dish for 5 minutes before serving.
- Garnish with fresh parsley if desired and serve with pan juices spooned over the top.
Notes
Pat the skin very dry for maximum crispiness. Do not skip the baking powder. Watch the garlic to prevent burning. Let the chicken rest uncovered after baking to keep the skin crispy.
Nutrition
- Serving Size: 1 chicken thigh
- Calories: 400
- Sodium: 550
- Fat: 30
- Saturated Fat: 12
- Carbohydrates: 2
- Protein: 28
Keywords: crispy baked chicken thighs, garlic butter chicken, easy chicken recipe, one pan chicken, crispy skin chicken


