“Are you sure you want to use all those green chiles? Because it’s going to pack a punch!” — and that was it. That one line from my neighbor when I was hauling a bucket full of fresh Hatch green chiles down the driveway stuck with me. Honestly, it was the perfect caution, and it made me think twice about the salsa verde I’d been tinkering with. But, hey, the beauty of a small batch recipe is that you get to control the zing without overwhelming your taste buds.
I first started making Hatch Green Chile Salsa Verde after snagging a small haul of these vibrant peppers from a local farmstand during their short season. The aroma alone—a mix of smoky, tangy, and just a hint of heat—pulled me right into the kitchen. Roasting those little beauties, peeling their skins, and blending them with fresh tomatillos felt like a mini celebration of summer’s bounty. The salsa’s zesty brightness paired with a subtle smoky kick quickly became a staple in my fridge.
But what really sold me on this recipe was how perfect it is for canning in small batches. You know, not every day calls for a giant vat of salsa. Sometimes, you just want a quick jar or two to enjoy without worrying about it going bad. It’s that kind of sensible, no-fuss approach that made me keep coming back to this Hatch Green Chile Salsa Verde recipe. Plus, each jar carries a little story — the scent of the chiles roasting, the feel of the warm jars in my hands, and the anticipation of that first zesty spoonful.
After a few rounds of tweaks and a few taste-test sessions with friends, I realized this salsa is not just a spicy condiment; it’s a small celebration of flavor that fits perfectly into everyday life. So if you’re into canning or just want a fresh, tangy salsa packed with that unmistakable Hatch chile vibe, this recipe might just become your new go-to. I won’t say it’s mind-blowing, but let’s just say it’s the kind of salsa that makes you pause and smile with every bite. And that’s enough reason for me to keep sharing it around.
Why You’ll Love This Recipe
- Quick & Easy: Comes together in under 30 minutes once you have your Hatch chiles roasted and peeled—perfect for those spur-of-the-moment canning sessions.
- Simple Ingredients: Uses pantry staples and seasonal Hatch chiles and tomatillos, making it easy to source without hunting specialty stores.
- Perfect for Canning: Small batch size means less waste and fresher salsa, ideal for preserving just enough to enjoy over a few weeks or share with friends.
- Crowd-Pleaser: The balance of smoky heat and tangy brightness gets rave reviews from everyone, whether it’s drizzled on tacos or stirred into scrambled eggs.
- Unbelievably Delicious: The roasting of Hatch chiles and tomatillos unlocks deep, layered flavors that make this salsa stand out from your average store-bought verde.
This recipe isn’t just another salsa verde—it’s the one where I blend the Hatch chiles just right, combining smoky heat with fresh acidity. The small batch format means you get a fresher, more vibrant salsa that doesn’t sit around losing its zing. Plus, the canning step means you can enjoy that Hatch green chile goodness all year long. Honestly, it’s the kind of recipe that turns your kitchen into a mini green chile festival and leaves you with jars full of sunshine and spice.
What Ingredients You Will Need
This recipe uses simple, wholesome ingredients to deliver bold flavor and satisfying texture without the fuss. You’ll find most of these are pantry basics, with the fresh Hatch green chiles and tomatillos bringing all the magic. Feel free to swap out or tweak a few elements depending on what you have on hand.
- Hatch Green Chiles: 8-10 medium-sized, roasted, peeled, and seeded. (Fresh is best—look for firm skins and a bright green color. If you can’t find Hatch, Anaheim chiles are a decent substitute.)
- Tomatillos: About 1 pound (450 g), husked, rinsed, and quartered. (These bring the tang that balances the heat.)
- White Onion: 1 medium, roughly chopped. (Adds a mild sweetness and depth.)
- Garlic Cloves: 3 large, peeled. (Fresh garlic always wins.)
- Fresh Cilantro: 1/4 cup loosely packed, chopped. (Adds that fresh, herbaceous note.)
- Lime Juice: Juice of 1 large lime (about 2 tablespoons). (For brightness and balancing the flavor.)
- Salt: 1 teaspoon, or to taste. (I prefer kosher salt for better control.)
- Water: 1/2 cup (120 ml), to help blend and adjust consistency.
- Olive Oil: 1 tablespoon (optional, adds richness and smooth mouthfeel).
For canning:
- Jars and Lids: Use sterilized half-pint (8 oz/240 ml) jars for small batches.
- Canning Salt: Optional, but recommended to maintain flavor during storage.
Pro tip: When roasting Hatch chiles, I like to use a cast iron skillet or grill for that authentic char. It’s worth the extra effort because it adds a subtle smokiness that’s hard to beat. And if you want a bit of extra heat, toss in a jalapeño or two—just remember to take out the seeds if you want to keep it mild.
Equipment Needed
- Roasting Pan or Cast Iron Skillet: For charring the Hatch green chiles and tomatillos. A grill works well too if you’re feeling outdoorsy.
- Blender or Food Processor: Essential for achieving that chunky but smooth salsa verde texture. I use a high-speed blender for a silky finish but a food processor works just fine.
- Knife and Cutting Board: For prepping the onions, garlic, and chiles.
- Canning Equipment: Half-pint jars, lids, a large pot or pressure canner for processing the salsa safely. If you don’t have a pressure canner, a water bath canner will work for this acidic salsa.
- Jar Funnel and Tongs: Handy but not essential—makes filling jars and handling hot lids easier.
If you’re new to canning, don’t stress about fancy tools. A simple large pot and some clean jars can do the job. I’ve canned this salsa with as little as a big stockpot and a thermometer, and it turned out great. Just take your time, and don’t rush the sterilizing step—clean jars make all the difference.
Preparation Method
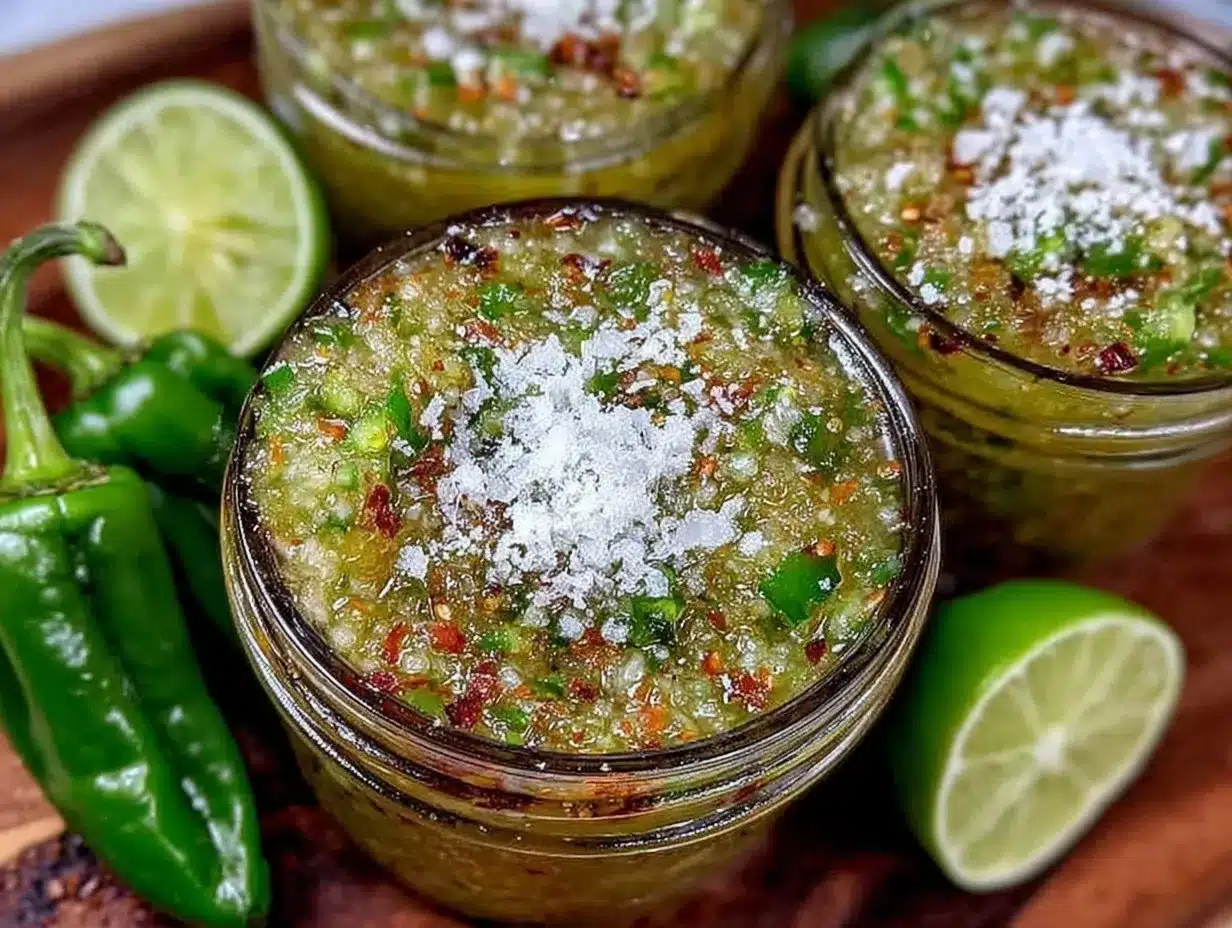
- Roast the Hatch Green Chiles and Tomatillos (15-20 minutes): Preheat your oven to 450°F (230°C) or set your grill to medium-high. Place the chiles and tomatillos on a baking sheet or grill rack. Roast, turning occasionally, until the skins are blistered and blackened (about 10 minutes for chiles, 15 for tomatillos). You want a nice char but not completely burnt.
- Cool and Peel (5 minutes): Transfer the roasted chiles to a bowl and cover with plastic wrap or a kitchen towel to steam for about 5 minutes. This loosens the skins. Peel off the skins carefully, remove stems and seeds from the chiles, and roughly chop. Set aside.
- Prepare Other Ingredients: Roughly chop the onion, peel the garlic cloves, and chop the cilantro.
- Blend the Salsa Verde (5-7 minutes): In your blender or food processor, combine the roasted chiles, tomatillos, onion, garlic, cilantro, lime juice, salt, and water. Pulse until you reach your desired consistency—chunky or smooth. If you want a richer salsa, add the olive oil during blending.
- Taste and Adjust: This is the moment to tweak the flavor. Add more salt, lime, or water if needed. Sometimes I like to add a pinch of sugar if the tomatillos are too tart.
- Prepare Jars for Canning: Sterilize your half-pint jars and lids by boiling or using a dishwasher on high heat.
- Fill and Process Jars (20-25 minutes): Using a funnel, ladle the hot salsa into jars, leaving about 1/2 inch (1.3 cm) headspace. Wipe rims clean, place lids, and screw on bands finger-tight. Process jars in a boiling water bath canner for 15 minutes (adjust time for altitude).
- Cool and Store: Remove jars carefully and let them cool on a towel-lined counter for 12-24 hours. You’ll hear the satisfying “pop” of lids sealing as they cool. Check seals before storing in a cool, dark place.
Note: If you’re not canning immediately, store the salsa in an airtight container in the fridge for up to 2 weeks. The flavors get deeper after a day or two, so patience pays off!
Cooking Tips & Techniques
Getting the balance just right in Hatch Green Chile Salsa Verde can be a little tricky at first, but here’s what I’ve learned over multiple batches:
- Roast with Care: Don’t rush the roasting step. The blistered skins add smoky depth, but burnt spots can turn bitter. Rotate the chiles and tomatillos every few minutes for even char.
- Steam to Peel: Steaming the chiles after roasting is key to making peeling much easier. Trying to peel while hot or skipping this step can be frustrating.
- Adjust Heat Thoughtfully: Hatch chiles vary seasonally in heat. Start with fewer chiles if you’re sensitive to spice—you can always add more after blending.
- Consistency Matters: If your salsa is too thick, add water by the tablespoon until it reaches your favorite pourable but chunky texture.
- Multitask Smartly: While your chiles roast, prep the onion and garlic to save time. You can even sterilize jars during the roasting phase to streamline canning.
- Don’t Skip the Acid: Lime juice isn’t just for flavor—it’s crucial for safe canning and bright, fresh taste.
From personal experience, I once skipped the steaming step and nearly gave up peeling those chiles. Lesson learned: patience here pays off big time. Also, if you ever find your salsa too spicy, a dollop of sour cream or a creamy dip like my favorite creamy buffalo chicken dip can mellow the heat beautifully.
Variations & Adaptations
- Make It Milder: Use fewer chiles or swap half the Hatch chiles for roasted poblano peppers to tame the heat but keep that smoky flavor.
- Go Extra Spicy: Add 1-2 seeded jalapeños or serrano peppers during blending for an extra kick.
- Roasted Garlic Twist: Roast the garlic cloves alongside the chiles for a sweeter, mellower garlic flavor.
- Fresh Herb Swap: Substitute cilantro with fresh parsley or a mix of herbs if you’re not a cilantro fan.
- Tomatillo-Free Version: If you can’t find tomatillos, try using a mix of green tomatoes and lime juice, but expect a slightly different tang.
- Different Cooking Methods: You can slow roast the chiles and tomatillos in a low oven (around 300°F/150°C) for 30-40 minutes if you prefer less char and more even cooking.
One time, I tried blending in some fresh pineapple for a sweet-savory salsa verde variation—it was surprisingly amazing on grilled chicken. Also, if you’re after a creamy dip, mixing this salsa into sour cream or Greek yogurt works wonders and makes a great companion for my honey bourbon baked beans at summer parties.
Serving & Storage Suggestions
This Hatch Green Chile Salsa Verde shines best fresh but also stores beautifully. Serve it chilled or at room temperature as a dip with chips, spooned over tacos, grilled meats, or stirred into scrambled eggs for a zesty morning boost.
- Serving Temperature: Room temp brings out the flavors best, but it’s also refreshing chilled straight from the fridge.
- Pairings: Goes great with grilled meats, roasted vegetables, or as a topping for sandwiches. It’s a natural fit alongside fresh Caprese skewers at your next gathering.
- Storage: Store canned jars in a cool, dark place for up to a year. Once opened, keep refrigerated and use within 2 weeks.
- Reheating: Warm gently on the stove or microwave for a few seconds if you want it hot, but most of us prefer it cold or room temperature.
- Flavor Development: The salsa’s flavor deepens after a day or two in the fridge, so it’s worth making ahead when possible.
Nutritional Information & Benefits
Per 2-tablespoon serving, this Hatch Green Chile Salsa Verde roughly contains:
| Calories | 15 |
|---|---|
| Fat | 1g |
| Carbohydrates | 3g |
| Fiber | 1g |
| Protein | 0.5g |
This salsa is naturally low in calories and fat, making it a flavorful, guilt-free addition to your meals. Hatch green chiles pack vitamin C and antioxidants, while tomatillos add a boost of dietary fiber and vitamins A and K. The fresh lime juice adds not only zing but also vitamin C, a great immune supporter.
For those watching carbs or gluten, this salsa verde is naturally gluten-free and low-carb, making it a versatile choice for various dietary needs. Just watch out for added ingredients if you adapt it.
Conclusion
Making a small batch of Hatch Green Chile Salsa Verde for canning is more than just preserving a spicy condiment—it’s about capturing a moment of flavor that you can pull from your pantry whenever you want a little zing in your day. This recipe fits right into those pockets of time when you want something fresh, zesty, and just a little bit fiery without a ton of fuss.
Whether you’re a seasoned canner or just dipping your toes into preserving, this salsa lets you enjoy the unique taste of Hatch chiles without feeling overwhelmed by quantity or heat. I love how this salsa brings a splash of summer into the middle of winter and how it pairs so well with simple, crowd-pleasing dishes.
Give it a try, tweak it your way, and if you do, I’d love to hear how you make it yours. Sharing these little culinary treasures with friends, along with a side of pulled pork sliders, always turns any meal into something special. Happy canning!
FAQs
Can I use frozen Hatch green chiles for this salsa verde?
Yes, frozen roasted Hatch chiles work well if fresh ones aren’t available. Thaw completely before blending and adjust seasoning as needed.
Is this salsa safe to can using a water bath canner?
Absolutely. Because this salsa is acidic thanks to the tomatillos and lime juice, water bath canning is safe and effective. Just follow proper processing times and jar preparation.
How long will the canned salsa verde last?
Properly canned and sealed jars can last up to one year stored in a cool, dark place. Once opened, keep refrigerated and use within two weeks.
Can I make this salsa verde in a large batch?
Definitely! Just multiply the ingredients accordingly and use larger jars. Keep in mind that roasting and peeling larger quantities can take more time.
What can I use the Hatch Green Chile Salsa Verde for?
It’s perfect for dipping chips, topping tacos, stirring into eggs, mixing with rice or beans, or even as a marinade for grilled meats. It adds a bright, smoky kick to many dishes.
Pin This Recipe!
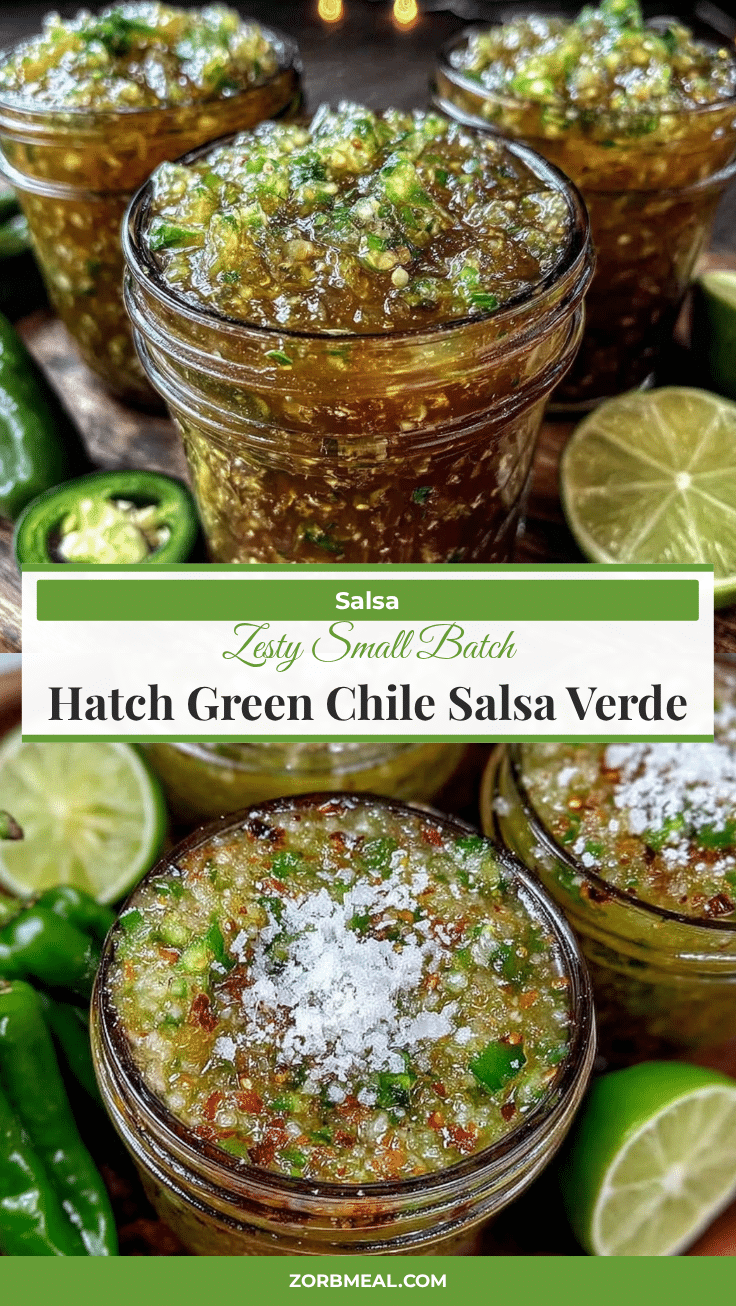
Zesty Small Batch Hatch Green Chile Salsa Verde Recipe for Easy Canning
A fresh, tangy salsa verde featuring roasted Hatch green chiles and tomatillos, perfect for small batch canning and packed with smoky heat and bright acidity.
- Prep Time: 15 minutes
- Cook Time: 25 minutes
- Total Time: 40 minutes
- Yield: 4 half-pint jars (about 4 cups total) 1x
- Category: Condiment
- Cuisine: Mexican
Ingredients
- 8–10 medium-sized Hatch Green Chiles, roasted, peeled, and seeded
- 1 pound (450 g) tomatillos, husked, rinsed, and quartered
- 1 medium white onion, roughly chopped
- 3 large garlic cloves, peeled
- 1/4 cup loosely packed fresh cilantro, chopped
- Juice of 1 large lime (about 2 tablespoons)
- 1 teaspoon kosher salt, or to taste
- 1/2 cup (120 ml) water
- 1 tablespoon olive oil (optional)
- For canning: sterilized half-pint (8 oz/240 ml) jars and lids
- Optional: canning salt
Instructions
- Preheat oven to 450°F (230°C) or set grill to medium-high.
- Place Hatch green chiles and tomatillos on a baking sheet or grill rack. Roast, turning occasionally, until skins are blistered and blackened (about 10 minutes for chiles, 15 minutes for tomatillos).
- Transfer roasted chiles to a bowl and cover with plastic wrap or kitchen towel to steam for 5 minutes.
- Peel skins off chiles carefully, remove stems and seeds, and roughly chop. Set aside.
- Roughly chop onion, peel garlic cloves, and chop cilantro.
- In a blender or food processor, combine roasted chiles, tomatillos, onion, garlic, cilantro, lime juice, salt, and water. Pulse until desired consistency is reached (chunky or smooth). Add olive oil if using and blend to combine.
- Taste and adjust seasoning with more salt, lime juice, or water as needed. Optionally add a pinch of sugar if tomatillos are too tart.
- Sterilize half-pint jars and lids by boiling or dishwasher on high heat.
- Using a funnel, ladle hot salsa into jars leaving 1/2 inch headspace. Wipe rims clean, place lids, and screw on bands finger-tight.
- Process jars in a boiling water bath canner for 15 minutes (adjust for altitude).
- Remove jars carefully and let cool on a towel-lined counter for 12-24 hours until lids seal with a ‘pop’.
- Check seals before storing jars in a cool, dark place.
Notes
Steam roasted chiles before peeling to loosen skins for easier removal. Adjust heat by using fewer chiles or adding jalapeños for extra spice. Lime juice is essential for flavor and safe canning. Store canned jars in a cool, dark place up to one year; refrigerate after opening and use within two weeks. Salsa flavor improves after a day or two in the fridge.
Nutrition
- Serving Size: 2 tablespoons
- Calories: 15
- Sugar: 1
- Fat: 1
- Carbohydrates: 3
- Fiber: 1
- Protein: 0.5
Keywords: Hatch green chile salsa verde, small batch salsa, canning salsa, roasted green chile salsa, tomatillo salsa, easy salsa verde, spicy salsa, homemade salsa