Pumpkin belongs in a scone the way butter belongs on toast—it’s that obvious once you actually try it. I spent years side-eyeing pumpkin baked goods that tasted more like spiced air than actual squash. You know the ones. They promise fall in every bite but deliver a whisper of cinnamon and a lot of dry crumbs. So when a friend handed me a pumpkin scone from a chain coffee shop last October, I took a polite bite and braced for disappointment. What I got was a dense, greasy triangle that left an oily film on my tongue. I honestly thought that was just how pumpkin scones were—a sad compromise between flavor and texture.
Then I made these at home. And I mean, really made them. Not with a can of pumpkin pie filling and a prayer, but with actual roasted pumpkin purée, a careful hand with the spices, and a maple glaze that doesn’t just sit on top—it sinks into every crack and crevice. The first batch came out of the oven looking more like biscuits than scones, and I almost tossed them. But I broke one open while it was still warm, let the butter melt into the crumb, and took a bite. That was the moment I stopped being a skeptic. The texture was tender but sturdy, the pumpkin flavor was present without being heavy, and the maple glaze? Let’s just say I licked the fork clean and immediately started a second batch.
These scones are the reason I now keep a can of pumpkin purée in my pantry year-round. They’re not fancy or fussy. They’re just honest, well-spiced, and exactly what a fall morning should taste like. Trust me on this one—I was the hardest person to convince.
Why You’ll Love This Recipe
These pumpkin scones are the kind of recipe that makes you look like a baking pro without actually requiring professional skills. I’ve tested this batch more times than I care to admit, tweaking the flour ratio, the butter temperature, and the glaze consistency until everything clicked. Here’s why they work:
- Quick & Easy: From mixing bowl to cooling rack in under 40 minutes. No yeast, no rising time, no complicated folding techniques.
- Simple Ingredients: You probably already have most of these in your kitchen—flour, sugar, butter, eggs, and pumpkin purée. The spice blend is basic but perfectly balanced.
- Perfect for Fall Mornings: These scones pair beautifully with a hot cup of coffee or chai tea. They’re also fantastic for Thanksgiving brunch or a cozy weekend treat.
- Crowd-Pleaser: I’ve brought these to potlucks, bake sales, and family gatherings. They disappear fast, and people always ask for the recipe.
- Unbelievably Delicious: The texture is the star here—crispy on the outside, tender and flaky on the inside. The maple glaze adds just the right amount of sweetness without being cloying.
What makes these scones different from the rest? It’s the technique of grating cold butter into the flour mixture. That one trick ensures flaky layers without overworking the dough. Plus, the pumpkin purée keeps them moist without making them heavy. This isn’t just another pumpkin scone recipe—it’s the one you’ll come back to every single fall.
These scones are comfort food reimagined. They’re the kind of treat that makes you slow down, pour another cup of coffee, and savor the season. No stress, no fuss—just pure, spiced happiness.
What Ingredients You Will Need
This recipe uses simple, wholesome ingredients to deliver bold flavor and satisfying texture without the fuss. Most are pantry staples, which makes these scones perfect for spontaneous baking sessions.
- All-purpose flour: 2 cups (250g). Provides structure. I prefer King Arthur Flour for consistent results, but any brand works.
- Granulated sugar: 1/3 cup (65g). Adds just enough sweetness to balance the spices.
- Baking powder: 1 tablespoon. The leavening agent that gives scones their rise.
- Pumpkin pie spice: 1½ teaspoons. You can use store-bought or make your own with cinnamon, nutmeg, ginger, and cloves.
- Ground cinnamon: 1 teaspoon. Adds warmth and depth.
- Salt: ½ teaspoon. Enhances all the flavors.
- Cold unsalted butter: 6 tablespoons (85g), frozen and grated. This is the secret to flaky layers. The cold butter creates steam pockets as it melts in the oven.
- Pumpkin purée: ½ cup (120g). Not pumpkin pie filling—make sure you’re using 100% pure pumpkin. I like Libby’s for its consistent texture.
- Heavy cream: ¼ cup (60ml), plus more for brushing. Adds richness and helps bind the dough.
- Vanilla extract: 1 teaspoon. Adds warmth and rounds out the flavors.
- Large egg: 1. Binds everything together.
For the Maple Glaze:
- Powdered sugar: 1 cup (120g). Sifted to avoid lumps.
- Pure maple syrup: 3 tablespoons. Use the real stuff—it makes a difference in flavor. I recommend Grade A Dark Amber for a richer taste.
- Milk or heavy cream: 1-2 tablespoons. Adjust for desired consistency.
- Vanilla extract: ½ teaspoon. Optional, but adds depth.
Substitution Guidance: For a dairy-free version, use cold coconut oil or vegan butter in place of unsalted butter, and substitute the heavy cream with full-fat coconut milk. For a gluten-free option, use a 1:1 gluten-free flour blend that contains xanthan gum. If you don’t have pumpkin pie spice, combine ½ teaspoon cinnamon, ¼ teaspoon nutmeg, ¼ teaspoon ginger, and ⅛ teaspoon cloves.
Equipment Needed
You don’t need a professional bakery setup to make these scones. Here’s what you’ll need:
- Large mixing bowl: For combining dry ingredients.
- Box grater or food processor: For grating cold butter. A box grater works perfectly and is easier to clean. If you’re using a food processor, pulse the butter with the flour mixture instead of grating.
- Pastry cutter or two forks: For cutting butter into flour if you’re not grating it. Honestly, grating is faster and gives better results.
- Baking sheet: Line it with parchment paper for easy cleanup.
- Parchment paper: Prevents sticking and makes transferring scones a breeze.
- Bench scraper or sharp knife: For cutting the dough into triangles.
- Pastry brush: For brushing cream on top before baking.
- Cooling rack: Allows air to circulate so the glaze sets properly.
- Whisk: For making the glaze smooth.
Budget-friendly tip: If you don’t have a pastry brush, use the back of a spoon to gently spread the cream on top. A bench scraper can be replaced with a sharp chef’s knife. And if you don’t have a cooling rack, let the scones cool on the baking sheet for a few minutes, then transfer them to a plate.
Preparation Method
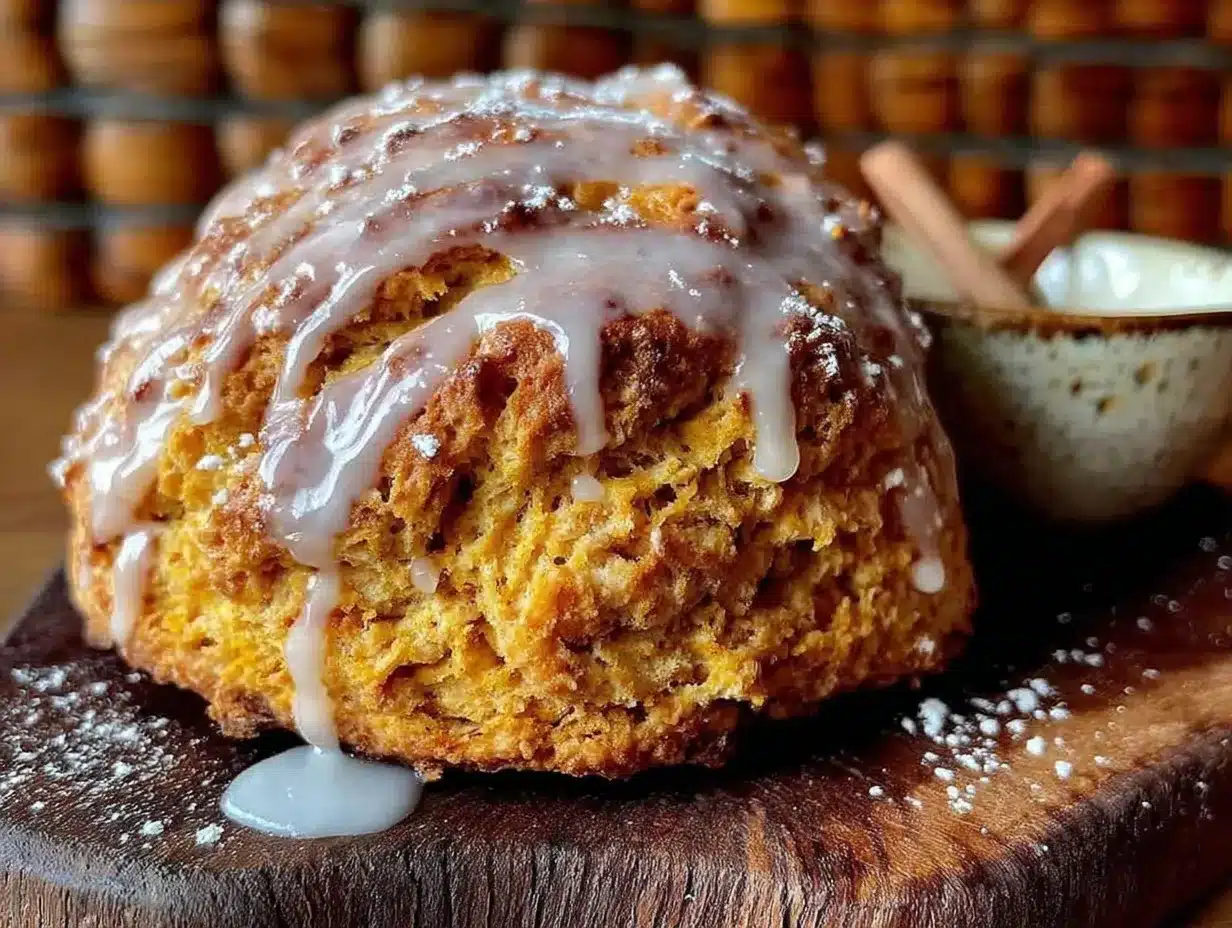
Let me walk you through this step by step. I’ve made these scones more times than I can count, so I know exactly where things can go wrong—and how to fix them.
- Preheat your oven to 400°F (200°C). Line a baking sheet with parchment paper. This is non-negotiable—parchment paper prevents sticking and makes cleanup effortless.
- In a large bowl, whisk together the flour, sugar, baking powder, pumpkin pie spice, cinnamon, and salt. Make sure there are no lumps. The spices should be evenly distributed throughout the flour mixture.
- Grate the frozen butter using the large holes of a box grater. This is the trick that changes everything. Working quickly, toss the grated butter into the flour mixture. Use your fingers or a fork to gently coat the butter pieces with flour. The mixture should look like coarse meal with some pea-sized butter bits remaining. If the butter starts to soften, pop the bowl in the freezer for 5 minutes.
- In a separate small bowl, whisk together the pumpkin purée, heavy cream, vanilla extract, and egg. Make sure the egg is fully incorporated. The mixture should be smooth and slightly thick.
- Make a well in the center of the flour mixture and pour in the wet ingredients. Use a fork or spatula to stir until just combined. Do not overmix. The dough will look shaggy and slightly dry—that’s exactly what you want. If it looks too dry, add a teaspoon of cream at a time until it comes together.
- Turn the dough out onto a lightly floured surface. Gently bring it together with your hands, patting it into a ¾-inch thick rectangle. Fold the dough in half, then pat it out again. Repeat this folding process two more times. This creates those beautiful flaky layers. Don’t knead—just fold and pat.
- Pat the dough into a ¾-inch thick circle, about 8 inches in diameter. Use a bench scraper or sharp knife to cut the circle into 8 equal wedges, like a pizza. Transfer the wedges to the prepared baking sheet, spacing them about 2 inches apart.
- Brush the tops of the scones with a little heavy cream. This helps them develop a golden, slightly crispy crust. If you want a bit of sparkle, sprinkle a little coarse sugar on top before baking.
- Bake for 14-16 minutes, or until the scones are golden brown on the bottom and lightly golden on top. The tops should feel firm to the touch. A toothpick inserted into the center should come out clean or with a few moist crumbs. Let the scones cool on the baking sheet for 5 minutes, then transfer them to a cooling rack.
- While the scones cool, make the maple glaze. In a small bowl, whisk together the powdered sugar, maple syrup, and 1 tablespoon of milk or cream. Add more liquid, 1 teaspoon at a time, until the glaze is thick but pourable. It should coat the back of a spoon but still drizzle easily.
- Drizzle the glaze over the warm scones. Use a spoon or a piping bag with the tip snipped off. Let the glaze set for about 10 minutes before serving. The warmth of the scones will help the glaze sink in slightly, creating that perfect sweet crust.
Pro tip: If you want a thicker glaze, let the scones cool completely before drizzling. If you want it to soak in more, glaze them while they’re still warm. I prefer the warm method—it creates a more integrated flavor.
Cooking Tips & Techniques
I’ve learned a few things the hard way so you don’t have to. Here are my best tips for perfect pumpkin scones every time:
- Keep everything cold. Cold butter is the key to flaky scones. If your kitchen is warm, chill the flour mixture and the grated butter in the freezer for 10 minutes before adding the wet ingredients. You can even chill the baking sheet for a few minutes before placing the scones on it.
- Don’t overmix the dough. Overmixing develops gluten, which makes scones tough. Mix until the dough just comes together. A few dry spots are perfectly fine—they’ll hydrate as the scones bake.
- Use a light hand when patting the dough. Pressing too firmly will flatten the layers. Gentle pats are all you need.
- If the dough sticks to your hands, lightly flour them. But don’t add too much extra flour to the dough itself—it can make the scones dry.
- Bake on the middle rack. This ensures even browning. If your oven runs hot, check the scones at the 12-minute mark.
- Let the glaze set before stacking or storing. Otherwise, you’ll end up with a sticky mess. Patience pays off here.
One of my early failures: I once used warm butter because I was in a hurry. The scones spread into flat, greasy discs that tasted more like shortbread than scones. Lesson learned. Cold butter is non-negotiable.
Another mistake I made was over-baking. The first time I made these, I left them in the oven for 18 minutes because I wanted them extra golden. They came out dry and crumbly. Now I set a timer for 14 minutes and check from there. Every oven is different, so trust your senses—the scones should smell fragrant and look lightly golden.
Variations & Adaptations
One of the best things about this recipe is how adaptable it is. Here are some variations I’ve tried and loved:
- Chocolate Chip Pumpkin Scones: Fold in ½ cup of semi-sweet chocolate chips along with the wet ingredients. The chocolate pairs beautifully with the pumpkin spice. My kids devour these.
- Vegan Pumpkin Scones: Substitute the butter with cold coconut oil or vegan butter, use a flax egg (1 tablespoon ground flaxseed mixed with 3 tablespoons water), and replace heavy cream with full-fat coconut milk. The texture is slightly different but still delicious.
- Gluten-Free Pumpkin Scones: Use a 1:1 gluten-free flour blend that contains xanthan gum. Add an extra tablespoon of heavy cream to help with moisture. I’ve had good results with Bob’s Red Mill 1:1 Baking Flour.
- Savory Pumpkin Scones: Omit the sugar and pumpkin pie spice. Add ½ teaspoon of black pepper, ½ cup of shredded sharp cheddar cheese, and 2 tablespoons of chopped fresh sage. These are incredible with soup or chili.
- Maple Pecan Pumpkin Scones: Fold in ½ cup of toasted, chopped pecans along with the wet ingredients. The nutty crunch adds a wonderful texture contrast.
If you’re looking for other cozy fall recipes, you might enjoy my fluffy buttermilk pancakes for a different kind of morning treat, or my moist lemon raspberry pound cake when you want something bright and fruity.
My personal favorite variation is the maple pecan version. I made it last Thanksgiving for a brunch gathering, and it was the first thing to disappear from the table. The pecans add a satisfying crunch that complements the tender scone perfectly.
Serving & Storage Suggestions
These scones are best served warm, fresh from the oven, with the maple glaze still slightly soft. But they’re also delicious at room temperature.
- Serving temperature: Warm or room temperature. If you’re serving them later, reheat individual scones in the microwave for 10-15 seconds or in a 300°F oven for 5 minutes.
- Presentation: Arrange the scones on a rustic wooden board or a white platter. Drizzle extra glaze on top and sprinkle with a pinch of flaky sea salt or a few pumpkin seeds for a beautiful finish.
- Complementary dishes: These scones pair beautifully with a hot cup of chai tea, spiced apple cider, or a latte. For a brunch spread, serve them alongside a cozy sausage and egg breakfast casserole or a fresh fruit salad.
- Storage: Store leftover scones in an airtight container at room temperature for up to 3 days. If you’ve already glazed them, place a sheet of parchment paper between layers to prevent sticking.
- Freezing: You can freeze unglazed scones for up to 3 months. Place them in a single layer on a baking sheet and freeze until solid, then transfer to a freezer-safe bag. To serve, thaw at room temperature and reheat in the oven. Glaze after reheating.
- Flavor development: Honestly, these scones taste even better the next day. The spices have time to meld, and the texture softens slightly. If you can resist eating them all on day one, you’re in for a treat on day two.
Nutritional Information & Benefits
Here’s a rough estimate per scone (based on 8 servings, including glaze):
- Calories: 320
- Fat: 14g
- Carbohydrates: 46g
- Protein: 5g
- Fiber: 2g
- Sugar: 24g
These values are approximate and will vary based on specific brands and substitutions.
Health benefits: Pumpkin is packed with vitamin A, which supports eye health and immune function. It’s also a good source of fiber and antioxidants. The spices—cinnamon, nutmeg, ginger, and cloves—have anti-inflammatory properties and can help regulate blood sugar levels. While these scones are certainly a treat, they offer more nutritional value than your average pastry.
Dietary considerations: This recipe contains gluten, dairy, and eggs. For gluten-free and vegan adaptations, see the variations section above. If you’re watching your sugar intake, you can reduce the glaze or skip it entirely—the scones are still delicious on their own.
Personal perspective: I believe in balance. These scones are a celebration of fall flavors, not an everyday breakfast. Enjoy them mindfully, savor every bite, and don’t stress about the numbers. Food is meant to bring joy.
Conclusion
These perfectly spiced pumpkin scones with maple glaze are everything I wanted from a fall baking project—simple, rewarding, and absolutely delicious. They’ve converted me from a pumpkin scone skeptic to a full-blown believer. The tender crumb, the warm spices, and that sweet maple finish come together in a way that feels special without being complicated.
I hope you give these a try and make them your own. Add chocolate chips if that’s your thing, skip the glaze if you prefer less sweetness, or double the spices for an extra kick. Baking should be personal, and this recipe is flexible enough to accommodate your tastes.
If you make these scones, I’d love to hear about it. Drop a comment below and let me know how they turned out—did you try a variation? Did the glaze soak in just right? Your feedback helps others and honestly makes my day. And if you’re looking for more cozy fall recipes, check out my creamy tuscan chicken for a comforting dinner option or my easy one-pan honey garlic chicken and vegetables for a quick weeknight meal.
Happy baking, and enjoy every spiced, maple-kissed bite. You deserve it.
Frequently Asked Questions
Can I use pumpkin pie filling instead of pumpkin purée?
No, please don’t. Pumpkin pie filling is pre-sweetened and contains added spices and thickeners. It will throw off the sugar and spice balance in this recipe. Stick with 100% pure pumpkin purée for the best results.
Why did my scones turn out dry?
Dry scones usually result from overmixing the dough or over-baking. Mix until just combined, and check your scones at the 14-minute mark. Also, make sure you’re measuring your flour correctly—scoop it into the measuring cup with a spoon and level it off. Packing the flour can lead to a dry dough.
Can I make the dough ahead of time?
Absolutely. You can prepare the dough, shape it into wedges, and refrigerate them on a baking sheet for up to 24 hours. Bake straight from the fridge—just add a minute or two to the baking time. You can also freeze unbaked scones for up to 3 months; bake from frozen, adding 2-3 minutes to the baking time.
How do I get a thicker glaze?
For a thicker glaze, use less liquid. Start with 2 tablespoons of maple syrup and 1 tablespoon of milk, then add more milk 1 teaspoon at a time until you reach your desired consistency. If the glaze is too thin, add more powdered sugar, 1 tablespoon at a time.
Can I use a different type of sugar for the glaze?
I recommend powdered sugar for the glaze because it dissolves easily and creates a smooth texture. Granulated sugar won’t dissolve properly and will leave a gritty texture. If you want to use a different sweetener, try maple sugar or coconut sugar, but note that the texture and flavor will be different.
Pin This Recipe!
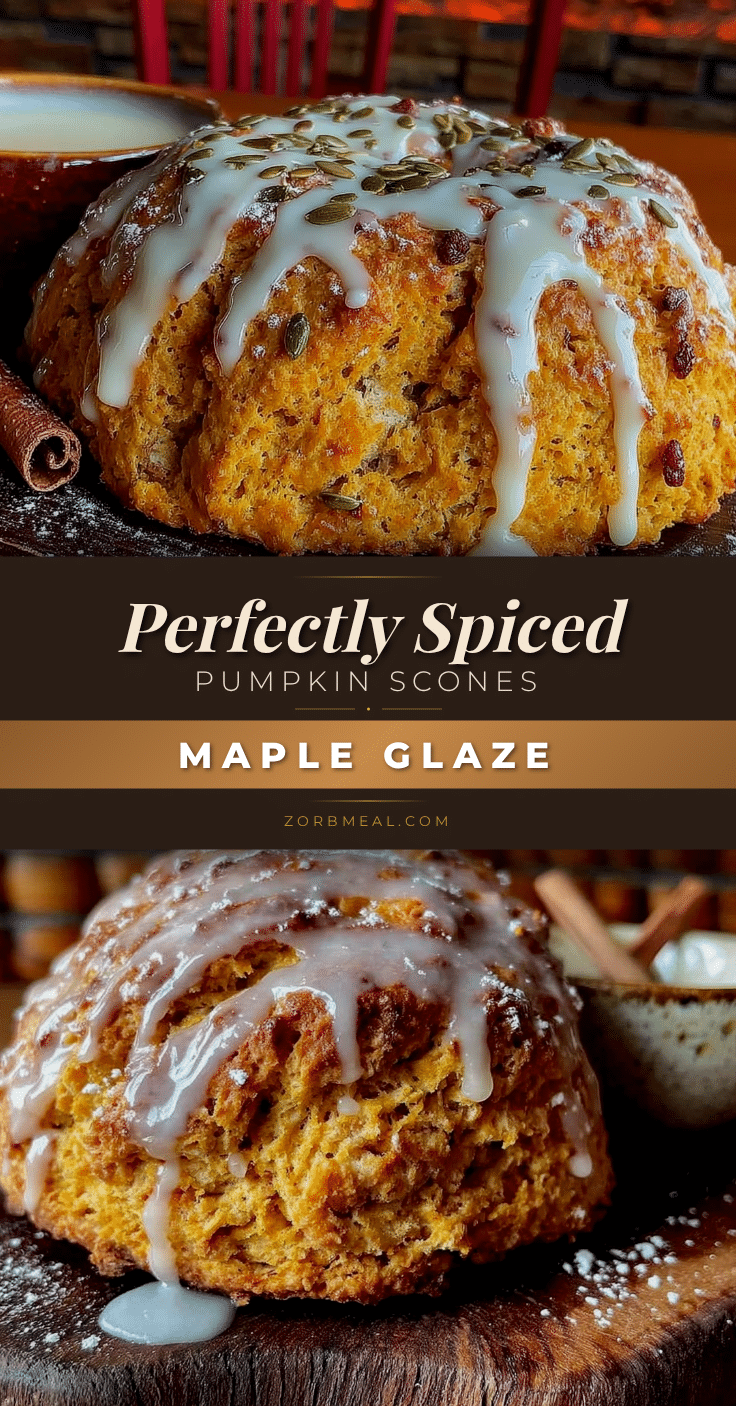
Perfectly Spiced Pumpkin Scones with Maple Glaze: Easy Fall Recipe

These pumpkin scones are tender, flaky, and perfectly spiced, topped with a rich maple glaze. They’re quick to make, use simple ingredients, and are the ultimate fall treat.
- Prep Time: 15 minutes
- Cook Time: 16 minutes
- Total Time: 31 minutes
- Yield: 8 servings 1x
- Category: Dessert
- Cuisine: American
Ingredients
- 2 cups (250g) all-purpose flour
- 1/3 cup (65g) granulated sugar
- 1 tablespoon baking powder
- 1½ teaspoons pumpkin pie spice
- 1 teaspoon ground cinnamon
- ½ teaspoon salt
- 6 tablespoons (85g) cold unsalted butter, frozen and grated
- ½ cup (120g) pumpkin purée (not pumpkin pie filling)
- ¼ cup (60ml) heavy cream, plus more for brushing
- 1 teaspoon vanilla extract
- 1 large egg
- 1 cup (120g) powdered sugar, sifted
- 3 tablespoons pure maple syrup
- 1–2 tablespoons milk or heavy cream
- ½ teaspoon vanilla extract (optional)
Instructions
- Preheat your oven to 400°F (200°C). Line a baking sheet with parchment paper.
- In a large bowl, whisk together the flour, sugar, baking powder, pumpkin pie spice, cinnamon, and salt.
- Grate the frozen butter using the large holes of a box grater. Toss the grated butter into the flour mixture and gently coat with flour until the mixture looks like coarse meal with some pea-sized butter bits.
- In a separate small bowl, whisk together the pumpkin purée, heavy cream, vanilla extract, and egg until smooth.
- Make a well in the center of the flour mixture and pour in the wet ingredients. Stir until just combined; the dough will be shaggy and slightly dry.
- Turn the dough out onto a lightly floured surface. Gently bring it together, pat into a ¾-inch thick rectangle, fold in half, and pat out again. Repeat folding two more times.
- Pat the dough into a ¾-inch thick circle, about 8 inches in diameter. Cut into 8 equal wedges and transfer to the prepared baking sheet, spacing 2 inches apart.
- Brush the tops with heavy cream. Bake for 14-16 minutes until golden brown on the bottom and lightly golden on top. Cool on the baking sheet for 5 minutes, then transfer to a cooling rack.
- While the scones cool, make the glaze: whisk together powdered sugar, maple syrup, and 1 tablespoon of milk or cream. Add more liquid 1 teaspoon at a time until thick but pourable.
- Drizzle the glaze over the warm scones. Let set for about 10 minutes before serving.
Notes
Keep everything cold for flaky scones. Do not overmix. For a thicker glaze, use less liquid. Scones can be frozen unglazed for up to 3 months.
Nutrition
- Serving Size: 1 scone
- Calories: 320
- Sugar: 24
- Sodium: 280
- Fat: 14
- Saturated Fat: 8
- Carbohydrates: 46
- Fiber: 2
- Protein: 5
Keywords: pumpkin scones, maple glaze, fall recipe, easy scones, pumpkin spice


