I did not trust soft sugar cookies to hold their shape once frosted, especially with those cute back to school pencil decorations in mind. Honestly, the idea of a cookie so tender that it would crumble under the weight of frosting sounded like a total mess waiting to happen. I remember one afternoon, standing in a warm kitchen, half-heartedly rolling out dough that felt too sticky, doubting if these “perfect soft frosted sugar cookies” could really turn out the way I hoped.
But then there was that moment when the cookies came out of the oven—just golden enough, soft to the touch yet firm enough to handle—and after the frosting was carefully spread, those pencil decorations added a playful charm that made me pause. It wasn’t instant trust, no. It was cautious optimism as I bit into one, the sugar cookie melting in my mouth with a gentle chew while the smooth frosting complemented it perfectly.
What really sold me was how these cookies became more than just a treat—they turned into a little back to school celebration on a plate. The pencil decorations, with their bright colors and simple shapes, reminded me of the first day jitters and excitement all at once. It stuck with me because it’s not just about baking; it’s about marking a season and making the start of school a little sweeter, literally and figuratively. So here’s my take on the perfect soft frosted sugar cookies, with easy back to school pencil decorations that anyone can do without the frosting meltdown fear.
Why You’ll Love This Recipe
After testing this recipe multiple times (and yes, adjusting the frosting consistency way too many times), I can say it stands out for several reasons:
- Quick & Easy: Ready in under an hour from start to finish, these cookies are perfect when you need a fun back to school snack without a full-day baking project.
- Simple Ingredients: You likely have everything already—basic pantry staples like butter, sugar, flour, and eggs, with no need for fancy extracts or obscure items.
- Perfect for Back to School: The pencil decorations are straightforward but festive, making these cookies ideal for classroom parties, after-school treats, or even a little lunchbox surprise.
- Crowd-Pleaser: Whether it’s kids or adults, these cookies get rave reviews for their soft texture and sweet, smooth frosting. They even hold up well for a few days if stored right.
- Unbelievably Delicious: The soft sugar cookie base balances perfectly with a creamy frosting that’s not too sweet—trust me, it’s comfort food with a playful twist.
What sets this recipe apart is the frosting’s perfect consistency; not so stiff that it cracks, and not so runny that it slides off. Plus, the pencil decoration technique is a fun way to get creative, using just a few colored icings and a steady hand (or a little practice). Honestly, these cookies have become my go-to when I want something that feels homemade and special without the stress of complicated decoration. They’re the kind of cookies that make you smile after just one bite and stick with you because they’re easy to share and even easier to love.
What Ingredients You Will Need
This recipe uses simple, wholesome ingredients to deliver bold flavor and satisfying texture without the fuss. Most are pantry staples, and substitutions are easy if you’re catering to dietary needs or preferences.
- For the cookie dough:
- All-purpose flour, 2 ¾ cups (345 g) – provides the structure for the cookies
- Baking powder, 1 ½ tsp – ensures a gentle rise for softness
- Salt, ½ tsp – balances the sweetness
- Unsalted butter, 1 cup (2 sticks), softened – for richness and tender crumb (I prefer Land O’Lakes for consistency)
- Granulated sugar, 1 ½ cups (300 g) – the main sweetener
- Large eggs, 2, room temperature – binds everything together
- Pure vanilla extract, 2 tsp – adds classic flavor depth
- Whole milk, 2 tbsp – helps create soft dough without heaviness
- For the frosting:
- Unsalted butter, ½ cup (1 stick), softened – base for creamy frosting
- Powdered sugar, 3 cups (360 g), sifted – for smooth, lump-free frosting
- Whole milk, 2–3 tbsp – adjusts frosting to spreadable consistency
- Pure vanilla extract, 1 tsp – flavor enhancer
- Food coloring gels (yellow, pink, green, black) – for pencil decorations (gel colors work best to avoid runny frosting)
You can swap all-purpose flour with a gluten-free blend for a gluten-free option, but the texture might be slightly different. For dairy-free, use vegan butter and almond or oat milk in equal amounts. I find gel food colors like AmeriColor give the brightest hues without altering frosting texture.
Equipment Needed
- Mixing bowls – at least two, one for dough and one for frosting
- Electric mixer or stand mixer – makes creaming butter and sugar effortless
- Measuring cups and spoons – for accurate ingredient amounts
- Rolling pin – to roll out the cookie dough evenly
- Parchment paper or silicone baking mats – prevents sticking and makes cleanup easy
- Baking sheets – standard size works well
- Cookie cutters (round or pencil-shaped) – if you don’t have pencil-shaped cutters, a small round cutter works fine for cookies
- Small piping bags or zip-top bags – for frosting and decorating pencils
- Toothpicks or fine-tipped decorating tools – handy for detail work on pencil tips
If you don’t own a stand mixer, a handheld electric mixer can get the job done just as well. For budget-friendly rolling pins, even a clean wine bottle works in a pinch. Keeping your tools clean and dry between uses helps maintain frosting consistency (especially when working with colored gels).
Preparation Method
- Preheat your oven to 350°F (175°C). Line two baking sheets with parchment paper or silicone mats.
- Mix dry ingredients: In a medium bowl, whisk together 2 ¾ cups (345 g) all-purpose flour, 1 ½ tsp baking powder, and ½ tsp salt. Set aside.
- Cream butter and sugar: Using an electric mixer, beat 1 cup (2 sticks) softened unsalted butter with 1 ½ cups (300 g) granulated sugar on medium-high speed until light and fluffy, about 3-4 minutes. This step is key for soft cookies—don’t rush it.
- Add eggs and vanilla: Beat in 2 large eggs, one at a time, then add 2 tsp vanilla extract. Mix just until combined.
- Combine wet and dry: Gradually add the flour mixture to the butter mixture in thirds, alternating with 2 tbsp whole milk. Begin and end with the flour mixture. Mix on low speed until just combined—overmixing will toughen the dough.
- Divide and chill: Turn dough onto a lightly floured surface, knead gently until smooth. Divide in half, flatten into discs, wrap in plastic, and chill in the fridge for at least 30 minutes. Chilling makes rolling easier and prevents spreading during baking.
- Roll out dough: On a floured surface, roll one disc to about ¼ inch (6 mm) thickness. Keep the other disc chilled until ready.
- Cut cookies: Use pencil-shaped cookie cutters or a small round cutter to form shapes. Transfer to baking sheets about 1 inch (2.5 cm) apart.
- Bake: Bake cookies for 8-10 minutes, until edges are set but centers remain soft. They’ll firm up as they cool, so avoid overbaking.
- Cool completely: Allow cookies to cool on baking sheets for 5 minutes, then transfer to wire racks to cool fully before frosting.
- Prepare frosting: Beat ½ cup (1 stick) softened butter until creamy. Gradually add 3 cups (360 g) sifted powdered sugar, alternating with 2-3 tbsp whole milk, until smooth and spreadable. Beat in 1 tsp vanilla extract.
- Color frosting: Divide frosting into small bowls. Tint each with gel food coloring—yellow, pink, green, and a tiny bit of black for pencil tips.
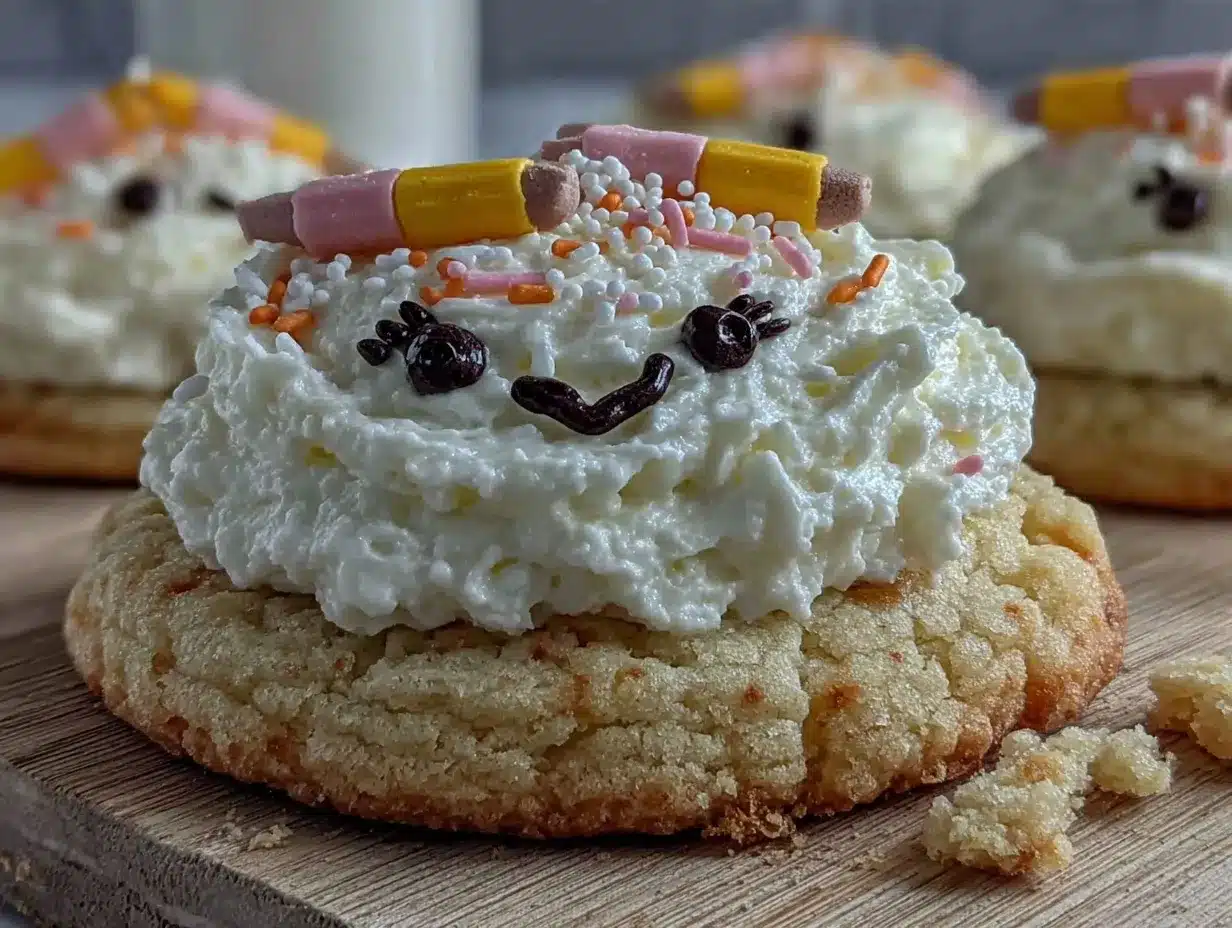
- Decorate: Spread a thin layer of white or pale yellow frosting on each cookie. Using piping bags, add pencil details: a yellow body, pink eraser, green or silver ferrule line, and black tip. Use toothpicks to neaten edges as needed.
- Let frosting set: Allow cookies to rest at room temperature for at least 30 minutes before stacking or storing.
Pro tip: If your dough gets too soft while rolling, pop it back in the fridge for 10 minutes. Frosting too thick? Add a splash more milk, but add slowly to avoid runniness. These little adjustments make all the difference.
Cooking Tips & Techniques
One thing I learned the hard way was to never skip chilling the dough—it really helps keep the cookies soft but sturdy enough to frost. Another tip: when creaming butter and sugar, patience is key. You want that light, fluffy texture, which traps air and contributes to softness.
When decorating, less is more. Trying to pipe super fine details with thick frosting usually ends in frustration. Instead, use gel colors to tint frosting thinly and build simple shapes. For the pencil decorations, steady hands help, but if you mess up, a toothpick is your best friend for smoothing edges.
Common mistakes include overbaking (cookies get hard) and using runny frosting (colors bleed). Taking your time with frosting consistency and baking times pays off big. Also, multitasking helps: bake one batch while prepping frosting for the next, so you don’t feel rushed.
Finally, I find setting cookies on wire racks to cool fully prevents sogginess underneath and keeps the base crisp enough to hold the frosting without sliding off.
Variations & Adaptations
- Flavor twists: Add a teaspoon of almond extract in the dough for a nutty undertone, or swap vanilla for lemon zest and juice for a citrus version.
- Dietary needs: Use gluten-free flour blends to make these cookies gluten-free. For dairy-free, substitute butter and milk with plant-based alternatives like coconut oil and almond milk.
- Decoration alternatives: Instead of pencil decorations, try simple shapes like apples or lunchboxes for back to school themes. You can also use edible markers on fondant for more detailed designs.
- Cooking methods: These cookies bake well in a convection oven, usually shaving 1-2 minutes off baking time. Just watch closely to keep them soft.
- I once tried swapping sugar with coconut sugar for a deeper flavor, which worked surprisingly well, though the color was a bit darker. It’s a neat way to change things up without losing softness.
Serving & Storage Suggestions
Serve these cookies at room temperature to enjoy the soft texture and creamy frosting at their best. They pair wonderfully with a cold glass of milk or even a warm cup of tea for after-school snack time. For a fun party spread, pair with easy appetizers like fresh caprese skewers or a crowd-pleasing creamy buffalo chicken dip.
Store leftover cookies in an airtight container at room temperature for up to 3 days. If your kitchen is warm, refrigeration helps keep frosting firm but may slightly alter cookie softness. For longer storage, freeze unfrosted cookies wrapped tightly, then frost after thawing.
When reheating, a few seconds in the microwave (about 10-15) can soften cookies without melting frosting too much. Flavors tend to mellow and blend beautifully after a day or two, making these cookies even more enjoyable as time passes.
Nutritional Information & Benefits
Each cookie (assuming about 24 servings) contains approximately 150 calories, 7 grams of fat, 22 grams of carbohydrates, and 1 gram of protein. The recipe uses real butter and fresh ingredients without artificial additives, keeping it simple and wholesome.
The use of real vanilla and whole milk adds authentic flavor without excess sugars or preservatives. If you adjust the recipe with gluten-free or dairy-free substitutions, it can fit a variety of dietary needs. Just keep in mind the frosting has powdered sugar, so moderation is key.
Personally, I appreciate that these cookies bring a touch of joy to hectic back to school days without relying on processed mixes or artificial flavors. They’re a small indulgence with a homemade feel, perfect for family moments and celebrations.
Conclusion
These perfect soft frosted sugar cookies with back to school pencil decorations are more than just a recipe—they’re a little ritual marking the start of a new chapter. They prove that you can have tender, flavorful cookies that hold up to frosting and decorate easily without stress.
Feel free to make them your own by switching up colors, flavors, or decorations based on your family’s style. I love how they bring a bit of sweetness to the first day jitters and how the pencil shapes remind me that creativity and comfort can go hand in hand.
Give them a try, share your decorating wins (or funny fails!), and enjoy the simple pleasure of baking something soft, sweet, and a little bit special. After all, every school year deserves a thoughtful start—and maybe a cookie or two.
FAQs
- Can I make these sugar cookies ahead of time?
Yes! You can prepare and freeze the cookie dough up to 3 months in advance. Thaw overnight in the fridge before rolling and baking. - What if I don’t have pencil-shaped cookie cutters?
No worries! Use a small round cutter or even a knife to cut rectangles and add pencil details with frosting. - How do I prevent frosting colors from bleeding?
Use gel food coloring for vibrant colors and let each color layer dry slightly before adding adjacent colors. - Can I use butter substitutes?
Yes, vegan butter works well, but the texture may be slightly different. Make sure it’s softened for easy creaming. - Why are my cookies spreading too much?
Make sure dough is well chilled before rolling. Over-soft dough or warm kitchen temperatures can cause spreading.
Pin This Recipe!
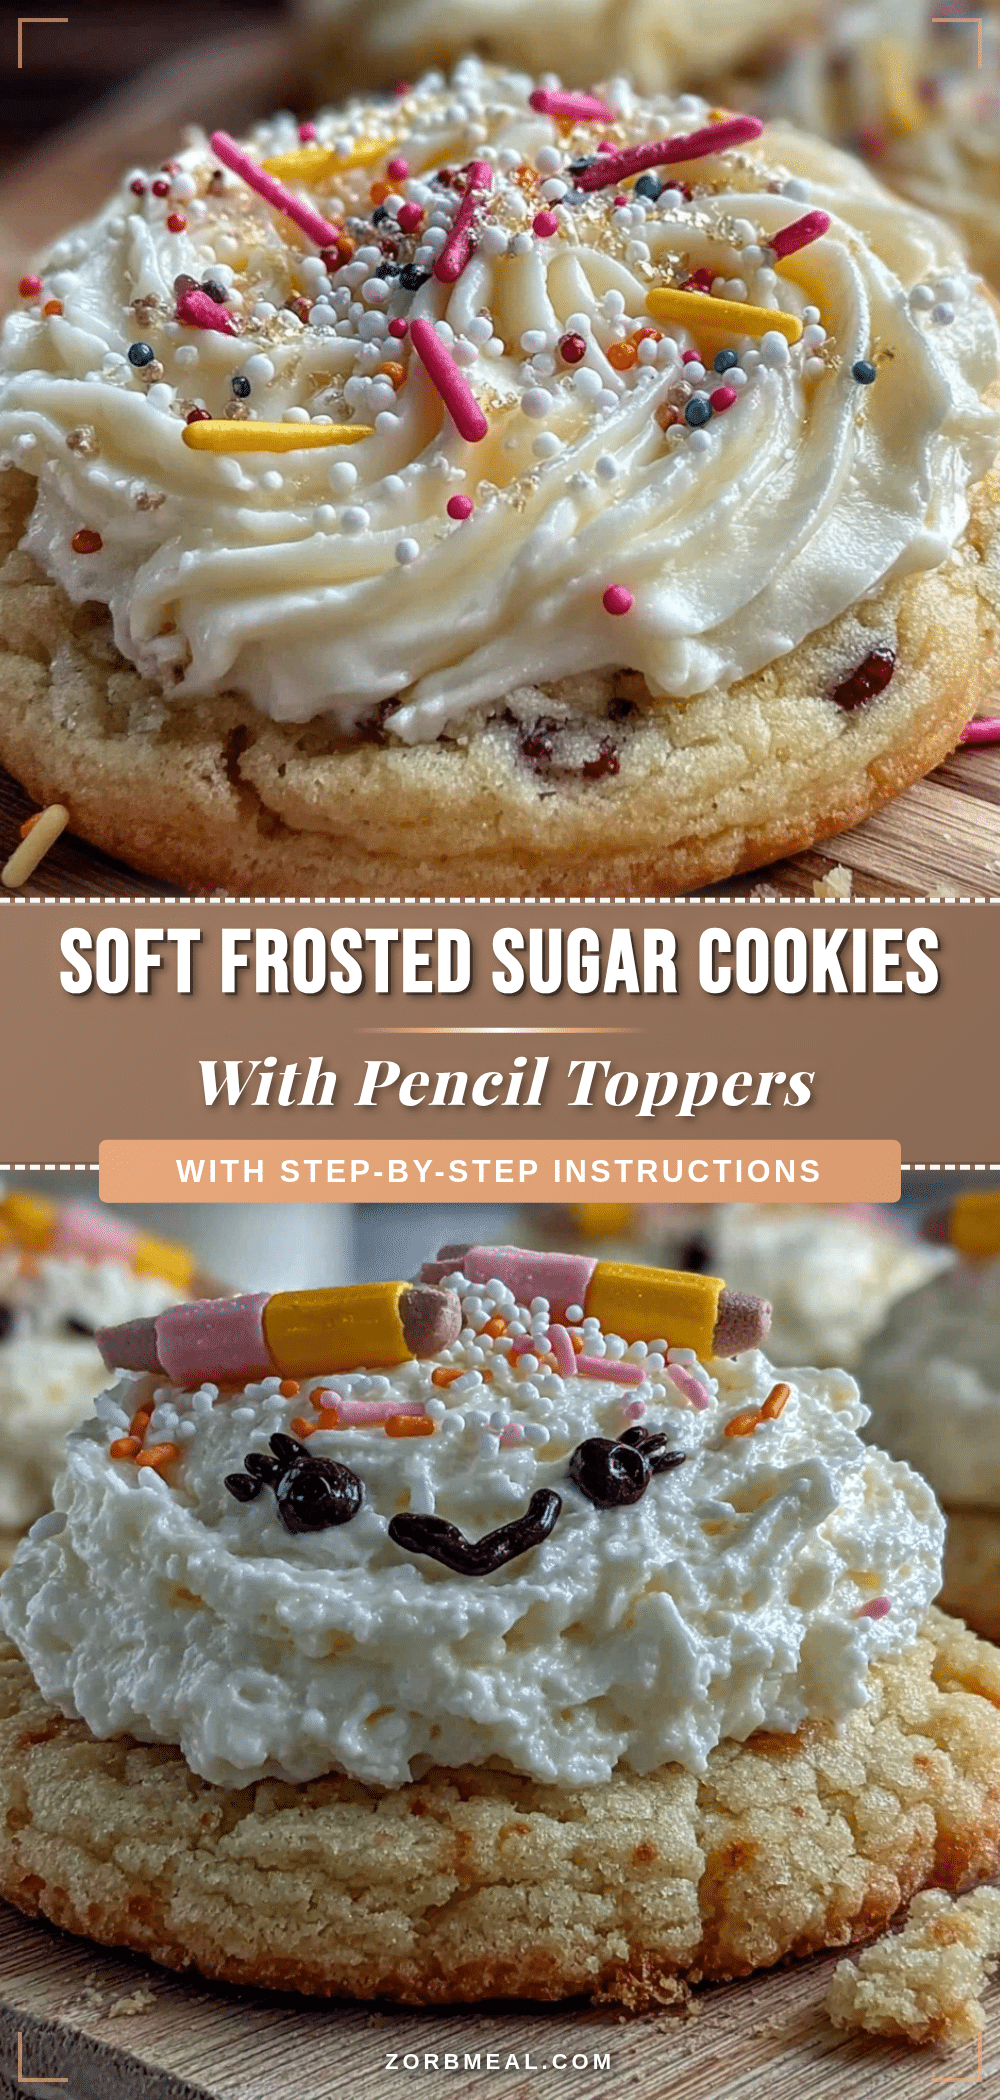
Perfect Soft Frosted Sugar Cookies Recipe with Easy Back to School Pencil Decorations

Soft sugar cookies that hold their shape well with a smooth, creamy frosting and fun back to school pencil decorations. Perfect for classroom parties or after-school treats.
- Prep Time: 15 minutes
- Cook Time: 10 minutes
- Total Time: 55 minutes
- Yield: 24 servings 1x
- Category: Dessert
- Cuisine: American
Ingredients
- 2 ¾ cups (345 g) all-purpose flour
- 1 ½ tsp baking powder
- ½ tsp salt
- 1 cup (2 sticks) unsalted butter, softened
- 1 ½ cups (300 g) granulated sugar
- 2 large eggs, room temperature
- 2 tsp pure vanilla extract
- 2 tbsp whole milk
- ½ cup (1 stick) unsalted butter, softened (for frosting)
- 3 cups (360 g) powdered sugar, sifted
- 2–3 tbsp whole milk (for frosting)
- 1 tsp pure vanilla extract (for frosting)
- Food coloring gels (yellow, pink, green, black) for pencil decorations
Instructions
- Preheat your oven to 350°F (175°C). Line two baking sheets with parchment paper or silicone mats.
- In a medium bowl, whisk together 2 ¾ cups all-purpose flour, 1 ½ tsp baking powder, and ½ tsp salt. Set aside.
- Using an electric mixer, beat 1 cup softened unsalted butter with 1 ½ cups granulated sugar on medium-high speed until light and fluffy, about 3-4 minutes.
- Beat in 2 large eggs, one at a time, then add 2 tsp vanilla extract. Mix just until combined.
- Gradually add the flour mixture to the butter mixture in thirds, alternating with 2 tbsp whole milk. Begin and end with the flour mixture. Mix on low speed until just combined.
- Turn dough onto a lightly floured surface, knead gently until smooth. Divide in half, flatten into discs, wrap in plastic, and chill in the fridge for at least 30 minutes.
- On a floured surface, roll one disc to about ¼ inch (6 mm) thickness. Keep the other disc chilled until ready.
- Use pencil-shaped cookie cutters or a small round cutter to form shapes. Transfer to baking sheets about 1 inch (2.5 cm) apart.
- Bake cookies for 8-10 minutes, until edges are set but centers remain soft. They’ll firm up as they cool, so avoid overbaking.
- Allow cookies to cool on baking sheets for 5 minutes, then transfer to wire racks to cool fully before frosting.
- Beat ½ cup softened butter until creamy. Gradually add 3 cups sifted powdered sugar, alternating with 2-3 tbsp whole milk, until smooth and spreadable. Beat in 1 tsp vanilla extract.
- Divide frosting into small bowls. Tint each with gel food coloring—yellow, pink, green, and a tiny bit of black for pencil tips.
- Spread a thin layer of white or pale yellow frosting on each cookie. Using piping bags, add pencil details: a yellow body, pink eraser, green or silver ferrule line, and black tip. Use toothpicks to neaten edges as needed.
- Allow cookies to rest at room temperature for at least 30 minutes before stacking or storing.
Notes
Chill dough for at least 30 minutes to prevent spreading and make rolling easier. Use gel food coloring for vibrant frosting colors that don’t bleed. If dough softens while rolling, chill again for 10 minutes. Adjust frosting consistency with milk slowly to avoid runniness. Let frosting set for at least 30 minutes before stacking or storing.
Nutrition
- Serving Size: 1 cookie
- Calories: 150
- Fat: 7
- Carbohydrates: 22
- Protein: 1
Keywords: soft sugar cookies, frosted sugar cookies, back to school cookies, pencil decorations, easy sugar cookies, soft cookies recipe


