The cake was sliced clean down to the last crumb—no fighting over who gets the biggest piece this time. My phone buzzed repeatedly with texts from friends asking for the recipe. Honestly, I didn’t expect the red velvet flag cake to cause such a stir. It all started as a way to bring a little festive spirit to a casual afternoon gathering, but the reaction? Let’s just say it became the unexpected star of the day. The way the creamy cream cheese frosting balanced the moist, tender layers—well, it was something people just kept talking about long after the plates were cleared.
I remember mixing the batter while the kids ran around, half-distracted but somehow managing to get the deep red just right without overdoing it. The flag pattern wasn’t planned with strict precision; it was more a matter of happy accidents and a bit of patience. And that’s what stuck with me—the charm of a homemade cake that looks impressive but is surprisingly forgiving to make. I never thought a dessert could quietly become a tradition, but here we are.
There’s a comforting texture and a subtle chocolatey tang in this red velvet flag cake that made it feel like more than just a dessert. It’s the kind of cake that invites you back to the kitchen for “just one more slice” without any guilt. The cream cheese frosting? Smooth, tangy, and just sweet enough to make everything come together in a perfect bite. This cake didn’t just fill stomachs; it sparked a few smiles and some unexpected compliments—always the best measure of success in my book.
Now, whenever I pull out this recipe, I’m reminded why it’s stuck around. It’s not flashy, but it’s real—something you can trust to impress without stress, and that’s a quiet kind of win in any kitchen.
Why You’ll Love This Perfect Red Velvet Flag Cake Recipe
I’ve baked countless red velvet cakes over the years, but this recipe stands out because it’s honest and approachable. It’s the kind of cake that turns heads without turning your kitchen upside down. Here’s why it’s become a favorite:
- Quick & Easy: The whole cake comes together in about 1 hour and 30 minutes, including baking and decorating. Perfect for last-minute celebrations or just when you want a special treat without spending all day in the kitchen.
- Simple Ingredients: No fancy or hard-to-find items here—just pantry staples and a few dairy basics. You probably have everything on hand already.
- Perfect for Celebrations: Whether it’s a 4th of July BBQ, a birthday party, or a casual family get-together, the flag design adds a festive touch that’s always a conversation starter.
- Crowd-Pleaser: Kids and adults alike keep coming back for more—the moist texture and tangy frosting hit the spot every time.
- Unbelievably Delicious: The cake layers are tender with just the right hint of cocoa, while the cream cheese frosting is silky and perfectly balanced.
- Unique Yet Familiar: Unlike other red velvet cakes that can be overly sweet or dense, this one strikes a beautiful balance with a light crumb and smooth frosting. The flag pattern is simple enough for home bakers but still impressive on a platter.
What makes this recipe truly mine is the way I blend classic techniques with a personal touch—like mixing the cream cheese frosting until it’s ultra-smooth and piping the layers carefully to get the flag stripes just right. I’ve learned from trial and error that the quality of the cream cheese really matters here; I recommend using a full-fat block-style cream cheese for the best texture and flavor.
This cake isn’t just dessert, it’s a small celebration you can whip up anytime. If you’ve ever wanted a showstopper without the stress, this is the one to try.
What Ingredients You Will Need
This red velvet flag cake uses simple, wholesome ingredients to create a moist, tender crumb and creamy frosting that’s never too sweet. Most of these are pantry staples, and substitutions are straightforward if needed.
- For the Cake Batter:
- All-purpose flour – 2 ½ cups (315 grams), sifted for lightness
- Granulated sugar – 2 cups (400 grams)
- Cocoa powder (unsweetened) – 2 tablespoons (15 grams), for subtle chocolate flavor
- Baking soda – 1 teaspoon (5 grams), helps with rise
- Salt – ½ teaspoon (3 grams)
- Buttermilk – 1 ½ cups (360 ml), room temperature (adds tang and tenderness)
- Vegetable oil – 1 cup (240 ml), for moist crumb (I prefer neutral oils like canola or sunflower)
- Large eggs – 2, room temperature
- Vanilla extract – 1 ½ teaspoons (7 ml)
- White vinegar – 1 teaspoon (5 ml), reacts with baking soda for lift
- Red food coloring – 2 tablespoons (30 ml), gel or liquid (adjust for preferred intensity)
- For the Cream Cheese Frosting:
- Cream cheese – 16 oz (450 grams), full-fat block style, softened
- Unsalted butter – ½ cup (115 grams), softened (adds richness)
- Powdered sugar – 4 cups (480 grams), sifted for smoothness
- Vanilla extract – 1 teaspoon (5 ml)
- Pinch of salt – balances sweetness
If you want a dairy-free option, swap the buttermilk for almond milk mixed with a tablespoon of lemon juice and use a dairy-free cream cheese alternative. For a gluten-free version, almond or gluten-free all-purpose flour works well but may slightly change the texture.
Equipment Needed
- Two 9-inch (23 cm) round cake pans – I recommend non-stick or well-greased and parchment-lined for easy removal.
- Mixing bowls – at least one large for batter and one medium for frosting.
- Electric mixer or stand mixer – absolutely helpful for smooth batter and frosting, but a strong whisk and elbow grease can work too.
- Measuring cups and spoons – precise measurements make a difference, especially with baking soda and vinegar.
- Sifter or fine mesh sieve – for flour and powdered sugar to avoid lumps.
- Offset spatula or butter knife – for spreading frosting evenly.
- Piping bag with a round tip (optional) – for creating the flag stripes and stars, but you can also use a small spoon or plastic bag with the corner cut.
- Cooling racks – to cool layers evenly and prevent sogginess.
For those on a budget, investing in a decent electric hand mixer can transform your baking experience. It’s more efficient than manual mixing, especially for the frosting, and you can find affordable options that last.
Preparation Method
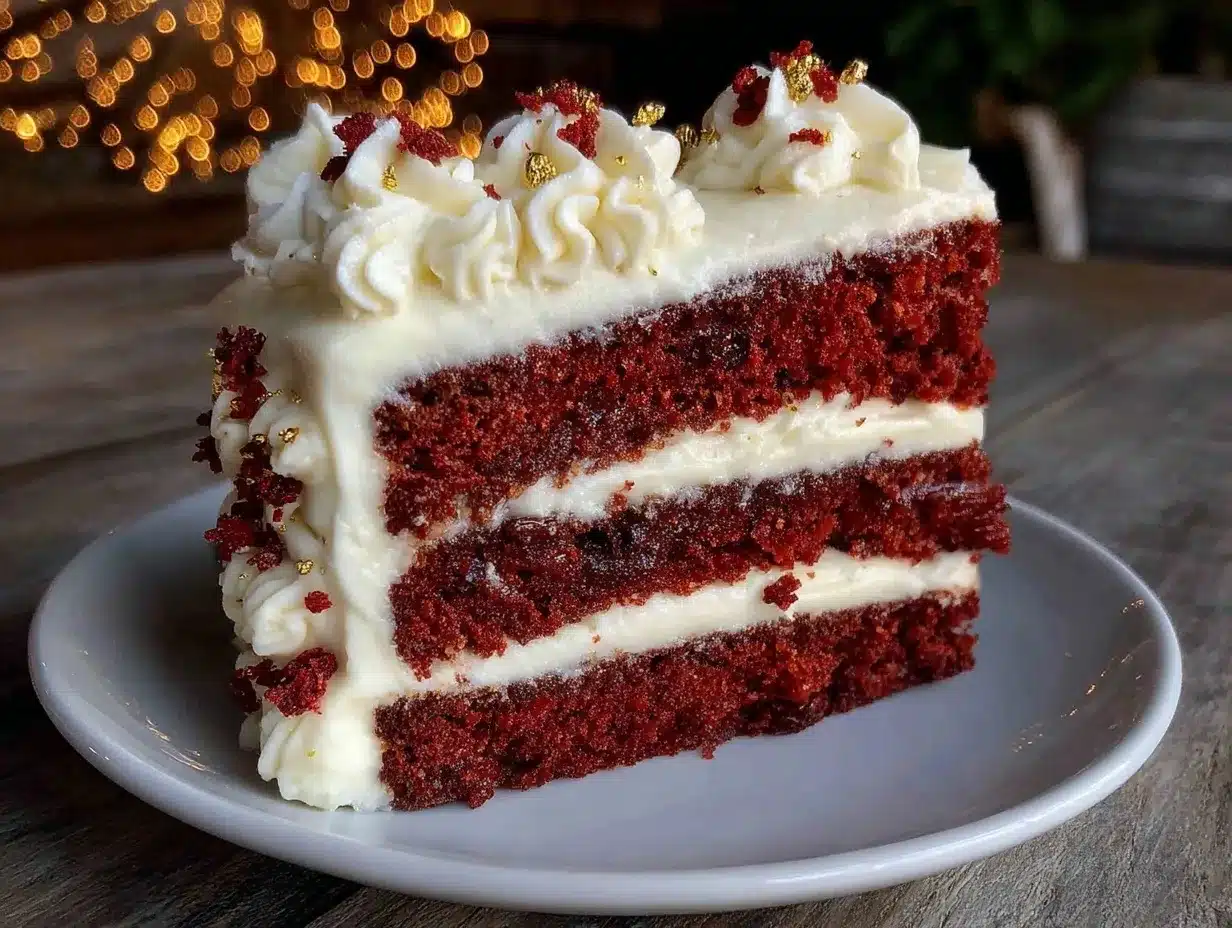
- Preheat and Prep: Set your oven to 350°F (175°C). Grease and line two 9-inch round pans with parchment paper. This helps the cake release easily and hold shape.
- Mix Dry Ingredients: In a large bowl, sift together 2 ½ cups flour, 2 cups sugar, 2 tbsp cocoa powder, 1 tsp baking soda, and ½ tsp salt. Whisk to combine evenly. This ensures no clumps and a uniform crumb.
- Combine Wet Ingredients: In a separate bowl, whisk 1 ½ cups buttermilk, 1 cup vegetable oil, 2 large eggs, 1 ½ tsp vanilla extract, 1 tsp white vinegar, and 2 tbsp red food coloring until smooth and vibrant red.
- Make the Batter: Slowly add the wet ingredients to the dry, mixing gently with an electric mixer on low speed or by hand. Beat just until combined—overmixing can make the cake dense. The batter should be smooth and pourable with a rich red hue.
- Divide and Bake: Pour the batter evenly into the prepared pans. Tap the pans gently on the counter to release any air bubbles. Bake for 30-35 minutes, or until a toothpick inserted in the center comes out clean. The edges should pull away slightly from the pan.
- Cool Completely: Let the cakes cool in the pans for 10 minutes, then turn them out onto cooling racks. Make sure layers are fully cooled before frosting to avoid melting.
- Prepare the Cream Cheese Frosting: Beat 16 oz softened cream cheese and ½ cup softened unsalted butter together until silky and creamy—about 3-4 minutes with an electric mixer. Gradually add 4 cups powdered sugar, a cup at a time, mixing on low speed to keep it smooth. Stir in 1 tsp vanilla extract and a pinch of salt. Taste and adjust sweetness if needed.
- Assemble the Flag Cake: Slice each cake layer horizontally to create four thin layers total. On your serving plate, spread a thin layer of frosting on the bottom layer. Use a piping bag or spoon to create red stripes alternating with white frosting stripes to mimic the flag’s stripes. For the blue star section, set aside a small square of cake and frost it with a tinted blue frosting (you can add a few drops of blue food coloring to some frosting). Pipe tiny white stars over this section or use star-shaped sprinkles.
- Final Touches: Chill the cake for 30 minutes to set the frosting before slicing. This helps keep the flag pattern neat and the frosting firm.
If you notice the frosting is too soft, pop it in the fridge for a bit before frosting. Also, if the layers crumble while slicing, chill the cake briefly to firm it up. The key is patience—rushing will cause messier edges.
Cooking Tips & Techniques
One trick I’ve learned is to always bring your eggs and dairy ingredients to room temperature before starting. It keeps the batter from curdling and helps everything mix evenly. Don’t be tempted to skip sifting the dry ingredients—it really makes the crumb lighter, which is crucial for this red velvet cake.
When it comes to the cream cheese frosting, beat the cream cheese and butter until completely smooth before adding sugar. Lumps here can be frustrating later! Also, adding powdered sugar gradually prevents the frosting from becoming grainy or overly stiff.
For the flag design, less is more. Use steady, gentle pressure with your piping bag to create crisp, clean stripes. If you don’t have a piping bag, a zip-top bag with a tiny corner snipped off works just fine. And don’t stress if your stars aren’t perfect—tiny imperfections add to the homemade charm.
Timing is everything. Bake your layers close to when you plan to frost to keep them fresh. However, if you need to prep ahead, wrap layers tightly in plastic wrap and refrigerate for up to 2 days. Bring back to room temp before assembling for the best texture.
I once tried rushing the cooling step and ended up with frosting that melted and slid off—the lesson? Cooling racks are your friends, and patience pays off.
Variations & Adaptations
- Seasonal Twist: Swap the traditional red food coloring for natural beet juice or pomegranate powder for a more natural red hue and subtle earthiness.
- Flavor Boost: Add a teaspoon of espresso powder to the batter to deepen the chocolate notes without adding coffee flavor. It’s a little secret I picked up baking fudgy red velvet brownies recently.
- Allergy-Friendly: Use a dairy-free cream cheese frosting and substitute buttermilk with coconut milk plus lemon juice for a vegan-friendly option.
- Alternative Frosting: Try whipped mascarpone mixed with a little honey and vanilla instead of cream cheese frosting for a lighter, less sweet finish.
- Mini Cakes: Make individual flag cakes in cupcake liners for easy portioning and party favors.
One variation I tried once was using blueberry cream cheese frosting in place of the traditional cream cheese for a fruity twist. It was surprisingly refreshing and got rave reviews.
Serving & Storage Suggestions
Serve this red velvet flag cake chilled or at room temperature for the best flavor. The cream cheese frosting tastes richer when slightly cool, but not cold. Pair slices with a simple cup of coffee or a cold glass of milk to balance the tangy sweetness.
Leftovers keep well refrigerated, tightly covered, for up to 4 days. To preserve the flag design, avoid stacking slices and store in a single layer if possible.
For longer storage, freeze the cake layers (without frosting) wrapped in plastic wrap and foil for up to 2 months. Thaw overnight in the fridge before assembling.
Reheat slices gently in a microwave for 10-15 seconds if you prefer warm cake, but don’t overdo it or the frosting gets runny.
The flavors actually deepen and meld beautifully after a day, so it’s a great make-ahead dessert for gatherings. I’ve found that the cake’s moisture and the frosting’s tang develop into a more harmonious whole overnight.
Nutritional Information & Benefits
Each slice of this perfect red velvet flag cake contains approximately 350-400 calories, with moderate amounts of fat and sugar typical for a celebratory dessert. The cream cheese frosting provides a good source of calcium and protein, while the cocoa powder adds antioxidants.
Using buttermilk adds a gentle tang and contributes beneficial probiotics. Choosing natural red food coloring options like beet juice can reduce artificial additives.
This cake isn’t an everyday treat, but it’s a thoughtful balance of indulgence and simple ingredients that don’t feel overwhelming. It’s gluten-friendly if you swap the flour and suitable for most diets with easy substitutions.
Conclusion
The perfect red velvet flag cake with cream cheese frosting is a recipe that’s earned its place in my kitchen for good reasons. It’s straightforward, forgiving, and genuinely delicious, with a look that impresses without stress. Whether you’re celebrating a holiday, a milestone, or simply craving a sweet moment, this cake fits the bill.
Feel free to tweak the ingredients or decorating style to make it your own. I love how this recipe brings people together, making dessert feel like a small celebration every time. If you try it, I’d love to hear how your cake turned out or what twists you added.
Happy baking and here’s to many more delicious moments filled with this memorable cake!
FAQs about Perfect Red Velvet Flag Cake
Can I make the cake layers ahead of time?
Yes! You can bake the layers up to two days ahead, wrap them well, and store in the fridge. Bring to room temperature before assembling for best results.
What can I use instead of red food coloring?
Natural options include beet juice or pomegranate juice. They provide a nice red tint but may alter the flavor slightly.
How do I prevent the cream cheese frosting from being too soft?
Make sure your cream cheese and butter are softened but not melted. Chill the frosting in the fridge for 15-20 minutes if it feels too soft before spreading.
Is this cake suitable for gluten-free diets?
Yes, substitute the all-purpose flour with a gluten-free blend. The texture may vary slightly but will still be delicious.
Can I make this cake vegan?
With swaps like dairy-free cream cheese, plant-based milk, and egg replacers, you can create a vegan version, though the texture and taste might differ a bit from the classic.
Pin This Recipe!
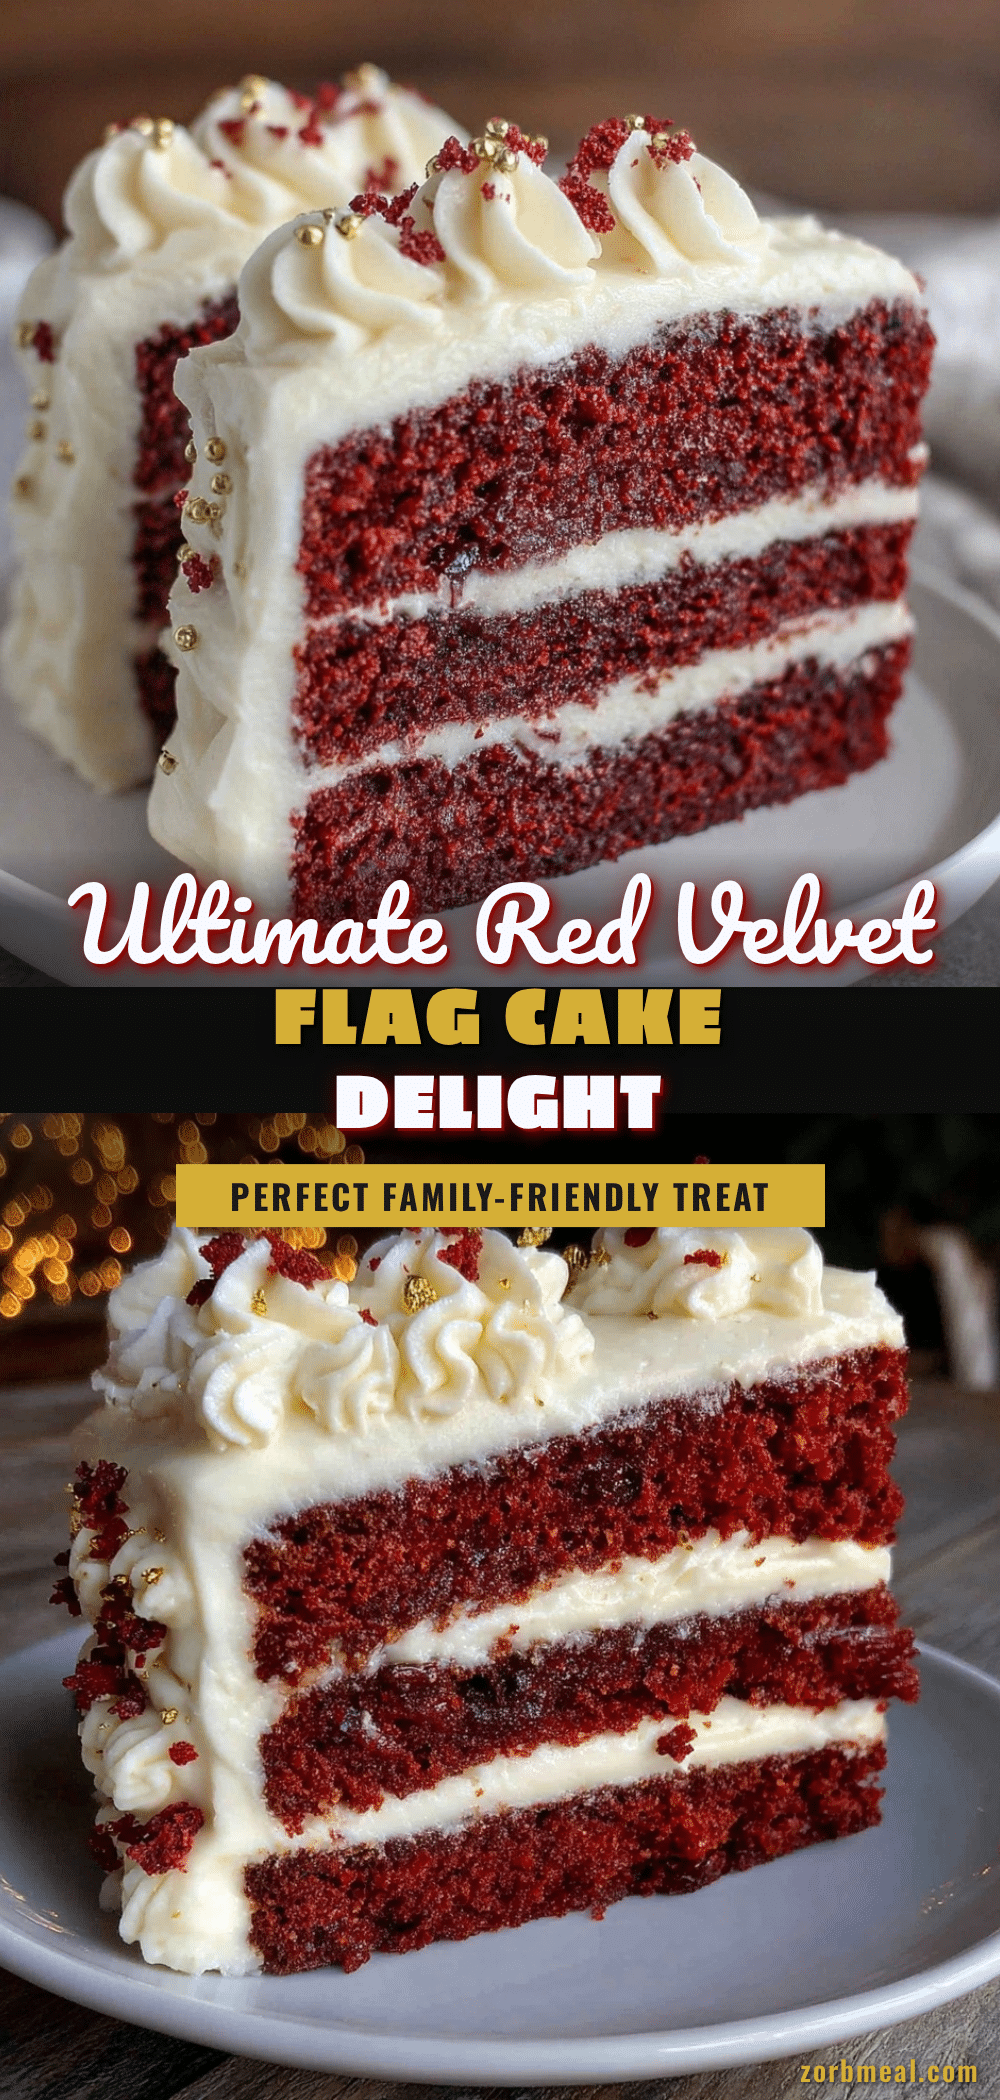
Perfect Red Velvet Flag Cake Recipe with Easy Cream Cheese Frosting Tutorial
A moist and tender red velvet cake with a subtle chocolate tang, decorated with a festive flag pattern and topped with smooth, tangy cream cheese frosting. Perfect for celebrations and easy to make with simple pantry ingredients.
- Prep Time: 30 minutes
- Cook Time: 35 minutes
- Total Time: 1 hour 30 minutes
- Yield: 12 servings 1x
- Category: Dessert
- Cuisine: American
Ingredients
- 2 ½ cups (315 grams) all-purpose flour, sifted
- 2 cups (400 grams) granulated sugar
- 2 tablespoons (15 grams) unsweetened cocoa powder
- 1 teaspoon (5 grams) baking soda
- ½ teaspoon (3 grams) salt
- 1 ½ cups (360 ml) buttermilk, room temperature
- 1 cup (240 ml) vegetable oil (canola or sunflower preferred)
- 2 large eggs, room temperature
- 1 ½ teaspoons (7 ml) vanilla extract
- 1 teaspoon (5 ml) white vinegar
- 2 tablespoons (30 ml) red food coloring (gel or liquid)
- 16 oz (450 grams) full-fat block-style cream cheese, softened
- ½ cup (115 grams) unsalted butter, softened
- 4 cups (480 grams) powdered sugar, sifted
- 1 teaspoon (5 ml) vanilla extract
- Pinch of salt
Instructions
- Preheat oven to 350°F (175°C). Grease and line two 9-inch round cake pans with parchment paper.
- In a large bowl, sift together flour, sugar, cocoa powder, baking soda, and salt. Whisk to combine evenly.
- In a separate bowl, whisk buttermilk, vegetable oil, eggs, vanilla extract, white vinegar, and red food coloring until smooth and vibrant.
- Slowly add wet ingredients to dry ingredients, mixing gently with an electric mixer on low speed or by hand until just combined. Batter should be smooth and pourable.
- Divide batter evenly between prepared pans. Tap pans gently to release air bubbles.
- Bake for 30-35 minutes or until a toothpick inserted in the center comes out clean and edges pull away slightly.
- Cool cakes in pans for 10 minutes, then turn out onto cooling racks to cool completely.
- For frosting, beat cream cheese and butter together until silky and creamy (3-4 minutes). Gradually add powdered sugar, mixing on low speed until smooth. Stir in vanilla extract and salt. Adjust sweetness if needed.
- Slice each cake layer horizontally to create four thin layers total.
- On serving plate, spread a thin layer of frosting on bottom layer. Use piping bag or spoon to create alternating red and white stripes to mimic the flag.
- For the blue star section, set aside a small square of cake, frost with blue-tinted frosting, and pipe tiny white stars or use star-shaped sprinkles.
- Chill cake for 30 minutes to set frosting before slicing.
Notes
Bring eggs and dairy ingredients to room temperature before mixing. Sift dry ingredients for a lighter crumb. Beat cream cheese and butter until smooth before adding sugar to avoid lumps. Chill frosting if too soft before spreading. Chill cake layers before slicing to prevent crumbling. Use steady pressure when piping flag stripes. Cake layers can be baked up to two days ahead and refrigerated. Freeze unfrosted layers up to 2 months.
Nutrition
- Serving Size: 1 slice (approximate
- Calories: 375
- Sugar: 38
- Sodium: 320
- Fat: 18
- Saturated Fat: 7
- Carbohydrates: 52
- Fiber: 1
- Protein: 5
Keywords: red velvet cake, cream cheese frosting, flag cake, patriotic dessert, easy cake recipe, celebration cake, moist cake, festive dessert


