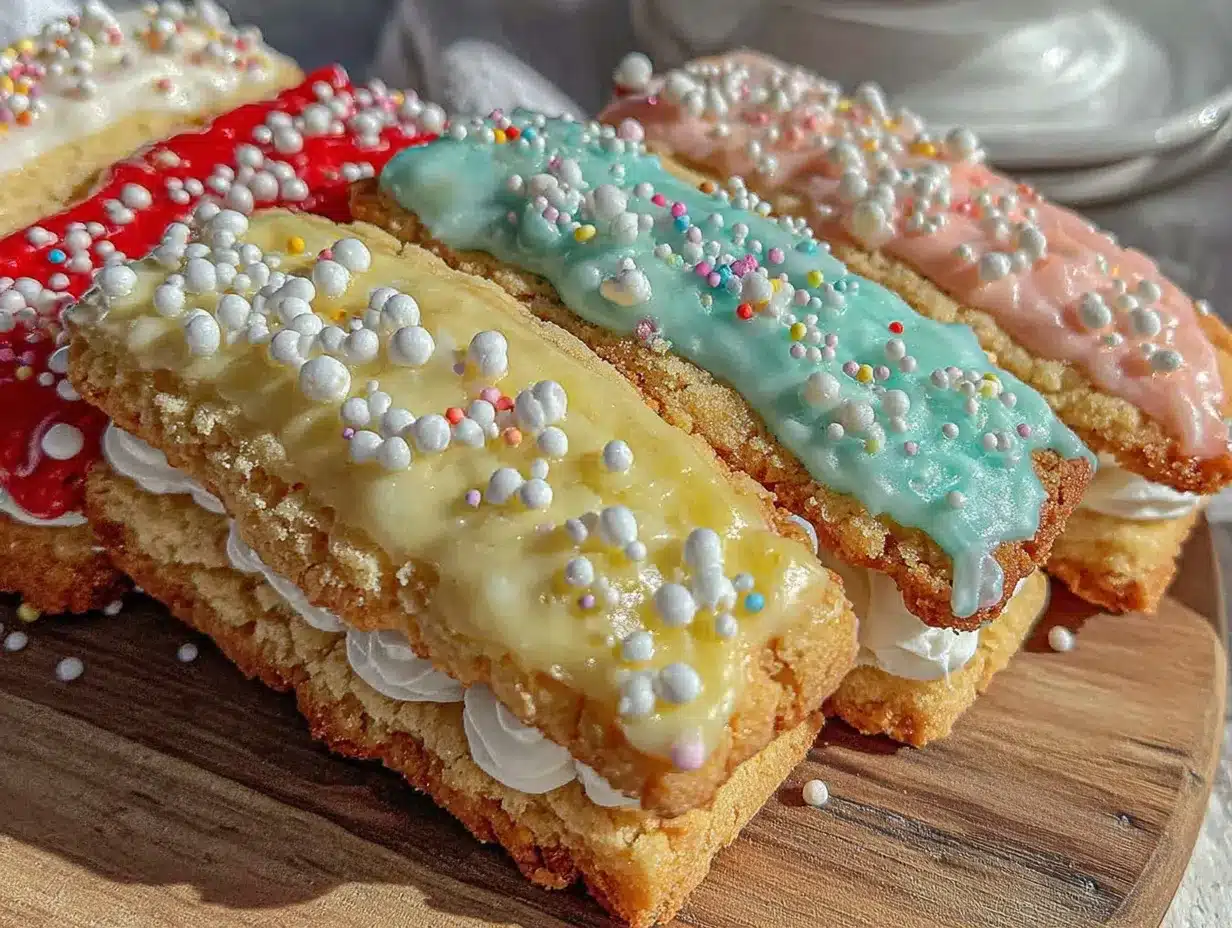
The tray was empty before the last guest even stood up. Three batches in one afternoon, and still, the requests kept coming—“Can you share the recipe?” The way those pencil-shaped sugar cookies disappeared so fast caught me off guard. Honestly, I wasn’t expecting the royal icing to turn out that smooth or the cookies to hold their shape so perfectly. It all started as a little experiment for a back-to-school treat, but the buzz from friends and family told me this recipe had quietly become a winner.
It’s funny how something as simple as a pencil cookie can spark a bit of joy and nostalgia. The buttery crunch of the cookie paired with that glossy, sweet royal icing made these treats not just tasty, but oddly satisfying to decorate and eat. I found myself watching people’s faces light up, which, let’s face it, is the real measure of success for me in the kitchen. This wasn’t just about baking—it was about creating a moment that lingered, long after the cookies were gone.
What stuck with me was how accessible the recipe felt, despite the fancy-looking final result. No complicated ingredients or intimidating steps—just a few pantry staples and some patience with the icing. And that’s why I’m sharing it with you now: because the recipe deserves to be in your rotation, whether it’s for a school party, a thoughtful gift, or just a sweet afternoon pick-me-up. Trust me, once you try these perfect pencil-shaped sugar cookies with royal icing, you’ll understand why people keep asking for the recipe again and again.
Why You’ll Love This Recipe
After testing this recipe multiple times (and tweaking things here and there), I’ve seen exactly why it’s become a favorite. It’s not just the look or the taste—it’s the whole experience. Here’s what makes these pencil-shaped sugar cookies stand out:
- Quick & Easy: You can have the dough ready in under 20 minutes and the cookies baked in about 10-12 minutes per batch. Perfect for those last-minute baking urges or when you want to impress without fuss.
- Simple Ingredients: No need for fancy or obscure items. Most of these ingredients are pantry staples—flour, sugar, butter, eggs, and a handful of basics for the royal icing.
- Great for Parties & Gifts: These cookies are a hit at school events, teacher appreciation days, or just as a special homemade gift that looks like you spent hours (but you didn’t).
- Crowd-Pleaser: Kids love them for their fun shape, and adults appreciate the balanced sweetness and buttery texture. Honestly, they disappear fast every time.
- Unbelievably Delicious: The cookie itself is crisp but tender, with a melt-in-your-mouth quality that pairs perfectly with the smooth royal icing that dries with a subtle sheen.
- Unique Design: The pencil shape adds a playful twist to classic sugar cookies. And the royal icing technique is straightforward enough for beginners but impressive enough to wow guests.
This recipe isn’t just another sugar cookie. The secret lies in the balance of the dough’s texture and the icing’s consistency—both tested multiple times to get that flawless finish. It’s the kind of recipe that makes you close your eyes after the first bite and smile, knowing it’s worth all the little steps it took to get there.
What Ingredients You Will Need
This recipe uses simple, wholesome ingredients to deliver bold flavor and a satisfying texture without the fuss. Most ingredients are easy to find and likely already in your kitchen. Here’s what you’ll need for the cookies and the royal icing:
For the Sugar Cookies:
- All-purpose flour (3 cups / 375g) – The base of the dough; sifted for lightness.
- Baking powder (1 teaspoon) – Helps the cookies rise just enough for a tender crumb.
- Salt (½ teaspoon) – Balances the sweetness.
- Unsalted butter, softened (1 cup / 227g) – I recommend using a good-quality butter like Kerrygold for richer flavor.
- Granulated sugar (1 cup / 200g) – Sweetness without overpowering.
- Large egg (1), room temperature – Binds the dough together.
- Vanilla extract (1 teaspoon) – Adds a warm, inviting aroma.
- Almond extract (optional, ½ teaspoon) – For a subtle nutty twist that complements the vanilla.
For the Royal Icing:
- Powdered sugar (4 cups / 480g) – The sweet base for the icing.
- Egg whites (2 large) or pasteurized meringue powder (3 tablespoons) mixed with water – For a smooth, stable texture.
- Lemon juice (1 teaspoon) – Adds brightness and helps the icing set.
- Food coloring gels (red, yellow, black) – To create the pencil colors. I like AmeriColor gels for vibrant, consistent hues.
- Water (as needed) – To adjust icing consistency.
If you need to make this gluten-free, swapping the all-purpose flour with a 1:1 gluten-free baking flour blend works well. For a dairy-free option, substitute the butter with a vegan butter spread, though the texture may be slightly different. The royal icing is naturally gluten-free and dairy-free, making it versatile.
Equipment Needed
- Rolling pin: Essential for rolling the dough evenly to about ¼ inch thickness. I’ve found a silicone rolling pin helps prevent sticking.
- Pencil-shaped cookie cutter: The key to these cookies’ charm. If you don’t have one, a sharp knife and a printed template work just fine.
- Baking sheets: Non-stick or lined with parchment paper for easy cleanup.
- Electric mixer: A stand or hand mixer makes creaming butter and mixing icing a breeze.
- Mixing bowls: For both dough and icing prep.
- Piping bags and tips: Small round tips (#1 or #2) are perfect for outlining and flooding the royal icing.
- Toothpicks or scribe tool: Handy for spreading icing and fixing small details.
For a budget-friendly option, disposable piping bags and plastic tips work well. If you’re prone to impatience like me, having a couple of extra baking sheets speeds up the process. Also, keeping your rolling pin and cookie cutters chilled can help prevent dough from sticking too much.
Preparation Method
- Mix dry ingredients. In a medium bowl, whisk together 3 cups (375g) of sifted all-purpose flour, 1 teaspoon baking powder, and ½ teaspoon salt. Set aside. This keeps your dry ingredients evenly distributed.
- Cream butter and sugar. Using your mixer, beat 1 cup (227g) softened unsalted butter with 1 cup (200g) granulated sugar on medium speed until light and fluffy, about 3-4 minutes. You’ll know it’s ready when the mixture looks pale and slightly airy.
- Add egg and extracts. Beat in 1 large room-temperature egg, 1 teaspoon vanilla extract, and if using, ½ teaspoon almond extract. Mix until just combined—don’t overdo it or the dough could get tough.
- Combine wet and dry. Slowly add the dry ingredients to the wet mixture, mixing on low speed. The dough will come together and feel soft but not sticky. If it’s too sticky, sprinkle a little more flour, a tablespoon at a time.
- Chill the dough. Wrap the dough in plastic wrap and refrigerate for at least 1 hour, or up to overnight. Chilling makes it easier to roll and helps the cookies keep their shape.
- Preheat oven and prepare cookie sheets. Set your oven to 350°F (175°C) and line baking sheets with parchment paper.
- Roll out dough. On a lightly floured surface, roll chilled dough to about ¼ inch (6mm) thickness. Keep the rolling pin moving evenly to avoid uneven thickness.
- Cut out pencil shapes. Use your pencil-shaped cookie cutter to cut the dough, then transfer cookies to the baking sheets about 1 inch apart.
- Bake. Bake for 10-12 minutes, until the edges just start to turn golden. The centers might look soft but will firm up as they cool. Let cookies cool on the sheet for 5 minutes before transferring to a wire rack.
- Prepare royal icing. While cookies cool, beat 4 cups (480g) powdered sugar with 2 large egg whites (or 3 tablespoons meringue powder + water) and 1 teaspoon lemon juice. Mix until smooth and glossy. Adjust thickness: thinner for flooding, thicker for outlining. If needed, add water 1 teaspoon at a time.
- Color your icing. Divide icing into bowls and tint with food coloring gels: yellow for the body, pink or peach for the eraser, black for the tip, and a little brown or gray for the wooden part. Keep covered with a damp towel to prevent drying.
- Decorate cookies. Outline each section of the pencil with thicker icing first (tip, body, eraser), then flood the inside with thinner icing. Use a toothpick to spread and pop air bubbles. Let each color dry slightly before adding adjacent sections to avoid bleeding.
- Let icing set. Allow cookies to dry completely at room temperature, ideally overnight, before stacking or packaging.
Pro tip: If the icing gets too thick while decorating, add a few drops of water and mix well. And don’t rush the drying process—patience here pays off with those glossy, crack-free finishes.
Cooking Tips & Techniques
Perfecting pencil-shaped sugar cookies with royal icing takes a few tricks I’ve picked up over time. Here’s what I’ve learned the hard way:
- Keep dough chilled. Warm dough is sticky and tough to handle. Chilling makes rolling and cutting easier, plus helps cookies hold their shape.
- Don’t overwork the dough. Mixing too much develops gluten, leading to tougher cookies. Stop mixing as soon as the ingredients come together.
- Use sifted flour. It prevents lumps and ensures a tender crumb.
- Proper icing consistency is key. For outlining, aim for a thicker icing that holds its shape when piped. For flooding, thin it until it flows smoothly but not runny.
- Practice piping on parchment. If you’re new to royal icing, try piping outlines and flooding on parchment before decorating cookies. It builds confidence.
- Work in sections. Coloring and decorating one part at a time helps avoid colors bleeding together.
- Use a scribe tool or toothpick. These are lifesavers for spreading icing evenly and popping air bubbles.
- Don’t skip the drying time. Properly dried royal icing looks professional and won’t smudge during handling.
One time I rushed the drying and ended up with smudged tips—it was a bummer, but a good lesson. Also, multitasking helps; while cookies bake, whip up the icing and prep your colors to keep the process smooth and enjoyable.
Variations & Adaptations
These pencil-shaped cookies are a blank canvas for creativity. Here are a few ways to change things up:
- Flavor twists: Add lemon zest or a pinch of cinnamon to the dough for a subtle flavor lift. You can also swap vanilla for almond or even maple extract.
- Colorful erasers: Use different food coloring to create fun eraser colors—pastels for spring themes, or bold neons for kids’ parties.
- Gluten-free version: Replace the all-purpose flour with a gluten-free blend (like Bob’s Red Mill 1-to-1). This works well but handle the dough gently as gluten-free dough can be more fragile.
- Vegan adaptation: Use a vegan butter substitute and replace the egg with a flax egg (1 tablespoon ground flax + 3 tablespoons water). For royal icing, use aquafaba (chickpea water) instead of egg whites, though drying times may be longer.
- Decorative details: Try piping tiny letters or numbers on the pencils for school events or birthdays.
- Alternate shapes: If you’re craving a change, check out the red, white, and blue fruit pizza sugar cookie crust for a different festive twist or the firework-themed rice krispie treats on sticks for another party favorite.
Personally, I once swapped the pencil shape for a crayon cutter and used rainbow icing—it was a hit at a kid’s art party!
Serving & Storage Suggestions
These cookies are best served at room temperature, allowing the royal icing to show off its glossy finish and the cookie to stay crisp but tender. Presentation-wise, arrange them on a colorful platter or in simple cellophane bags tied with ribbon for gifting.
They pair surprisingly well with a hot cup of tea or a cold glass of milk—just like classic sugar cookies, but with an extra touch of fun. For a snack table, they fit right alongside savory bites like creamy buffalo chicken dip or fresh appetizers such as caprese skewers.
Store leftover cookies in an airtight container at room temperature for up to 5 days. If you need longer storage, freeze them in a single layer with parchment paper between layers, then thaw at room temperature before serving. Avoid refrigeration, as it can make cookies soft and cause icing to sweat.
Over time, the flavors mellow and the icing hardens further, making them perfect for prepping ahead of time. Just keep them sealed well, so they don’t absorb any unwanted odors.
Nutritional Information & Benefits
These pencil-shaped sugar cookies are an indulgent treat, with each cookie roughly containing:
| Nutrition | Per Cookie (approx.) |
|---|---|
| Calories | 120 kcal |
| Total Fat | 6g |
| Saturated Fat | 3.5g |
| Carbohydrates | 16g |
| Sugar | 8g |
| Protein | 1g |
Key ingredients like butter provide fat-soluble vitamins, while the egg adds a bit of protein. The royal icing, made with egg whites, adds light protein without fat. Keep in mind, these are treats best enjoyed in moderation.
For those with dietary considerations, this recipe can be adapted to gluten-free or vegan versions as noted earlier. The simple, recognizable ingredients make it a trustworthy option for homemade baking over store-bought cookies loaded with preservatives.
Conclusion
These perfect pencil-shaped sugar cookies with royal icing have been a quiet star among my baking experiments. They bring a little bit of whimsy and a lot of sweet satisfaction to the table, whether you’re baking for a school event, a casual party, or just because. The balance of a tender yet crisp cookie and that smooth, glossy royal icing is why this recipe keeps coming back to me—and why I think you’ll find yourself making it again and again too.
Feel free to customize colors, flavors, or even shapes to make it your own. Baking is all about those little personal touches, right? And honestly, seeing those smiles when someone bites into one of these cookies—that’s the kind of baking win that sticks with me.
If you try the recipe, I’d love to hear how yours turn out or what variations you come up with. Sharing those moments makes all the difference. Happy baking!
Frequently Asked Questions
Can I use store-bought royal icing instead of making it from scratch?
Store-bought royal icing can work in a pinch, but homemade icing offers better control over texture and taste. Plus, it dries with a nicer sheen and is easier to customize with colors.
How do I prevent the royal icing from cracking?
Make sure your icing is the right consistency—not too thick or too thin—and let it dry slowly at room temperature. Avoid moving the cookies until the icing is fully set.
Can I make the dough ahead of time?
Absolutely. The dough can be refrigerated for up to 3 days or frozen for up to 3 months. Just thaw in the fridge before rolling out.
What if I don’t have a pencil-shaped cookie cutter?
You can carefully cut the shape by hand using a sharp knife and a printed template or try an elongated oval shape as a fun alternative.
Is it safe to use raw egg whites in the royal icing?
If you’re concerned about raw eggs, use pasteurized egg whites or meringue powder. Both yield great results and reduce risk.
Pin This Recipe!
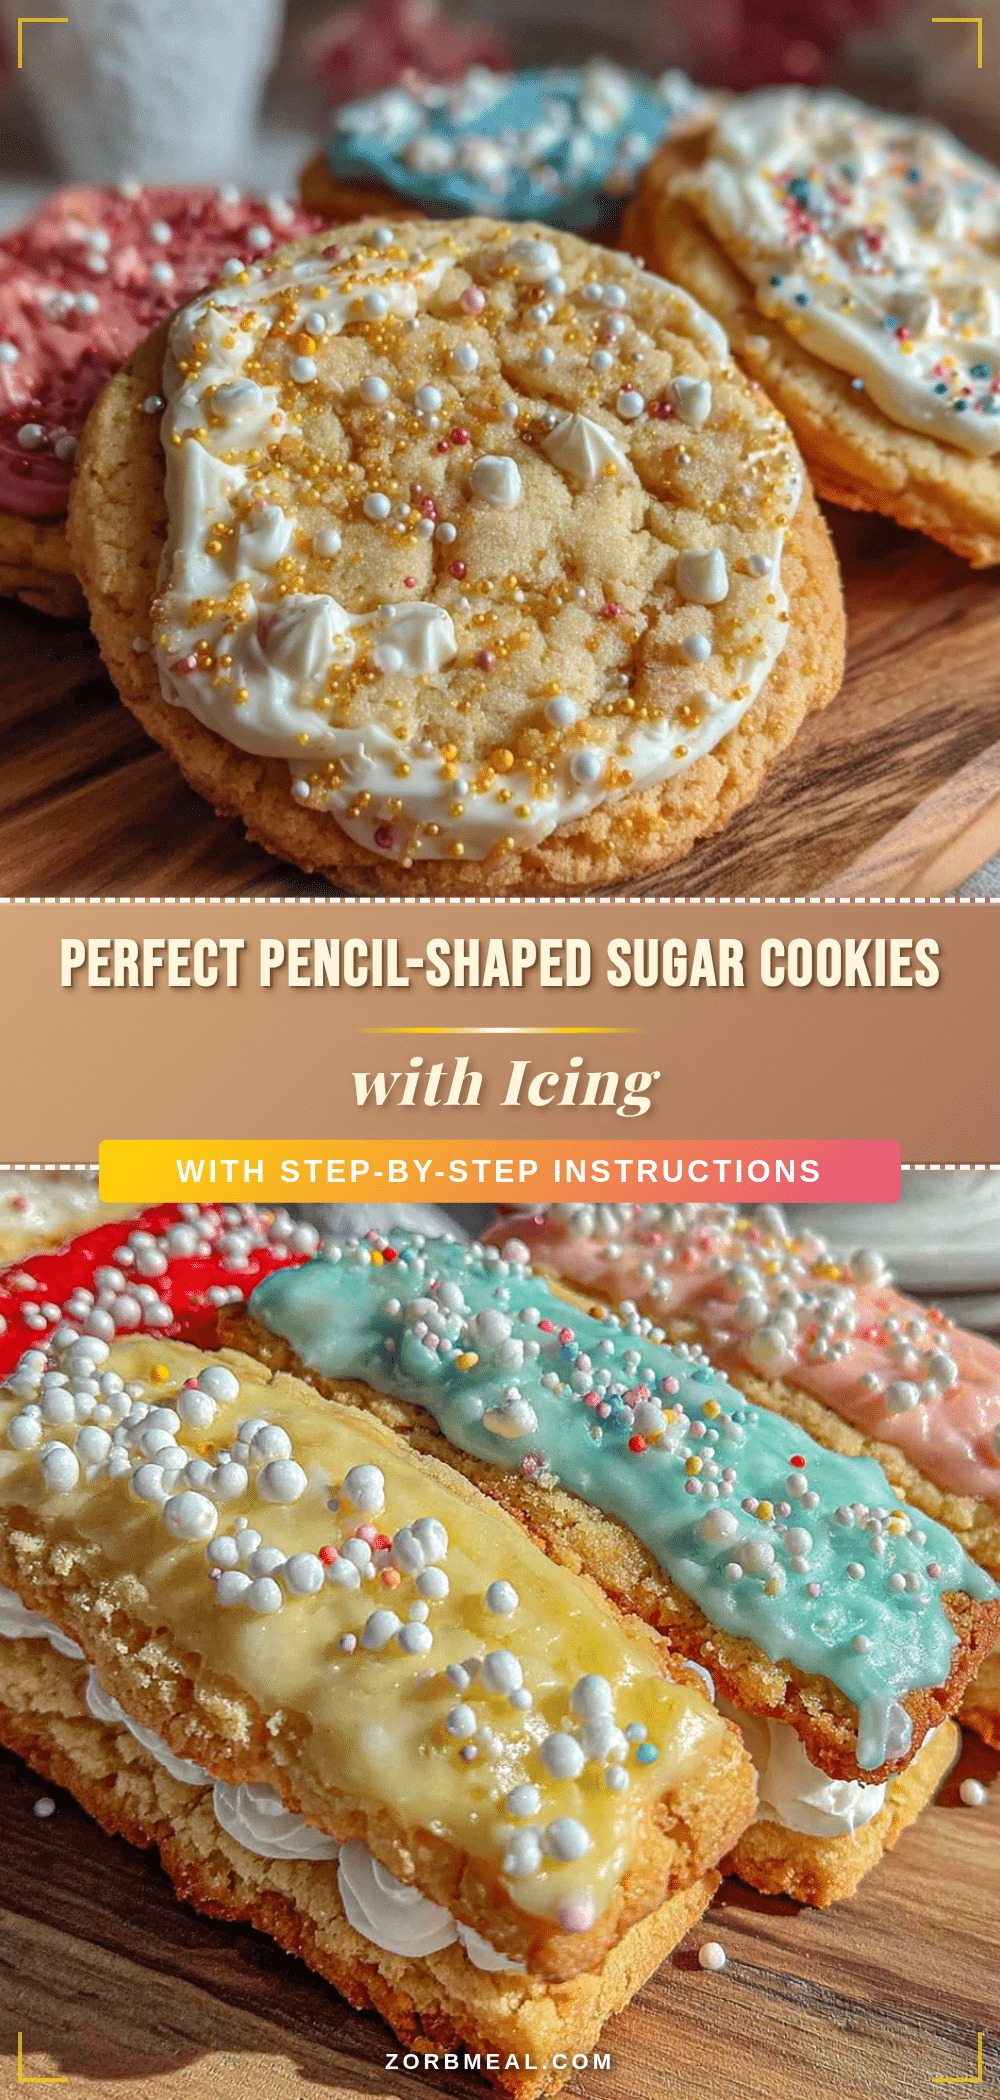
Perfect Pencil-Shaped Sugar Cookies Recipe with Easy Royal Icing Tutorial

These pencil-shaped sugar cookies feature a tender yet crisp buttery base paired with smooth, glossy royal icing. Perfect for school events, gifts, or a sweet treat, they are easy to make with simple pantry staples and impressive to decorate.
- Prep Time: 20 minutes
- Cook Time: 12 minutes
- Total Time: 1 hour 32 minutes
- Yield: 24 cookies 1x
- Category: Dessert
- Cuisine: American
Ingredients
- 3 cups (375g) all-purpose flour, sifted
- 1 teaspoon baking powder
- ½ teaspoon salt
- 1 cup (227g) unsalted butter, softened
- 1 cup (200g) granulated sugar
- 1 large egg, room temperature
- 1 teaspoon vanilla extract
- ½ teaspoon almond extract (optional)
- 4 cups (480g) powdered sugar
- 2 large egg whites or 3 tablespoons pasteurized meringue powder mixed with water
- 1 teaspoon lemon juice
- Food coloring gels (red, yellow, black)
- Water as needed
Instructions
- Mix dry ingredients: whisk together sifted flour, baking powder, and salt in a medium bowl; set aside.
- Cream butter and sugar: beat softened butter with granulated sugar on medium speed until light and fluffy, about 3-4 minutes.
- Add egg and extracts: beat in egg, vanilla extract, and almond extract if using; mix until just combined.
- Combine wet and dry ingredients: slowly add dry ingredients to wet mixture on low speed until dough forms; add more flour if too sticky.
- Chill dough: wrap dough in plastic wrap and refrigerate for at least 1 hour or up to overnight.
- Preheat oven to 350°F (175°C) and line baking sheets with parchment paper.
- Roll out dough to about ¼ inch (6mm) thickness on a lightly floured surface.
- Cut out pencil shapes using a pencil-shaped cookie cutter or template and transfer to baking sheets about 1 inch apart.
- Bake for 10-12 minutes until edges start to turn golden; cool on sheet for 5 minutes then transfer to wire rack.
- Prepare royal icing: beat powdered sugar with egg whites (or meringue powder and water) and lemon juice until smooth and glossy; adjust consistency with water.
- Color icing with food gels: yellow for body, pink/peach for eraser, black for tip, brown/gray for wood; keep covered with damp towel.
- Decorate cookies: outline each pencil section with thicker icing, flood inside with thinner icing; use toothpick to spread and pop air bubbles; let colors dry slightly before adjacent sections.
- Let icing set completely at room temperature, ideally overnight, before stacking or packaging.
Notes
Keep dough chilled to prevent sticking and maintain shape. Do not overmix dough to avoid toughness. Practice piping on parchment before decorating cookies. Work in sections to avoid color bleeding. Allow royal icing to dry completely for a glossy, crack-free finish. Dough can be refrigerated up to 3 days or frozen up to 3 months. Use pasteurized egg whites or meringue powder for safety. For gluten-free, substitute flour with 1:1 gluten-free blend. For vegan, use vegan butter and flax egg; use aquafaba for royal icing.
Nutrition
- Serving Size: 1 cookie
- Calories: 120
- Sugar: 8
- Fat: 6
- Saturated Fat: 3.5
- Carbohydrates: 16
- Protein: 1
Keywords: sugar cookies, pencil-shaped cookies, royal icing, back to school treats, easy sugar cookies, cookie decorating, party cookies


