My sister asked why I couldn’t just skip the yeast and use my sourdough starter for the holiday focaccia instead. I started to explain why that wouldn’t work—the timing, the texture, the whole science of it. Then I stopped. Honestly, I had no good reason except that I’d never tried it. So I handed her the bowl and said, “Fine, you handle the mixing.”
That was two Thanksgivings ago, and let me tell you, I’ve never looked back. She was absolutely right, and I was absolutely wrong. The sourdough gave the focaccia this incredible lightness—a tender crumb with those signature crispy edges—that regular yeast never quite achieved. Plus, the tangy undertone played beautifully with the fresh rosemary and flaky salt. I stood there watching her press her dimpled fingers into the dough, feeling a little sheepish that I’d been so sure of myself.
Now this Light Rosemary Sourdough Focaccia has become our holiday table staple. It’s the bread nobody can stop reaching for, the one that disappears before the turkey even gets carved. And every time I make it, I think about how sometimes the best kitchen lessons come from letting someone else take the lead. Maybe you’ve been there too—so certain about how something should be done, only to discover a better way by accident.
Why You’ll Love This Recipe
This isn’t just another focaccia recipe. After testing this sourdough version at least a dozen times (and failing spectacularly twice when I got impatient with the rise), I can confidently say this is the one you want for your holiday table. Here’s why it works so well:
- Light and Airy Texture : The sourdough fermentation creates an open, pillowy crumb that feels almost cloud-like. It’s surprisingly light for a bread that looks so rustic and hearty.
- Simple Ingredients : You probably already have everything in your pantry—flour, water, olive oil, salt, and your sourdough starter. The rosemary and flaky salt are the only extras you’ll need to grab.
- Perfect for the Holiday Table : This bread complements everything from roasted turkey to creamy mashed potatoes. It’s elegant enough for Christmas dinner but easy enough for a casual Thanksgiving lunch.
- Make-Ahead Friendly : The dough actually benefits from a slow, cold fermentation in the fridge. You can prep it two days ahead and bake it fresh on the big day.
- Always Gets Rave Reviews : I brought this to a Friendsgiving last year, and three people asked for the recipe before the appetizers were even cleared. It’s that kind of bread.
What makes this recipe different from other focaccia recipes is the sourdough starter. It adds a subtle tang that cuts through the richness of holiday foods, making each bite feel balanced rather than heavy. And the rosemary? It infuses the olive oil as it bakes, creating this fragrant, golden crust that practically shatters when you bite into it. Honestly, it’s the kind of bread that makes you close your eyes after the first bite.
What Ingredients You Will Need
This recipe uses simple, wholesome ingredients to deliver that signature light texture and bold herbal flavor. Most of these are pantry staples, especially if you already maintain a sourdough starter.
For the Dough
- Bread flour , 3 cups (360g) — I prefer King Arthur or Bob’s Red Mill for consistent protein content. The higher protein helps develop that chewy, airy structure.
- Active sourdough starter , 1/2 cup (120g) — Make sure it’s bubbly and recently fed. A hungry starter won’t give you the same rise (trust me, I learned this the hard way).
- Warm water , 1 cup (240ml) — Around 80°F works best. Too hot and you’ll kill the good bacteria; too cold and the fermentation slows way down.
- Olive oil , 1/4 cup (60ml) plus extra for the pan — Use a good quality extra virgin here. It’s not just for cooking; it’s a flavor ingredient.
- Fine sea salt , 1 1/2 teaspoons (9g)
- Honey or maple syrup , 1 tablespoon (15ml) — This feeds the starter and adds a whisper of sweetness that balances the tang.
For the Topping
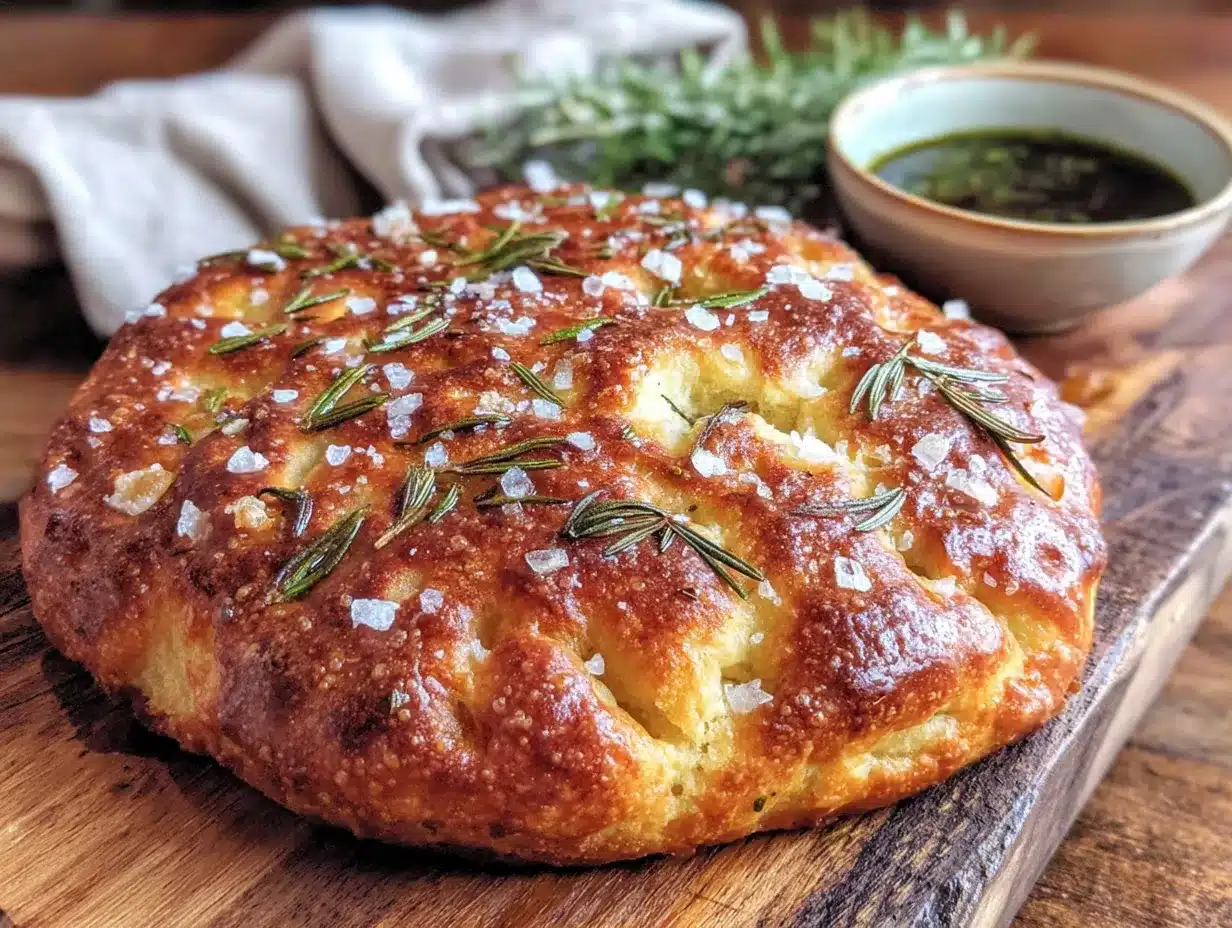
- Fresh rosemary , 2 tablespoons finely chopped — Strip the leaves from the woody stems first. Dried rosemary works in a pinch, but fresh is noticeably better here.
- Flaky sea salt , 1 teaspoon — Maldon is my go-to. The big crystals create little bursts of saltiness that contrast beautifully with the olive oil.
- Extra olive oil , 2 tablespoons for drizzling
Ingredient Swap Ideas: If you’re gluten-sensitive, try using a gluten-free bread flour blend. The texture will be denser but still delicious. You can also swap the honey for agave nectar to keep it vegan. And if rosemary isn’t your thing, thyme or oregano work beautifully here too.
Equipment Needed
- Large mixing bowl — Glass or ceramic works best; metal can react with the sourdough over long fermentation.
- 9×13-inch baking pan — A metal pan gives the crispiest bottom crust. Glass or ceramic will work but might need a few extra minutes of baking.
- Kitchen scale — I resisted getting one for years, but it genuinely makes a difference for consistent results. Measuring flour by weight is way more accurate than scooping.
- Bench scraper — Great for handling the sticky dough without making a mess. A plastic dough scraper costs about $5 and saves so much frustration.
- Clean kitchen towel or plastic wrap — For covering the dough during its long rise.
- Cooling rack — Essential for keeping that crispy bottom from getting soggy.
Budget-Friendly Options: If you don’t have a kitchen scale, fluff your flour with a spoon before measuring it. If you don’t have a 9×13 pan, a cast iron skillet works beautifully and gives you a round, rustic-looking focaccia. Just adjust the baking time by a few minutes.
Preparation Method
- Mix the dough (Day 1, morning) — In your large bowl, combine the bread flour and fine sea salt. In a separate measuring cup, whisk together the warm water, active sourdough starter, olive oil, and honey until mostly smooth. Pour the wet ingredients into the dry and stir with a wooden spoon until a shaggy dough forms. It will look rough and sticky—that’s exactly right. Cover with a damp towel and let it rest for 30 minutes. This autolyse step lets the flour absorb the water and makes the dough easier to handle later.
- Stretch and fold (Day 1, afternoon) — Every 30 minutes for the next 2 hours, perform a stretch and fold. Wet your hands slightly, grab one side of the dough, stretch it up, and fold it over the center. Rotate the bowl a quarter turn and repeat. Do this four times total per session. You’ll feel the dough transform from a sticky mess into a smooth, elastic ball. This builds the gluten structure without any kneading.
- Bulk fermentation (Day 1, evening) — Cover the bowl tightly with plastic wrap and let it rise at room temperature for 8-10 hours, or until doubled in size and bubbly on top. If your kitchen is cold, it might take longer. If it’s warm, check it at 6 hours. The dough should feel airy and alive when you poke it.
- Cold retard (optional but recommended, overnight) — After the bulk rise, cover the bowl and pop it in the fridge for 12-24 hours. This slow fermentation develops deeper flavor and makes the dough easier to handle. I’ve left it for up to 48 hours with excellent results.
- Pan the dough (Day 2, 3 hours before baking) — Pour 2 tablespoons of olive oil into your 9×13 pan and spread it around generously. Turn the cold dough out into the pan. Don’t punch it down—let it be gentle. Cover with a towel and let it come to room temperature for 1 hour.
- Dimple and proof (1.5 hours before baking) — After the dough has relaxed, use oiled fingertips to press deep dimples all across the surface. Don’t be shy here—go all the way to the bottom of the pan. This creates those signature focaccia pockets that catch the olive oil and rosemary. Drizzle with the remaining 2 tablespoons of olive oil, sprinkle the chopped rosemary and flaky salt evenly over the top. Cover and let proof for another 1-1.5 hours, until the dough is puffy and jiggly when you gently shake the pan.
- Bake (30 minutes before serving) — Preheat your oven to 425°F (220°C). Place the pan on the middle rack and bake for 25-30 minutes, until the top is deep golden brown and the bottom sounds hollow when you tap it. If the top is browning too fast, tent loosely with foil for the last 10 minutes.
- Cool and serve — Let the focaccia cool in the pan for 5 minutes, then transfer to a cooling rack. Don’t skip this step—if you leave it in the pan, the steam will soften that beautiful crispy bottom. Serve warm or at room temperature.
Sensory Cue: When it’s done, your kitchen should smell like an Italian bakery crossed with a pine forest. The top will be crackly and golden, and you’ll hear a slight crunch when you press the crust.
Cooking Tips & Techniques
I’ve made this recipe more times than I can count, and I’ve definitely made my share of mistakes. Here’s what I’ve learned:
Don’t rush the starter. I once tried using a starter that had only been fed four hours earlier. The focaccia came out dense and flat. Your starter should be at its peak—bubbly, doubled in size, and smelling pleasantly sour. That usually takes 6-8 hours after feeding.
Wet hands are your friend. Sourdough dough is sticky by nature. Instead of adding more flour (which will make it dense), just wet your hands with water or oil before handling it. This trick changed my bread game completely.
The dimpling matters more than you think. I used to be too gentle with my dimples, worried I’d deflate the dough. But those deep pockets are what make focaccia special. They hold the olive oil and create those crispy, caramelized spots. Press firmly and confidently.
Watch the salt distribution. Flaky salt is beautiful, but it’s easy to overdo it. Sprinkle it from a height to get even coverage, and remember that some will dissolve into the olive oil. You want little bursts of saltiness, not a salt lick.
If your kitchen is cold, use the oven light trick. Turn your oven on for exactly 1 minute, then turn it off. The residual warmth creates the perfect proofing environment. Just make sure the dough isn’t touching the oven walls.
Variations & Adaptations
Herb Garden Focaccia: Swap the rosemary for a mix of fresh thyme, oregano, and chives. This version is fantastic alongside Italian dishes or roasted vegetables. I made this for Easter brunch last spring, and it paired perfectly with a frittata.
Garlic and Parmesan: Before the final proof, press 3 minced garlic cloves into the dimples along with the rosemary. Sprinkle 1/4 cup of freshly grated Parmesan over the top before baking. The cheese gets all crispy and golden—honestly, it’s hard to stop eating.
Everything Bagel Focaccia: Skip the rosemary and top with everything bagel seasoning instead (sesame seeds, poppy seeds, dried garlic, dried onion, and salt). This version is incredible with cream cheese or as a sandwich bread for leftover turkey.
Gluten-Free Adaptation: Use a 1:1 gluten-free flour blend that contains xanthan gum. The dough will be wetter and won’t rise as high, but the flavor will still be wonderful. Add an extra tablespoon of olive oil to help with the texture.
Sweet Version: Omit the rosemary and salt, and add 2 tablespoons of sugar to the dough. Top with cinnamon sugar and a drizzle of honey before baking. It’s amazing with afternoon tea or as a breakfast treat.
Serving & Storage Suggestions
This focaccia is best served warm, within an hour of baking. That’s when the crust is at its crispiest and the interior is pillowy soft. I like to set it out on a wooden board with a small dish of good olive oil for dipping—it makes such a beautiful presentation for the holiday table.
For the full holiday spread, pair it with roasted turkey, honey-glazed ham, or a hearty vegetable stew. It also makes incredible sandwiches the next day—try it with leftover roasted vegetables and a smear of goat cheese.
Storage: Keep leftover focaccia in an airtight container at room temperature for up to 2 days. Do not refrigerate it—the fridge will dry it out and make it stale faster. If you need to keep it longer, slice it and freeze it in a zip-top bag for up to 3 months.
Reheating: The best way to revive day-old focaccia is to pop it in a 350°F oven for 5-7 minutes. It will crisp right back up. The microwave will make it chewy and sad, so avoid that if you can. If you’re in a hurry, a toaster oven works beautifully too.
Flavor Development: Interestingly, the sourdough flavor actually deepens after a day or two. If you can resist eating it all immediately, day-old focaccia has a more pronounced tang that works wonderfully with strong cheeses or cured meats.
Nutritional Information & Benefits
| Nutrient | Amount per Serving (1/12 of recipe) |
|---|---|
| Calories | 195 |
| Total Fat | 8g |
| Saturated Fat | 1g |
| Carbohydrates | 27g |
| Fiber | 1g |
| Protein | 4g |
| Sodium | 290mg |
The sourdough fermentation process actually makes the nutrients in the flour more bioavailable. It breaks down phytic acid, which can interfere with mineral absorption. The olive oil provides heart-healthy monounsaturated fats and antioxidants, while the rosemary adds anti-inflammatory compounds. This is bread that actually works with your body, not against it.
Dietary Considerations: This recipe is dairy-free and can be made vegan by using maple syrup instead of honey. For a lower-sodium version, reduce the flaky salt topping to 1/2 teaspoon. The main allergens are wheat (gluten) and, if you’re sensitive, the natural yeast in the sourdough starter.
Conclusion
This Light Rosemary Sourdough Focaccia has become more than just a recipe in my kitchen—it’s a reminder that the best discoveries often come from being wrong. That moment when my sister challenged my assumptions changed the way I think about bread entirely. Now I look for opportunities to be surprised, to try the unconventional method, to let someone else stir the bowl.
Whether you’re a seasoned sourdough baker or someone who’s never maintained a starter, this recipe is worth making. It’s forgiving, adaptable, and genuinely impressive on the holiday table. The light texture, the fragrant rosemary, the satisfying crunch of flaky salt—it all comes together in a bread that feels special without being complicated.
I’d love to hear how yours turns out. Did you try a variation? Did your family fight over the last piece? Drop a comment below and share your experience. And if you’re looking for more holiday bread inspiration, be sure to check out our guide to making the perfect rustic sourdough bread bowl for soups and dips. Happy baking, friends!
Frequently Asked Questions
Can I use all-purpose flour instead of bread flour?
Yes, you can. The focaccia will be slightly less chewy and airy, but it will still be delicious. Bread flour’s higher protein content gives you that signature open crumb, but all-purpose works in a pinch. Just expect a slightly softer texture.
How do I know if my sourdough starter is active enough?
A good starter should double in size within 6-8 hours of feeding, look bubbly and frothy on top, and smell pleasantly sour—like yogurt or ripe fruit. If it’s sluggish or smells like acetone, give it a few more feedings before using it in this recipe.
Can I make this focaccia without a kitchen scale?
Absolutely. Use the spoon-and-level method for flour: fluff it with a spoon, spoon it into your measuring cup, and level it off with a knife. Don’t scoop directly from the bag, as that packs the flour and gives you too much. The measurements in cups are provided for convenience.
Why didn’t my focaccia get those big air bubbles?
Several things could be at play: your starter might not have been active enough, the dough might have been under-proofed, or you might have been too rough when shaping it. Next time, try extending the bulk fermentation by an hour and be extra gentle when transferring the dough to the pan.
Can I freeze the unbaked dough?
Yes! After the cold retard step, you can freeze the dough in the pan, tightly wrapped, for up to 1 month. Thaw it overnight in the fridge, then proceed with the dimpling and proofing steps. The flavor actually gets even better after freezing.
Pin This Recipe!
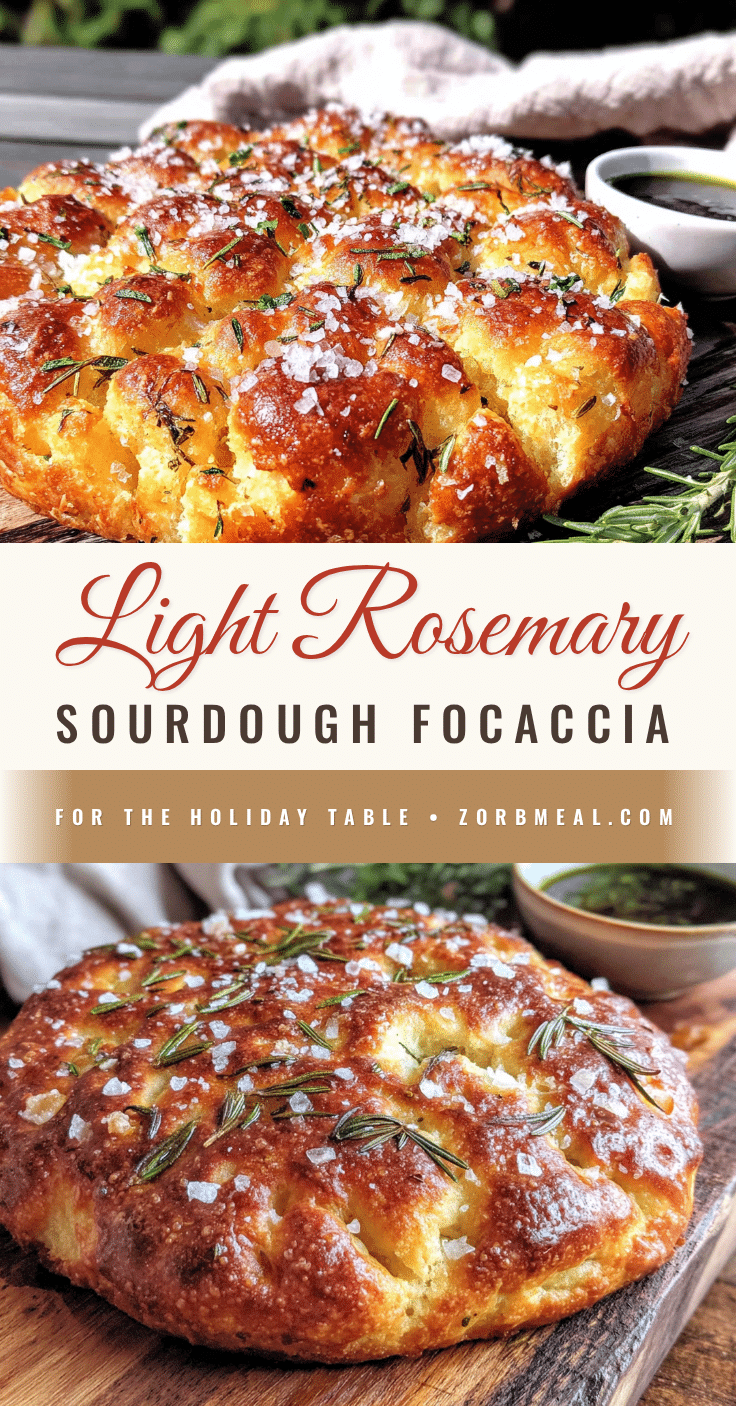
Light Rosemary Sourdough Focaccia: Easy Holiday Side

This light and airy sourdough focaccia features a tender crumb with crispy edges, infused with fresh rosemary and flaky salt. It’s the perfect holiday side that complements any festive meal.
- Prep Time: 30 minutes
- Cook Time: 30 minutes
- Total Time: 24 hours 30 minutes (includes fermentation and proofing)
- Yield: 12 servings 1x
- Category: Side Dish
- Cuisine: Italian
Ingredients
- 3 cups (360g) bread flour
- 1/2 cup (120g) active sourdough starter
- 1 cup (240ml) warm water (80°F)
- 1/4 cup (60ml) olive oil, plus extra for the pan
- 1 1/2 teaspoons (9g) fine sea salt
- 1 tablespoon (15ml) honey or maple syrup
- 2 tablespoons finely chopped fresh rosemary
- 1 teaspoon flaky sea salt (e.g., Maldon)
- 2 tablespoons olive oil for drizzling
Instructions
- Mix the dough (Day 1, morning): In a large bowl, combine bread flour and fine sea salt. In a separate measuring cup, whisk together warm water, active sourdough starter, olive oil, and honey until mostly smooth. Pour wet ingredients into dry and stir with a wooden spoon until a shaggy dough forms. Cover with a damp towel and let rest for 30 minutes.
- Stretch and fold (Day 1, afternoon): Every 30 minutes for the next 2 hours, perform a stretch and fold. Wet your hands slightly, grab one side of the dough, stretch it up, and fold it over the center. Rotate the bowl a quarter turn and repeat. Do this four times total per session.
- Bulk fermentation (Day 1, evening): Cover the bowl tightly with plastic wrap and let rise at room temperature for 8-10 hours, or until doubled in size and bubbly on top.
- Cold retard (optional but recommended, overnight): After the bulk rise, cover the bowl and refrigerate for 12-24 hours.
- Pan the dough (Day 2, 3 hours before baking): Pour 2 tablespoons of olive oil into a 9×13-inch pan and spread around. Turn the cold dough out into the pan. Cover with a towel and let come to room temperature for 1 hour.
- Dimple and proof (1.5 hours before baking): Use oiled fingertips to press deep dimples all across the surface. Drizzle with remaining 2 tablespoons olive oil, sprinkle chopped rosemary and flaky salt evenly over the top. Cover and let proof for another 1-1.5 hours until puffy and jiggly.
- Bake (30 minutes before serving): Preheat oven to 425°F (220°C). Bake on the middle rack for 25-30 minutes until deep golden brown and bottom sounds hollow when tapped. If browning too fast, tent loosely with foil for the last 10 minutes.
- Cool and serve: Let focaccia cool in the pan for 5 minutes, then transfer to a cooling rack. Serve warm or at room temperature.
Notes
Don’t rush the starter; it should be bubbly and doubled in size. Wet hands are your friend for handling sticky dough. Dimple deeply to create pockets for oil and rosemary. For a cold kitchen, use the oven light trick to create a warm proofing environment.
Nutrition
- Serving Size: 1/12 of recipe
- Calories: 195
- Sugar: 1
- Sodium: 290
- Fat: 8
- Saturated Fat: 1
- Carbohydrates: 27
- Fiber: 1
- Protein: 4
Keywords: sourdough focaccia, rosemary focaccia, holiday bread, sourdough bread, easy focaccia, make-ahead bread


