A few summers ago, I was at the community garden plot I’d just taken over, pulling weeds that had gotten embarrassingly tall. An older woman named Rosa from the next plot over watched me struggle with a particularly stubborn root for a minute. Then she just reached over, handed me a different kind of trowel, and said, “You need the fork one for that.” We got to talking, and somehow the conversation drifted to what I was making for dinner that night. I admitted I was out of ideas and my kids were hungry. She laughed and said, “You need a one-pan meal. Something easy. Something they’ll eat.” She scribbled this recipe on the back of a seed packet. I’ve changed a few things over the years, but the heart of it—the simple, comforting, one-pan magic—is all hers. Honestly, that seed packet is still tucked in my recipe box.
This Kid-Approved One-Pan Ground Beef and Rice Skillet isn’t fancy. It’s not going to win any food photography awards. But let me tell you, it is the kind of dinner that saves a Tuesday night. It’s the meal you make when you’ve got ground beef to use up, a bag of rice in the pantry, and a family that needs to eat something real without a ton of fuss. I’ve made it on nights when I’ve forgotten to thaw anything and on nights when I just didn’t feel like washing a pile of dishes. It always works. It always makes everyone happy. Maybe you’ve been there—standing in front of the open fridge, hoping a meal will just appear. Well, this one practically does.
The beauty of this recipe is that it all happens in one skillet. No separate pot for the rice, no extra pan for the beef. You brown the meat, toss in the veggies and rice, add your broth, and let it simmer until everything is tender and flavorful. It’s the kind of cooking that feels good because it’s straightforward and honest. And when you lift the lid and see that perfectly cooked rice, fluffy and full of savory goodness, you’ll feel like a kitchen genius. That first bite? It’s got this unexpected warmth from the paprika and a little tang from the tomatoes. It’s the kind of meal that makes you close your eyes for a second. I keep making it because it’s the one recipe that never, ever fails me.
Why You’ll Love This Recipe
I’ve tested this recipe more times than I can count, tweaking the liquid ratio and the seasoning until it was just right. It’s been approved by my own two picky eaters and a whole bunch of their friends. I mean, if it passes the “friend test,” you know it’s a winner. This skillet meal is everything you want in a weeknight dinner—fast, filling, and made from ingredients you probably already have. Let’s break down why it’s a keeper.
- Quick & Easy: From start to finish, this meal comes together in about 30 minutes. That’s less time than it takes to decide on takeout.
- Simple Ingredients: No fancy grocery trips needed. You likely already have ground beef, rice, onions, and canned tomatoes in your kitchen.
- Perfect for Busy Weeknights: This is the ultimate busy-day dinner. It’s great for nights when you have soccer practice, homework, or just need a break.
- Crowd-Pleaser: This recipe always gets rave reviews from kids and adults alike. It’s mild enough for little taste buds but flavorful enough for grown-ups.
- Unbelievably Delicious: The texture and flavor combo is next-level comfort food. The rice gets perfectly tender, and the beef is seasoned just right.
So, what makes this recipe different from all the other ground beef and rice skillets out there? It’s the technique. I’ve figured out the perfect liquid-to-rice ratio so you never end up with mushy or crunchy rice. Plus, the seasoning blend is balanced—not too salty, not too bland. It’s my best version, tested and perfected. This recipe isn’t just good; it’s the kind that makes you close your eyes after the first bite. It’s comfort food reimagined—faster, but with the same soul-soothing satisfaction. Perfect for impressing your family without the stress, or turning a simple Tuesday into something memorable.
What Ingredients You Will Need
This recipe uses simple, wholesome ingredients to deliver bold flavor and satisfying texture without the fuss. Most of these are pantry staples, which makes this dish perfect for those nights when you need a reliable meal. Here’s everything you’ll need, along with a few notes from my own kitchen trials.
- 1 pound ground beef (I prefer 80/20 for flavor, but lean works too; just add a splash of oil if using extra lean)
- 1 tablespoon olive oil (or any neutral oil; use it if your beef is very lean)
- 1 medium yellow onion, diced (about 1 cup; adds sweetness and depth)
- 2 cloves garlic, minced (fresh is best, but 1 teaspoon of jarred minced garlic works in a pinch)
- 1 cup long-grain white rice, uncooked (I recommend Mahatma or Carolina for consistent results; jasmine rice also works well)
- 1 (14.5-ounce) can diced tomatoes, undrained (fire-roasted adds a lovely smoky flavor, but regular is fine too)
- 1 ½ cups low-sodium beef broth (or chicken broth; low-sodium is key so you can control the salt)
- 1 teaspoon paprika (sweet or smoked; I love smoked for a little extra depth)
- ½ teaspoon garlic powder (not the same as fresh garlic; it adds a different, more mellow note)
- ½ teaspoon onion powder (rounds out the flavor)
- ½ teaspoon dried oregano (or Italian seasoning; adds a subtle herbiness)
- ½ teaspoon salt (plus more to taste; I use fine sea salt)
- ¼ teaspoon black pepper (freshly ground is best)
- 1 cup frozen peas and carrots (no need to thaw; they add color and a little veggie power)
- Optional garnish: fresh parsley, chopped (for a pop of color and freshness)
Ingredient Selection Tips: For the best texture, look for a can of diced tomatoes with no added sugar or weird preservatives. I like Muir Glen or Cento brands. If you’re using frozen peas and carrots, make sure they’re not a giant frozen block—shake the bag to break them up before adding. For a gluten-free option, always check your broth label to ensure it’s certified gluten-free. And if you want to swap the ground beef, ground turkey or chicken works great, just be careful not to overcook it or it can get dry.
Equipment Needed
One of the best things about this recipe is how little equipment you need. It’s truly a one-pan wonder. Here’s what you’ll need to get started.
- A large, deep skillet or Dutch oven: You need something with a lid and high sides, at least 12 inches in diameter. A heavy-bottomed pan works best for even heat distribution. I use my trusty Lodge 12-inch cast iron skillet for this, but a non-stick deep skillet works beautifully too.
- A wooden spoon or spatula: For breaking up the ground beef and stirring everything together. A flat-edged wooden spoon is my favorite for scraping up any browned bits from the bottom.
- A sharp knife and cutting board: For dicing the onion and mincing the garlic. A good chef’s knife makes this job so much faster.
- Measuring cups and spoons: Accurate measurements are key for the rice and liquid ratio. Use dry measuring cups for the rice and liquid measuring cups for the broth.
- A can opener: Unless you’re using the pull-tab cans, you’ll need one.
If you don’t have a lid for your skillet, you can use a large sheet of aluminum foil tightly sealed around the edges. It works in a pinch, but a proper lid traps steam better. Budget-friendly tip: Check your local thrift store for a good quality cast iron skillet—they last forever and are often very affordable.
Preparation Method
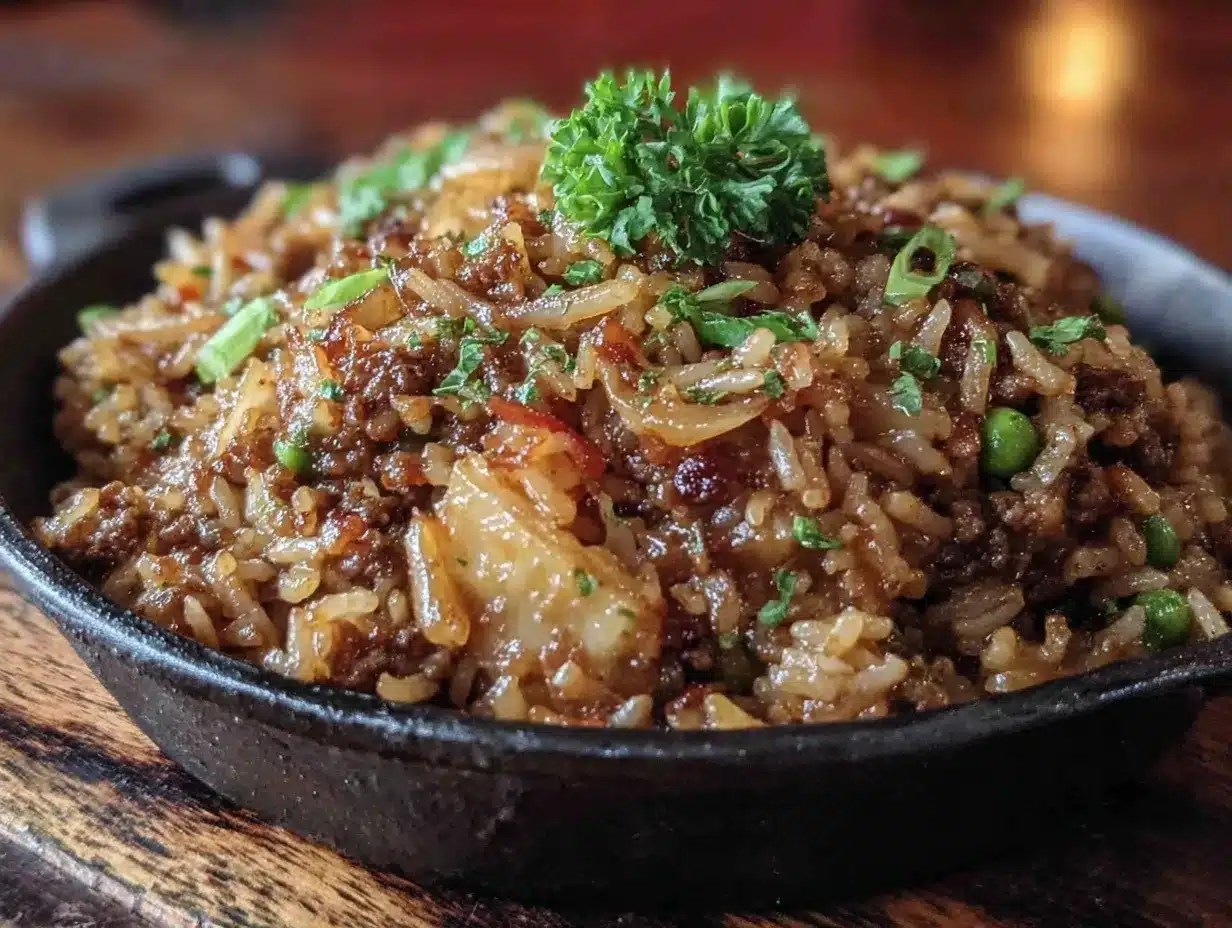
Alright, let’s get cooking. This is a straightforward recipe, but I’ve included all the little details that make it foolproof. Follow these steps, and you’ll have a perfect skillet dinner every time.
- Brown the beef: Place your large skillet over medium-high heat. Add the ground beef and cook, breaking it up with your wooden spoon, until it’s nicely browned, about 5-7 minutes. You want some good browning here—that’s flavor. If there’s a lot of excess fat (more than a tablespoon), carefully spoon it out, leaving a little bit for flavor. Pro tip: Don’t crowd the pan. If your skillet is too full, the beef will steam instead of brown. Cook in two batches if needed.
- Sauté the aromatics: Reduce the heat to medium. Add the diced onion to the skillet with the beef. Cook for 2-3 minutes, stirring occasionally, until the onion starts to soften and turn translucent. Add the minced garlic and cook for just 30 seconds more, until it’s fragrant. Warning: Garlic burns quickly, so keep stirring and don’t walk away.
- Add the rice and seasonings: Sprinkle the uncooked rice over the beef and onion mixture. Add the paprika, garlic powder, onion powder, oregano, salt, and pepper. Stir everything together for about 1 minute. This toasts the rice just slightly and wakes up the spices. You’ll start to smell a wonderful aroma.
- Pour in the liquids: Add the can of diced tomatoes (with all their juices) and the beef broth to the skillet. Give it a good stir, making sure to scrape up any browned bits from the bottom of the pan. Those bits are pure gold for flavor. Bring the mixture to a gentle boil.
- Simmer and cook: Once it’s boiling, reduce the heat to low. Cover the skillet with a tight-fitting lid. Let it simmer gently for 18-20 minutes. Important: Do not lift the lid during this time! The steam is what cooks the rice perfectly. Trust the process. The liquid should be mostly absorbed and the rice tender.
- Add the frozen vegetables: After 18 minutes, remove the lid. The rice should be tender and the liquid absorbed. If there’s still a bit of liquid, replace the lid and cook for 2-3 more minutes. Once it’s ready, add the frozen peas and carrots. Stir them in gently. They’ll thaw and warm up in the residual heat. Cover the skillet again and let it sit off the heat for 5 minutes. This allows the flavors to meld and the vegetables to heat through without overcooking.
- Fluff and serve: After the 5-minute rest, remove the lid. Fluff the rice with a fork to separate the grains. Taste and adjust seasoning with a little more salt and pepper if needed. Garnish with fresh parsley if you’re feeling fancy. Serve straight from the skillet for the ultimate one-pan experience.
Troubleshooting Tip: If your rice is still a little crunchy after 20 minutes, don’t panic. Add a splash more broth (about ¼ cup), replace the lid, and cook on low for another 5 minutes. This usually does the trick. The key is to keep the heat low and steady.
Cooking Tips & Techniques
Over the years, I’ve made this recipe more times than I can count, and I’ve learned a thing or two along the way. Here are some professional techniques and hard-won lessons to help you nail it every single time.
Don’t skip browning the beef properly. I know it’s tempting to just cook it until it’s no longer pink, but taking the time to get a good sear on the meat adds a layer of savory depth that you can’t get any other way. Those browned bits on the bottom of the pan are called “fond,” and they’re the foundation of great flavor. I once rushed this step and ended up with a bland skillet—never again.
Toast the rice for better texture. That one minute you spend stirring the rice with the seasonings and beef? It’s not just for show. Toasting the rice grains lightly before adding liquid helps them stay separate and fluffy, not sticky and clumpy. It’s a small step that makes a big difference.
Resist the urge to peek. This is the hardest part for me, honestly. I always want to lift the lid and check on the rice, but every time you do, you let out precious steam. That steam is what cooks the rice evenly. Set a timer and walk away. Trust the process. I’ve had a few mushy rice incidents because I couldn’t keep my hands off the lid.
Use low-sodium broth for better control. This is a simple trick that professional chefs use all the time. Low-sodium broth lets you control the salt level yourself. You can always add more salt at the end, but you can’t take it out. I learned this after making a few skillets that were way too salty for my kids.
Let it rest before serving. That 5-minute rest after adding the frozen vegetables is crucial. It allows the rice to finish absorbing any remaining liquid and lets the flavors meld together. Plus, it gives you a minute to set the table and pour the drinks. Dinner is served!
Variations & Adaptations
This recipe is a fantastic base that you can easily adapt to suit your family’s tastes or what you have on hand. Here are a few of my favorite variations that I’ve tried over the years.
- Cheesy Beef and Rice Skillet: After the rice is cooked and you’ve added the peas and carrots, sprinkle 1 cup of shredded cheddar or Monterey Jack cheese over the top. Cover for 2 minutes until the cheese melts. It’s gooey, comforting, and a huge hit with kids. I do this on nights when we need a little extra comfort.
- Tex-Mex Style: Swap the oregano for 1 teaspoon of chili powder and ½ teaspoon of cumin. Use a can of diced tomatoes with green chiles instead of regular diced tomatoes. Top with a dollop of sour cream, some sliced avocado, and a squeeze of lime juice. It’s like a deconstructed burrito bowl, and it’s amazing.
- Vegetarian Version: Replace the ground beef with 1 (15-ounce) can of black beans, drained and rinsed, or 1 cup of cooked lentils. Use vegetable broth instead of beef broth. The cooking time remains the same. It’s a hearty, protein-packed meal that even meat-eaters will love.
- Italian-Inspired: Add ½ teaspoon of dried basil and ¼ teaspoon of red pepper flakes along with the other seasonings. Stir in ½ cup of grated Parmesan cheese at the end. Serve with a side of crusty bread for dipping. This is my go-to when I’m craving something a little more herbaceous.
- Low-Carb Option: Replace the rice with 1 ½ cups of cauliflower rice. Reduce the broth to 1 cup and the cooking time to 10-12 minutes. The texture is different, but it’s a great way to get a similar meal with fewer carbs. I’ve made this for a friend who was watching her carbs, and she loved it.
Serving & Storage Suggestions
This skillet meal is incredibly versatile when it comes to serving and storing. Here’s how to make the most of it.
Serving Suggestions: Serve this dish hot, straight from the skillet. It’s a complete meal on its own, but you can round it out with a simple side salad dressed with lemon vinaigrette or a side of steamed green beans. A slice of crusty bread or warm cornbread is perfect for soaking up any leftover juices. For a fun weeknight twist, serve it in bowls topped with shredded cheese, a dollop of sour cream, and a sprinkle of chopped green onions.
Storage Instructions: Leftovers can be stored in an airtight container in the refrigerator for up to 4 days. The flavors actually meld and get even better overnight. This dish also freezes beautifully. Let it cool completely, then transfer to a freezer-safe container. It will keep for up to 3 months. Thaw overnight in the refrigerator before reheating.
Reheating Tips: The best way to reheat this skillet is in a covered skillet over medium-low heat with a splash of broth or water to add moisture. Stir occasionally until heated through, about 5-7 minutes. You can also reheat individual portions in the microwave. Cover the bowl with a damp paper towel to prevent the rice from drying out, and heat in 1-minute intervals, stirring between each. I find that the flavor is even better on the second day—the rice has absorbed all the savory goodness.
Nutritional Information & Benefits
This one-pan meal is not only delicious but also offers a good balance of nutrients. The values below are approximate and based on a serving size of about 1 ½ cups.
| Nutrient | Amount Per Serving |
|---|---|
| Calories | 420 |
| Protein | 28g |
| Fat | 15g |
| Carbohydrates | 45g |
| Fiber | 4g |
| Iron | 4mg (22% DV) |
Health Benefits: This recipe is a great source of high-quality protein from the ground beef, which is essential for muscle repair and growth. The rice provides sustained energy from complex carbohydrates. The peas and carrots add a dose of vitamins A and C, along with fiber for digestive health. Using low-sodium broth helps keep the sodium content in check. For a lighter version, you can use lean ground beef (93/7) and brown rice for extra fiber. It’s a balanced meal that satisfies without weighing you down.
Dietary Considerations: This recipe is naturally dairy-free (unless you add cheese) and nut-free. To make it gluten-free, just ensure your broth is certified gluten-free. It’s a family-friendly meal that can easily be adapted to meet various dietary needs.
Conclusion
This Kid-Approved One-Pan Ground Beef and Rice Skillet is the kind of recipe that becomes a family legend. It’s simple, affordable, and absolutely delicious. It’s the meal you’ll turn to again and again when you need something reliable, comforting, and fast. I love this recipe because it reminds me of that afternoon in the garden with Rosa, and how a simple conversation can lead to something so wonderful. It’s proof that the best meals aren’t complicated—they’re made with care and shared with the people you love.
I really hope you give this one a try. Don’t be afraid to make it your own—add your favorite vegetables, adjust the spices, or throw in some cheese. Cooking is all about making it work for you and your family. When you make it, I’d love to hear how it turned out. Did your kids go back for seconds? Did you add a fun twist? Let me know in the comments below! And if you loved this recipe, please share it with a friend who needs a quick weeknight win. Happy cooking, friends—you’ve got this!
Frequently Asked Questions
Can I use brown rice instead of white rice?
Yes, you can, but you’ll need to adjust the cooking time and liquid. Brown rice takes longer to cook, about 40-45 minutes, and needs about ½ cup more broth. Follow the package directions for the liquid ratio and adjust accordingly. Keep the skillet covered and check for doneness.
Can I make this recipe ahead of time?
Absolutely! This skillet meal is great for meal prep. Cook it completely, let it cool, and store it in an airtight container in the fridge for up to 4 days. The flavors get even better as they meld. Reheat on the stovetop with a splash of broth to refresh the rice.
My rice turned out mushy. What went wrong?
Mushy rice is usually the result of too much liquid or cooking it too long. Make sure you’re using a tight-fitting lid and not lifting it during the simmering time. Also, check that your heat is on low—a vigorous boil can break down the rice. If it happens, don’t worry; it’s still delicious, just a different texture.
Can I add other vegetables?
Definitely! This recipe is very adaptable. Try adding chopped bell peppers, zucchini, or corn. Add heartier vegetables like bell peppers along with the onions, and more delicate ones like zucchini or corn with the frozen peas and carrots at the end. It’s a great way to use up what you have.
Is this recipe freezer-friendly?
Yes, it freezes wonderfully. Let the skillet cool completely, then transfer to a freezer-safe container. It will keep for up to 3 months. Thaw overnight in the refrigerator and reheat on the stovetop or in the microwave. I like to freeze it in individual portions for easy lunches.
Pin This Recipe!
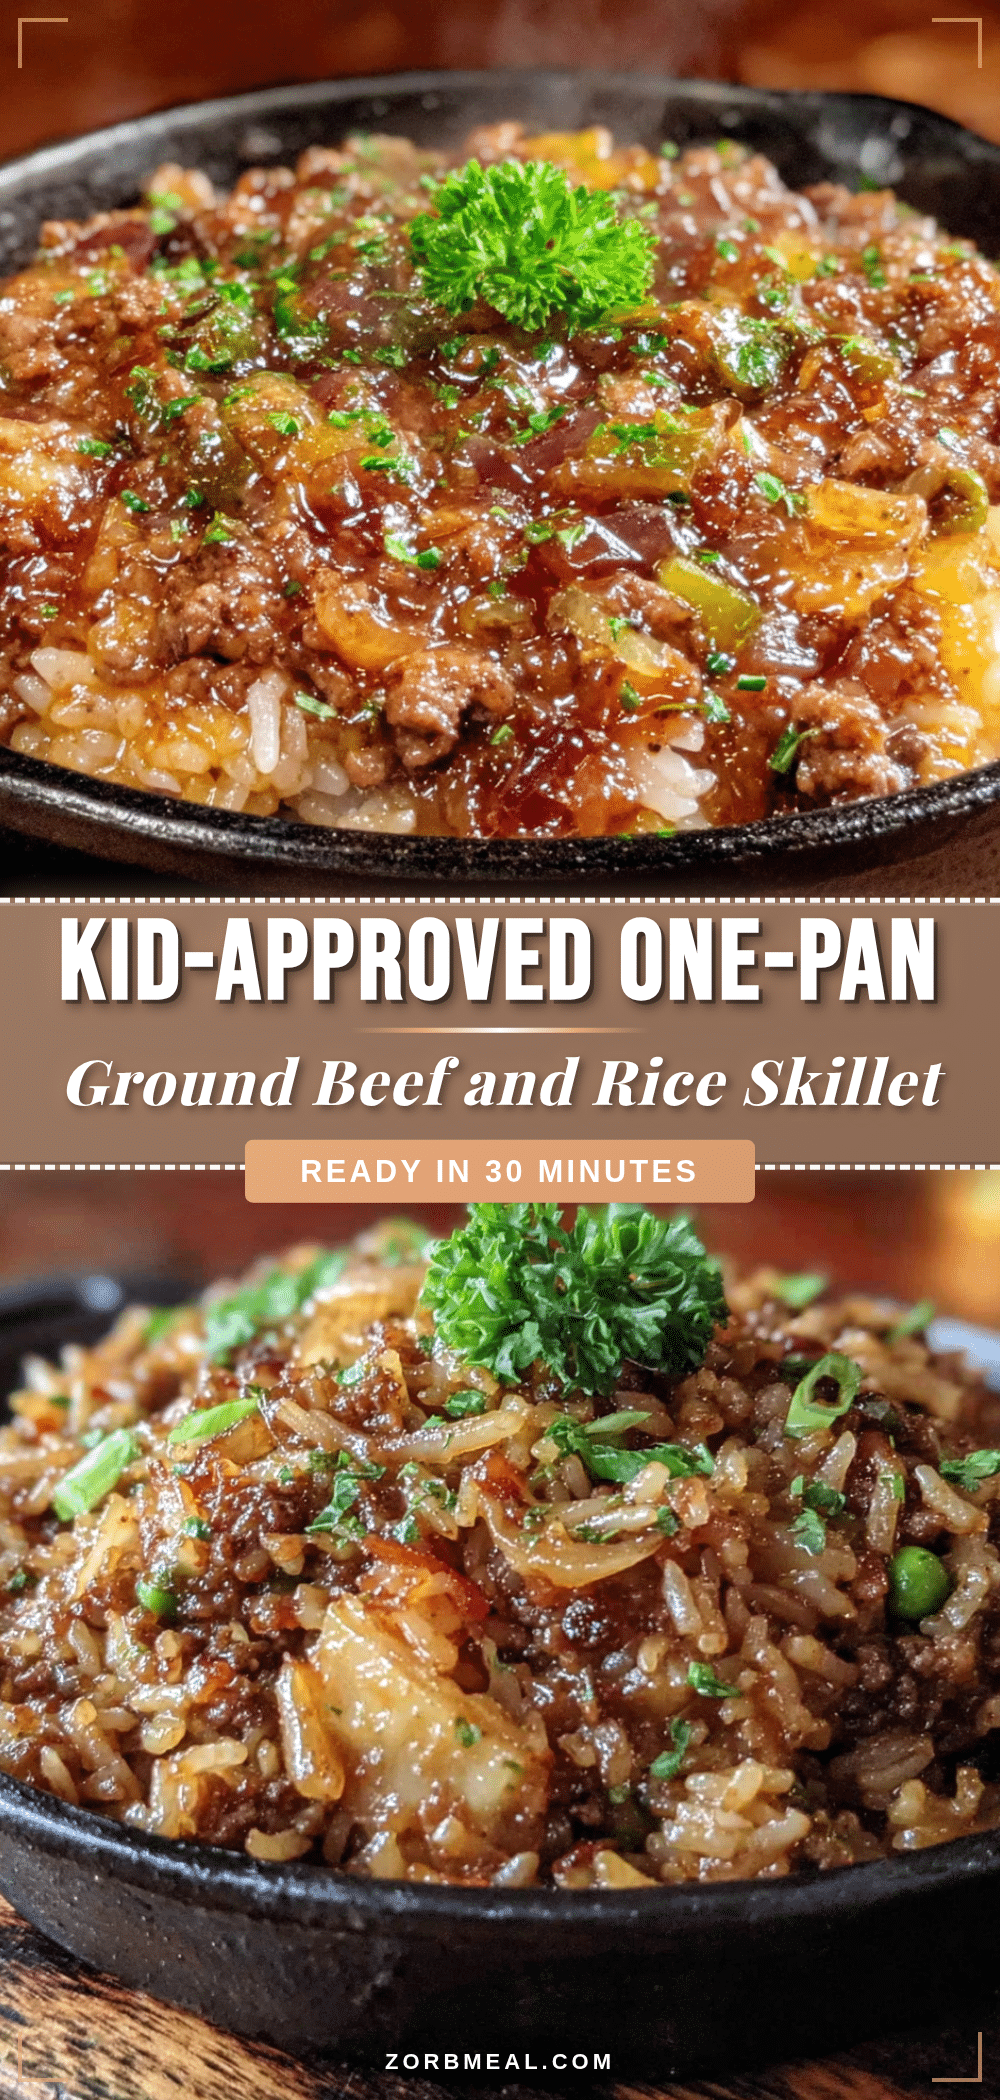
Kid-Approved One-Pan Ground Beef and Rice Skillet

A quick and easy one-pan meal with ground beef, rice, and vegetables that comes together in about 30 minutes. Perfect for busy weeknights, this comforting skillet dinner is a family-friendly favorite made with simple pantry ingredients.
- Prep Time: 10 minutes
- Cook Time: 25 minutes
- Total Time: 35 minutes
- Yield: 4 servings 1x
- Category: Main Course
- Cuisine: American
Ingredients
- 1 pound ground beef (80/20 preferred)
- 1 tablespoon olive oil (if using lean beef)
- 1 medium yellow onion, diced (about 1 cup)
- 2 cloves garlic, minced
- 1 cup long-grain white rice, uncooked
- 1 (14.5-ounce) can diced tomatoes, undrained
- 1 ½ cups low-sodium beef broth
- 1 teaspoon paprika (sweet or smoked)
- ½ teaspoon garlic powder
- ½ teaspoon onion powder
- ½ teaspoon dried oregano
- ½ teaspoon salt
- ¼ teaspoon black pepper
- 1 cup frozen peas and carrots
- Optional: fresh parsley, chopped for garnish
Instructions
- Brown the beef: Place a large deep skillet over medium-high heat. Add ground beef and cook, breaking it up with a wooden spoon, until nicely browned, about 5-7 minutes. Spoon out excess fat if needed, leaving a little for flavor.
- Sauté aromatics: Reduce heat to medium. Add diced onion and cook 2-3 minutes until softened. Add minced garlic and cook 30 seconds until fragrant.
- Add rice and seasonings: Sprinkle uncooked rice over beef and onion. Add paprika, garlic powder, onion powder, oregano, salt, and pepper. Stir for 1 minute to toast rice slightly.
- Pour in liquids: Add diced tomatoes with juices and beef broth. Stir well, scraping up any browned bits from the bottom. Bring to a gentle boil.
- Simmer and cook: Reduce heat to low, cover with a tight-fitting lid, and simmer gently for 18-20 minutes. Do not lift the lid during this time.
- Add frozen vegetables: Remove lid. If rice is tender and liquid absorbed, add frozen peas and carrots. Stir gently. Cover and let sit off heat for 5 minutes.
- Fluff and serve: Remove lid, fluff rice with a fork. Adjust seasoning with salt and pepper if needed. Garnish with fresh parsley if desired. Serve straight from the skillet.
Notes
For best results, don’t lift the lid during simmering. If rice is still crunchy after 20 minutes, add ¼ cup more broth and cook covered for 5 more minutes. Low-sodium broth is recommended for better salt control. Let the dish rest for 5 minutes after adding frozen vegetables to allow flavors to meld.
Nutrition
- Serving Size: 1 ½ cups
- Calories: 420
- Sugar: 6
- Sodium: 580
- Fat: 15
- Saturated Fat: 5
- Carbohydrates: 45
- Fiber: 4
- Protein: 28
Keywords: one-pan meal, ground beef skillet, rice skillet, easy weeknight dinner, kid-friendly dinner, 30-minute meal, comfort food


