The neighborhood Halloween block party was in six hours and I’d completely forgotten. Everyone else would be bringing elaborate themed desserts—witch-hat cupcakes with piped frosting, graveyard dirt cakes with gummy worms, those intricate sugar cookies that looked like they belonged in a bakery window. I had a box of store-bought chocolate wafer cookies, a block of cream cheese that was about to expire, and a bottle of peppermint extract I’d bought on a whim last December.
Honestly, I almost gave up and grabbed a bag of candy from the gas station. But then I remembered a trick my aunt used to do with sandwich cookies, and I thought—why not? I mean, what’s the worst that could happen? They’d either be a total flop or I’d look like I actually planned something. I mashed those cookies into crumbs, mixed them with cream cheese and peppermint, and shaped them into little balls. By the time I dipped them in melted chocolate and added a sprinkle of orange and black nonpareils, they actually looked… intentional. Fancy, even.
The panic was real, let me tell you. But here’s the thing about these Halloween Chocolate Mint Sandwich Cookies—they’re the kind of recipe that makes you look like a hero when you’re really just a survivor. I brought them to the party on a paper plate (classy, I know), and they disappeared before the cupcakes were even unwrapped. Someone actually asked me for the recipe, and I had to laugh because the “recipe” was basically “don’t panic and use what you have.” Maybe you’ve been there—staring at your pantry, wondering how you’re going to pull off something impressive with almost nothing. This is that recipe. And honestly? I keep making them, even when there’s no party to panic about.
Why You’ll Love This Recipe
I’ve tested this recipe about a dozen times now—through two Halloween parties, a spooky movie night, and one very random Tuesday when I just needed a chocolate fix. Each time, I tweaked something: more mint, less mint, different coatings, different fillings. What I landed on is a cookie that’s ridiculously easy but tastes like you spent hours in the kitchen.
- Quick & Easy: These come together in under 30 minutes, with no baking required. Perfect for last-minute Halloween plans or when you need a treat fast.
- Simple Ingredients: You only need three main ingredients for the base—chocolate sandwich cookies, cream cheese, and peppermint extract. No fancy grocery trips needed.
- Perfect for Halloween: These look spooky and festive with minimal effort. Great for parties, trick-or-treaters, or classroom treats.
- Crowd-Pleaser: Kids and adults both go crazy for these. The mint-chocolate combo is a classic for a reason.
- Unbelievably Delicious: The texture is creamy and rich, with that perfect crunch from the cookie coating. It’s like a thin mint but better.
What makes these different from other no-bake cookie recipes? It’s the texture. Most similar recipes end up too soft or too crumbly. But by crushing the cookies to just the right consistency—some fine crumbs, some tiny chunks—you get a filling that holds its shape perfectly without being dense. Plus, the peppermint extract gives that cool, refreshing kick that makes these taste like a fancy peppermint patty, not a sad kitchen experiment.
This recipe is the kind that makes you close your eyes after the first bite. It’s comfort food reimagined—faster, easier, but with the same soul-soothing satisfaction. Perfect for impressing guests without stress, or turning a simple Halloween gathering into something memorable.
What Ingredients You Will Need
This recipe uses simple, wholesome ingredients to deliver bold flavor and satisfying texture without the fuss. Most of these are pantry staples, especially around the holidays.
For the Cookie Filling
- 1 package (14.3 ounces) chocolate sandwich cookies (like Oreos—I recommend using the regular ones, not double-stuffed, for the best texture)
- 8 ounces cream cheese, softened to room temperature (full-fat works best for a rich, creamy filling)
- 1 teaspoon peppermint extract (use pure peppermint extract, not mint extract—it has a cleaner, less artificial taste)
For the Coating
- 12 ounces semisweet or dark chocolate chips (I prefer Ghirardelli or Guittard for smooth melting)
- 1 tablespoon coconut oil or shortening (helps thin the chocolate for a smoother coating)
For Decoration (Optional)
- Orange and black sprinkles or Halloween-themed nonpareils
- White chocolate chips for drizzling (about 2 ounces)
- Black gel food coloring for a spooky touch
Ingredient Selection Tips: Look for cream cheese that’s block-style, not whipped—the whipped kind has too much air and will make your filling too soft. For the cookies, any chocolate sandwich cookie works, but I’ve found that store-brand versions sometimes have a softer cookie that doesn’t crush as well. Stick with the classic Oreos for the most reliable results.
Substitution Guidance: Need a dairy-free version? Use dairy-free cream cheese (like Kite Hill or Tofutti) and dairy-free chocolate chips. For a gluten-free option, use gluten-free chocolate sandwich cookies—they work perfectly! You can swap the peppermint extract for orange extract if you want a different flavor, or skip it entirely for plain chocolate cookies.
Equipment Needed
You don’t need much for this recipe, which is part of the beauty. Here’s what you’ll want to have on hand:
- Food processor or blender (for crushing the cookies into fine crumbs—a rolling pin and ziplock bag work in a pinch, but the food processor gives you more control over the texture)
- Large mixing bowl (for combining the cookie crumbs with cream cheese)
- Hand mixer or stand mixer (makes mixing the filling much easier, but a sturdy spoon and some elbow grease works too)
- Baking sheet lined with parchment paper or a silicone baking mat (for setting the cookies)
- Small cookie scoop or tablespoon (for portioning the filling evenly)
- Double boiler or microwave-safe bowl (for melting the chocolate coating)
- Fork or dipping tool (for dipping the cookies in chocolate—I use a regular dinner fork, but you can buy special dipping tools)
- Piping bag or small ziplock bag (for drizzling white chocolate or adding decorative touches)
I’ve made these with just a ziplock bag and a rolling pin before, and they turned out fine—just a little more rustic. If you’re investing in a food processor, this is a great recipe to justify it. I got mine for $30 at a discount store, and it’s paid for itself in crushed cookies alone.
Preparation Method
Let me walk you through this step by step. Trust me, it’s easier than it sounds.
- Crush the cookies (5 minutes): Place the entire package of chocolate sandwich cookies (cream filling and all) into your food processor. Pulse until you have a fine crumb with no large chunks. You want the texture of wet sand—some tiny pieces are fine, but avoid big cookie chunks. If using a ziplock bag, seal it tight and go to town with a rolling pin. Pro tip: Don’t open the bag too enthusiastically afterward, or you’ll have cookie dust everywhere. Ask me how I know.
- Mix the filling (5 minutes): In a large mixing bowl, beat the softened cream cheese with a hand mixer until smooth and creamy, about 1 minute. Add the peppermint extract and beat until combined. Then add the cookie crumbs and mix on low speed until everything comes together. The mixture should be thick and slightly sticky, like a stiff cookie dough. If it’s too dry, add a teaspoon of milk. If it’s too wet, add a few more crushed cookies.
- Shape the cookies (10 minutes): Using a small cookie scoop or a tablespoon, portion out the filling and roll into 1-inch balls. Place them on the parchment-lined baking sheet. You should get about 24 to 30 cookies, depending on how big you make them. Press each ball slightly to flatten into a disc shape—this helps them look more like sandwich cookies. Pop the baking sheet in the refrigerator for at least 15 minutes to firm up. This step is crucial—if you skip it, the cookies will fall apart when you dip them.
- Melt the chocolate (5 minutes): While the cookies chill, melt the chocolate chips and coconut oil together. You can do this in a double boiler on the stove or in the microwave. For the microwave method: heat in 30-second intervals, stirring between each, until smooth and fully melted. Be careful not to overheat—chocolate burns easily and gets grainy. Stir in the coconut oil until the mixture is glossy and thin enough for dipping.
- Dip the cookies (15 minutes): Remove the chilled cookies from the fridge. Using a fork, carefully lower one cookie into the melted chocolate. Spoon chocolate over the top to coat completely, then lift the fork and tap it gently on the edge of the bowl to let excess chocolate drip off. Transfer the dipped cookie back to the parchment-lined baking sheet. Repeat with the remaining cookies. Work quickly—if the cookies get too warm, they’ll start to soften and fall apart.
- Decorate (5 minutes): While the chocolate coating is still wet, sprinkle on your Halloween decorations—orange and black nonpareils, crushed candy cane, or a drizzle of white chocolate. If you’re using white chocolate for drizzling, melt it separately and transfer to a small piping bag or ziplock bag with the corner snipped off. Drizzle in zigzags over the cookies.
- Set and serve (30 minutes): Return the baking sheet to the refrigerator and let the cookies set for at least 30 minutes, until the chocolate is firm and shiny. You can speed this up by placing them in the freezer for 15 minutes. Once set, they’re ready to serve. Store any leftovers in an airtight container in the refrigerator for up to a week.
Sensory Cues: When you’re mixing the filling, it should smell distinctly minty—that’s how you know you’ve added enough extract. The dough should feel slightly firm when you roll it, not sticky or greasy. When you dip the cookies, the chocolate should coat smoothly without pooling at the bottom. If it’s too thick, add a little more coconut oil. If it’s too thin, let it cool for a minute.
Cooking Tips & Techniques
I’ve made these cookies maybe twenty times now, and I’ve learned a few things the hard way. Here’s what I wish someone had told me:
Temperature matters: The cream cheese needs to be truly softened—not cold, not melted. If it’s too cold, you’ll get lumps in your filling. If it’s too warm, the filling will be too soft to shape. Leave it on the counter for about 30 minutes before you start. Same goes for the cookies—if they come straight from a cold pantry, let them sit out for a bit.
Don’t overmix the filling: I made this mistake the first time. I kept mixing, trying to get it perfectly smooth, and ended up with a greasy, separated mess. Mix just until everything comes together, then stop. A few tiny cookie chunks are fine—they add texture.
Chill, chill, chill: I cannot stress this enough. The chilling step between shaping and dipping is non-negotiable. I once got impatient and tried to dip cookies that had only chilled for five minutes, and they fell apart in the chocolate. It was a disaster. Give them the full 15 minutes minimum.
Use a fork, not your fingers: Dipping with your fingers might seem easier, but the chocolate will get all over your hands and the cookies will look messy. A fork lets you coat the cookie evenly and tap off the excess without making a huge mess. If you have a dipping tool, even better.
Work in batches: Don’t try to dip all the cookies at once. Take out 6 to 8 from the fridge at a time, dip them, and put them back. This keeps the remaining cookies cold and firm while you work. It takes a little longer, but the results are worth it.
Variations & Adaptations
One of the best things about this recipe is how easy it is to change up. Here are some of my favorite variations:
Spooky Spiderweb Cookies
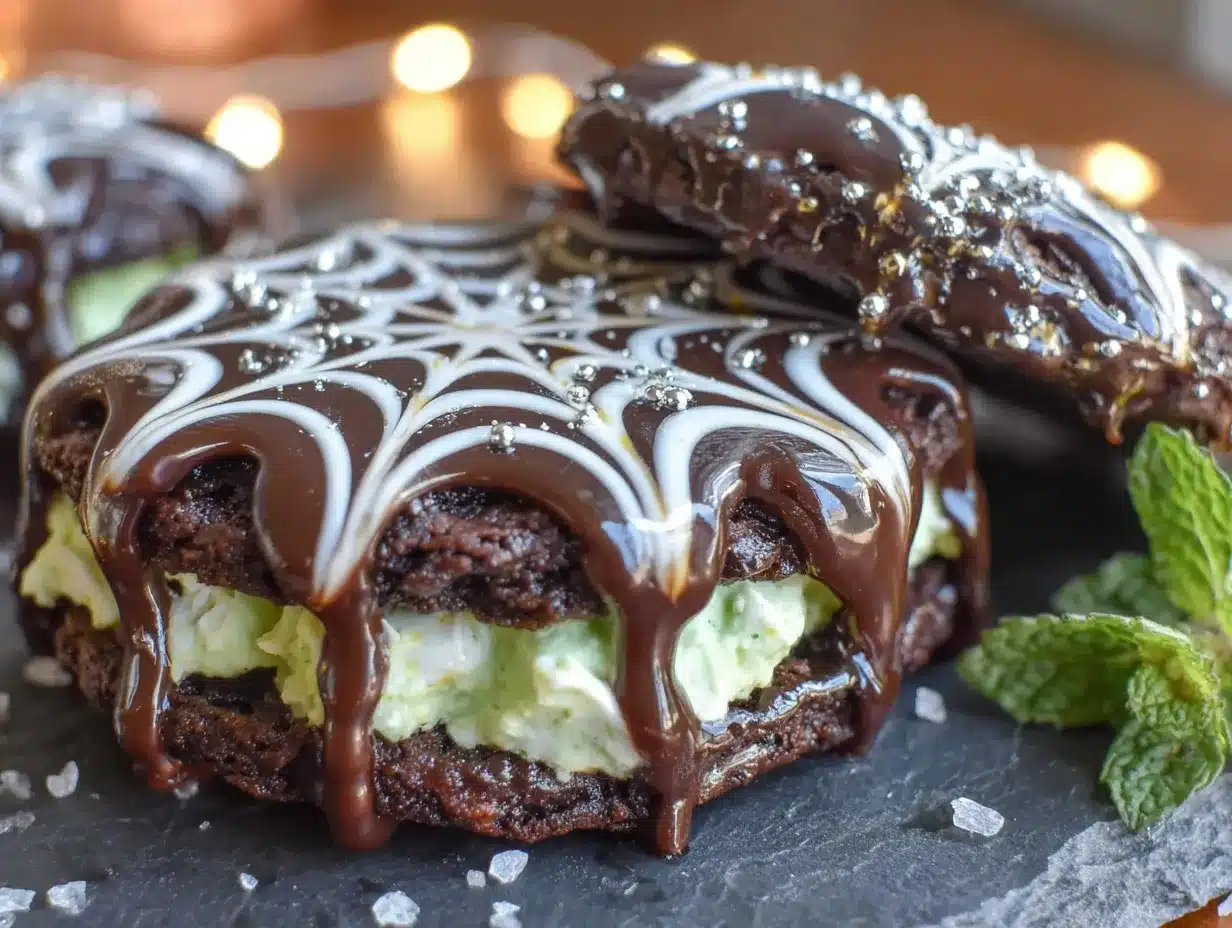
After dipping in dark chocolate, drizzle white chocolate in concentric circles on top, then drag a toothpick from the center outward to create a web pattern. Add a small candy spider on top for extra creepiness.
Mint Chocolate Crunch Balls
Skip the coating and roll the shaped cookies in crushed peppermint candies or crushed chocolate wafers instead. These are faster and have a fun, crunchy texture. Perfect if you’re short on time.
Peppermint Patty Style
Add 1/4 cup of crushed peppermint candies to the filling mixture for extra crunch and mint flavor. Dip in dark chocolate and top with a sprinkle of crushed candy cane. These taste just like the real thing.
Gluten-Free Version
Use gluten-free chocolate sandwich cookies (I like the Kinnikinnick brand) and double-check that your cream cheese and chocolate are certified gluten-free. Everything else stays the same—no adjustments needed.
Vegan Option
Use dairy-free cream cheese, vegan chocolate chips, and vegan sandwich cookies. I’ve tested this with Kite Hill cream cheese and Enjoy Life chocolate chips, and it works beautifully. Just make sure to chill the filling a little longer, as vegan cream cheese can be softer.
Serving & Storage Suggestions
These cookies are best served cold, straight from the fridge. The chocolate coating should be firm and snappy, and the filling should be creamy but not soft. I like to arrange them on a black or orange platter for Halloween parties—they look spooky and elegant at the same time.
Storage: Keep these in an airtight container in the refrigerator for up to 7 days. They actually get better after a day or two—the flavors meld together and the texture becomes even more fudge-like. You can also freeze them for up to 3 months. Just layer them between sheets of parchment paper in a freezer-safe container. Thaw in the refrigerator overnight before serving.
Reheating: Honestly, I don’t recommend reheating these. They’re meant to be eaten cold. But if you want a slightly softer texture, let them sit at room temperature for 5 to 10 minutes before serving. The chocolate will soften just a bit, and the filling will become more creamy.
Flavor Development: The mint flavor becomes more pronounced after a day or two in the fridge. If you’re making these for a party, I’d recommend making them a day ahead. The chocolate coating also develops a nicer shine after it’s had time to fully set.
Complementary Dishes: These pair beautifully with a hot cup of coffee, a glass of cold milk, or a mug of hot chocolate. For a Halloween party spread, serve them alongside pumpkin spice cookies, caramel apples, or a bowl of popcorn balls.
Nutritional Information & Benefits
Let’s be real—these are a treat, not a health food. But here’s what you’re looking at per cookie (based on 24 cookies):
| Nutrient | Amount per Cookie |
|---|---|
| Calories | 185 |
| Total Fat | 11g |
| Saturated Fat | 6g |
| Carbohydrates | 21g |
| Sugar | 15g |
| Protein | 2g |
| Sodium | 95mg |
Health Benefits: On the bright side, dark chocolate contains antioxidants and flavonoids that can support heart health. Peppermint is known for its digestive benefits and can help soothe an upset stomach. And hey, these cookies are portion-controlled—one or two is usually enough to satisfy a sweet craving without going overboard.
Dietary Considerations: As written, these contain dairy, gluten, and soy (from the cookies). But with the substitutions I mentioned, you can easily make them gluten-free, dairy-free, or vegan. They’re naturally egg-free and nut-free (check your chocolate for nut contamination if allergies are a concern).
Conclusion
These Halloween Chocolate Mint Sandwich Cookies are proof that you don’t need fancy ingredients or hours in the kitchen to create something truly special. They’re the recipe I turn to every October—when I’m short on time, low on energy, but still want to show up with something that makes people smile. Or, you know, shriek with Halloween delight.
I love how forgiving this recipe is. You can make it your own—add more mint, less mint, different decorations, different coatings. It’s a canvas for your creativity, not a rigid set of rules. So go ahead, raid your pantry, and give these a try. And when you do, I’d love to hear about it. Drop a comment below and tell me how your cookies turned out, what decorations you used, or if you came up with a new variation I haven’t tried yet. Happy Halloween, and happy cookie-making!
Frequently Asked Questions
Can I use double-stuffed Oreos for this recipe?
You can, but the filling will be softer and harder to shape. I recommend regular Oreos for the best texture. If you only have double-stuffed, add a few extra crushed cookies to balance out the extra cream filling.
How far in advance can I make these cookies?
You can make them up to 3 days ahead and store them in the refrigerator. They actually taste better after a day or two. For longer storage, freeze them for up to 3 months.
My chocolate coating is too thick. What should I do?
Add a little more coconut oil or shortening—about 1/2 teaspoon at a time—and stir until the chocolate thins out. If it’s too thin, let it cool for a minute or add a few more chocolate chips.
Can I skip the peppermint extract?
Absolutely! You can use vanilla extract, almond extract, or orange extract instead. Or skip it entirely for plain chocolate cookies. The mint is traditional for Halloween, but feel free to customize.
Why are my cookies falling apart when I dip them?
They probably weren’t chilled long enough. Make sure the shaped cookies are in the refrigerator for at least 15 minutes, or even 20 if your kitchen is warm. Also, don’t let the melted chocolate get too hot—warm chocolate can soften the filling.
Pin This Recipe!
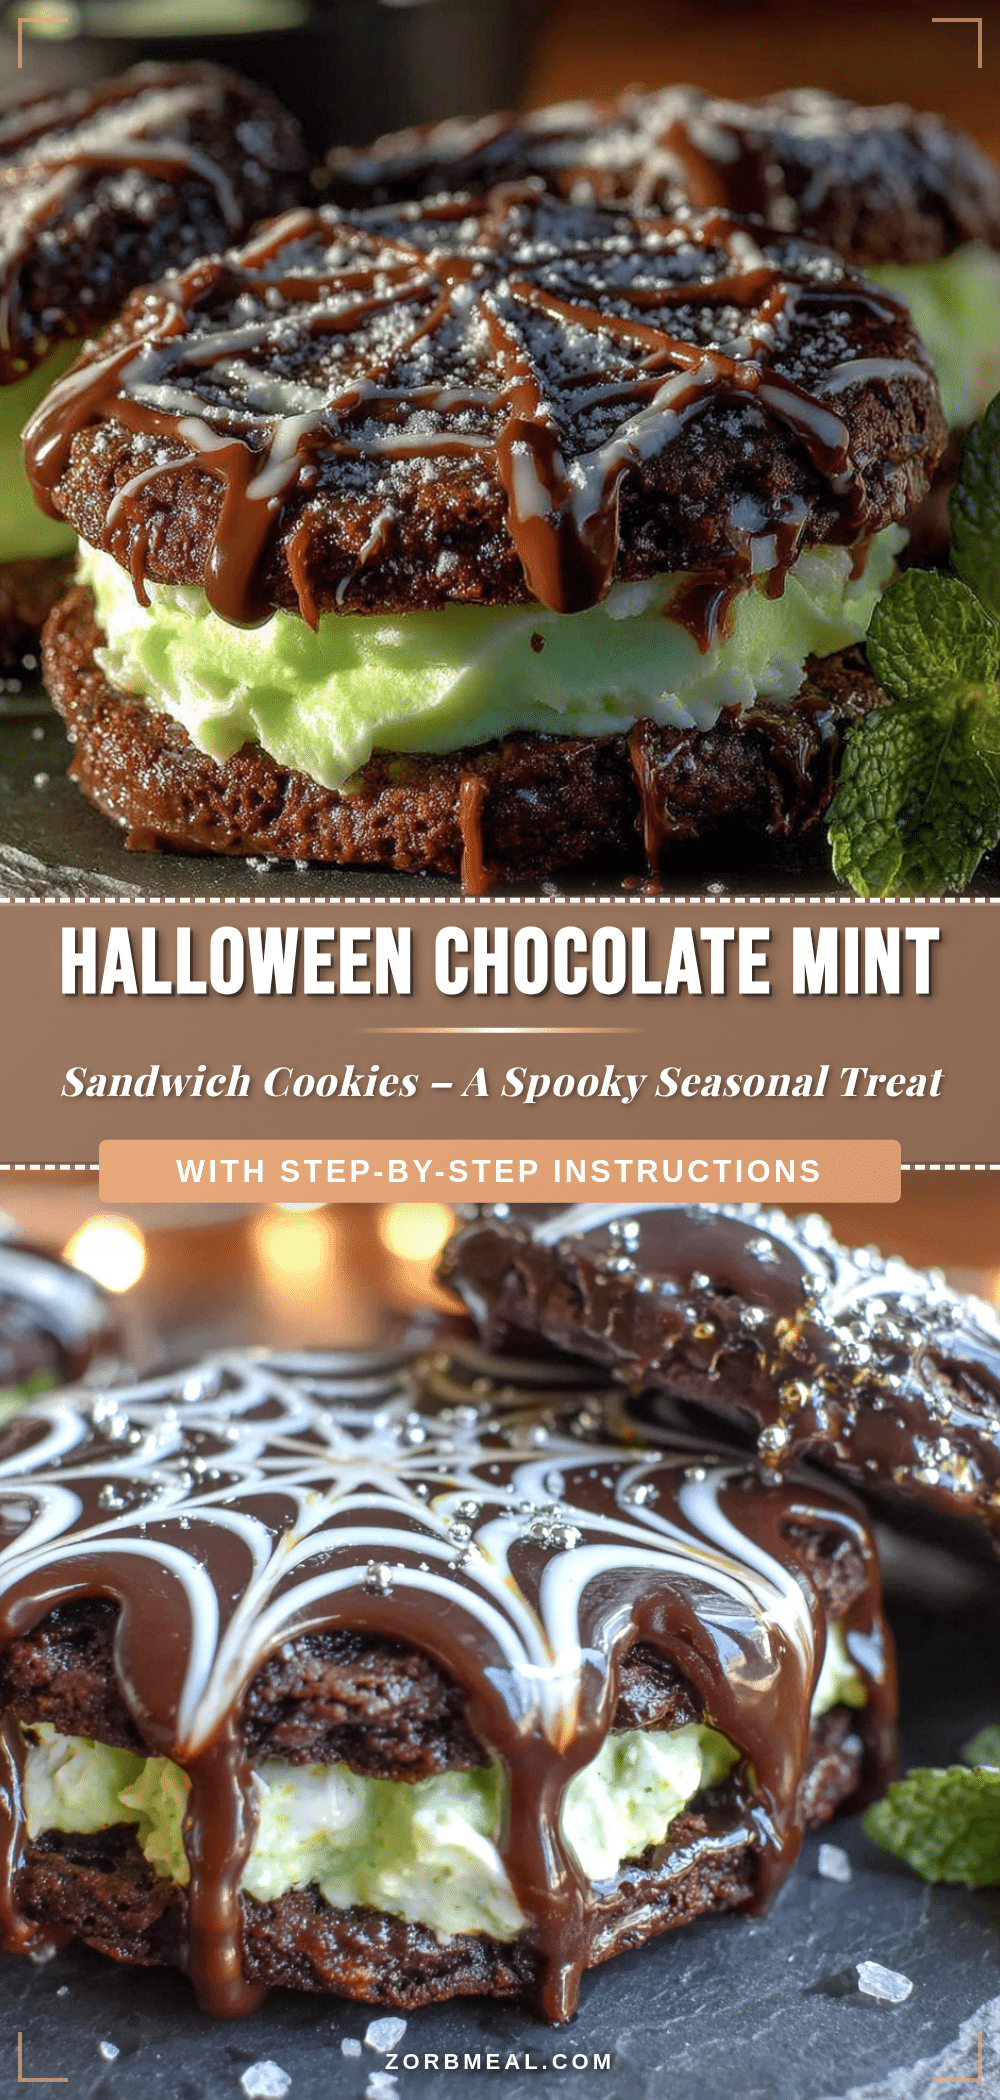
Halloween Chocolate Mint Sandwich Cookies: 3-Ingredient Easy Recipe

These no-bake Halloween Chocolate Mint Sandwich Cookies are ridiculously easy to make with just three main ingredients. They look spooky and festive with minimal effort, perfect for last-minute Halloween parties or when you need a quick treat that tastes like you spent hours in the kitchen.
- Prep Time: 20 minutes
- Cook Time: 0 minutes
- Total Time: 30 minutes (plus 30 minutes chilling)
- Yield: 24 cookies 1x
- Category: Dessert
- Cuisine: American
Ingredients
- 1 package (14.3 ounces) chocolate sandwich cookies (like Oreos, regular not double-stuffed)
- 8 ounces cream cheese, softened to room temperature (full-fat block-style)
- 1 teaspoon peppermint extract (pure peppermint extract, not mint extract)
- 12 ounces semisweet or dark chocolate chips (such as Ghirardelli or Guittard)
- 1 tablespoon coconut oil or shortening
- Orange and black sprinkles or Halloween-themed nonpareils (optional)
- White chocolate chips for drizzling, about 2 ounces (optional)
- Black gel food coloring (optional)
Instructions
- Crush the cookies: Place the entire package of chocolate sandwich cookies (cream filling and all) into a food processor. Pulse until you have a fine crumb with no large chunks, resembling wet sand. Alternatively, crush in a sealed ziplock bag with a rolling pin.
- Mix the filling: In a large mixing bowl, beat the softened cream cheese with a hand mixer until smooth and creamy, about 1 minute. Add the peppermint extract and beat until combined. Add the cookie crumbs and mix on low speed until everything comes together. The mixture should be thick and slightly sticky, like stiff cookie dough. If too dry, add a teaspoon of milk; if too wet, add more crushed cookies.
- Shape the cookies: Using a small cookie scoop or tablespoon, portion out the filling and roll into 1-inch balls. Place on a parchment-lined baking sheet. Press each ball slightly to flatten into a disc shape. Refrigerate for at least 15 minutes to firm up.
- Melt the chocolate: While the cookies chill, melt the chocolate chips and coconut oil together in a double boiler or microwave. For microwave: heat in 30-second intervals, stirring between each, until smooth and glossy. Stir in coconut oil until thin enough for dipping.
- Dip the cookies: Remove chilled cookies from the fridge. Using a fork, lower one cookie into the melted chocolate. Spoon chocolate over the top to coat completely, then lift the fork and tap gently on the bowl edge to let excess drip off. Transfer dipped cookie back to the parchment-lined baking sheet. Repeat with remaining cookies, working in batches of 6-8 to keep others cold.
- Decorate: While the chocolate coating is still wet, sprinkle on Halloween decorations like orange and black nonpareils. For white chocolate drizzle, melt separately and transfer to a piping bag or ziplock bag with snipped corner; drizzle in zigzags over the cookies.
- Set and serve: Return the baking sheet to the refrigerator and let the cookies set for at least 30 minutes, until chocolate is firm and shiny. For faster setting, freeze for 15 minutes. Serve cold. Store leftovers in an airtight container in the refrigerator for up to a week.
Notes
The cream cheese must be truly softened (not cold or melted) for best texture. Do not overmix the filling to avoid a greasy consistency. Chilling the shaped cookies for at least 15 minutes before dipping is crucial to prevent them from falling apart. Work in batches when dipping to keep remaining cookies cold. The cookies taste even better after a day or two in the fridge as flavors meld. For dairy-free, use dairy-free cream cheese and chocolate chips. For gluten-free, use gluten-free chocolate sandwich cookies. Store in an airtight container in the refrigerator for up to 7 days or freeze for up to 3 months.
Nutrition
- Serving Size: 1 cookie
- Calories: 185
- Sugar: 15
- Sodium: 95
- Fat: 11
- Saturated Fat: 6
- Carbohydrates: 21
- Fiber: 1
- Protein: 2
Keywords: Halloween cookies, no-bake cookies, chocolate mint cookies, sandwich cookies, 3-ingredient recipe, easy dessert, Halloween dessert, mint chocolate, cream cheese cookies


