There used to be a little bakery in the strip mall by my old apartment, the kind with a cracked bell over the door and a counter so sticky you didn’t dare put your elbows down. They made this ridiculous brownie dip around Christmas, shaped like a tree, covered in sprinkles, and served with a pile of pretzels and graham crackers. When they closed two years ago—just a sign on the door one Tuesday, “Sorry, folks”—I honestly felt a little lost. The holidays didn’t feel right without it. After six tries—the first was a crumbly mess, the third looked like a swamp creature—I finally cracked it. And the best part? This version costs about the same as a fancy coffee, feeds a whole crowd of kids, and comes together in twenty minutes flat. I mean, let me tell you, if you have ever tried to wrestle a toddler into a Christmas sweater while also baking from scratch, you know the value of a recipe that just works. This one does.
Why You’ll Love This Recipe
This isn’t just another holiday dessert. It is the kind of recipe that makes you look like a hero without breaking a sweat or your wallet. I have tested this with my own kids, my neighbor’s notoriously picky twins, and a whole classroom of first graders—and every single time, it disappeared in minutes.
- Budget-Friendly: Uses basic pantry staples and a box of brownie mix. No expensive specialty ingredients needed.
- Quick & Easy: From start to finish, you are looking at about 20 minutes of active time. The hardest part is waiting for the brownies to cool.
- Kid-Approved: Chocolate, sprinkles, and dippers—honestly, what is not to love? Even the pickiest eaters dive right in.
- Perfect for Christmas Parties: It is a showstopper on any holiday table, from school parties to family gatherings.
- No Special Equipment: Just a baking dish, a mixer, and a little patience. You do not need a stand mixer or fancy piping bags.
What makes this different from every other brownie dip out there is the texture. I figured out that letting the brownies cool completely—and I mean completely—before mixing them with the cream cheese and whipped topping gives you that thick, scoopable consistency that holds its shape when you pile it into a tree. It is not too fudgy, not too fluffy. It is just right. And honestly, it is the kind of dessert that makes you close your eyes after that first bite. Pure comfort, reimagined for the holidays.
What Ingredients You Will Need
This recipe uses simple, everyday ingredients to deliver maximum flavor and festive fun without the fuss. Most of these are probably already in your kitchen, which is exactly how I like to roll during the busy holiday season.
- For the Brownie Base:
- 1 box (18.3 oz / 520g) fudge brownie mix (I prefer Duncan Hines or Ghirardelli for the richest flavor)
- 1/2 cup (120ml) vegetable oil
- 1/4 cup (60ml) water
- 1 large egg
- For the Creamy Dip Layer:
- 8 oz (226g) cream cheese, softened (full-fat works best for stability)
- 1/2 cup (115g) unsalted butter, softened
- 1 teaspoon vanilla extract
- 2 cups (240g) powdered sugar, sifted (sifting prevents lumps)
- 1 cup (240ml) frozen whipped topping, thawed (like Cool Whip)
- For the Christmas Tree Decoration:
- Green food coloring (gel works best for vibrant color without thinning the dip)
- 1/2 cup (85g) holiday sprinkles (the mix of red, green, and white stars is my go-to)
- 1/4 cup (35g) mini chocolate chips (for the “ornaments”)
- 1 yellow star-shaped sprinkle or candy (for the top of the tree)
- For Dipping:
- Pretzel sticks or twists
- Graham crackers, broken into sticks
- Apple slices (tossed in lemon juice to prevent browning)
- Waffle cone pieces
A quick note on the cream cheese—let it sit out for at least 30 minutes before you start. Cold cream cheese creates lumps that no amount of mixing will fix. I learned that the hard way during attempt number two. Also, if you are feeding little ones with nut allergies, double-check your brownie mix label. Most are nut-free, but it is always worth a look.
Equipment Needed
You do not need a fancy kitchen to pull this off. Here is what you will need:
- 8×8-inch (20x20cm) baking pan (a metal pan gives the best edges)
- Mixing bowls (one medium, one large)
- Hand mixer or stand mixer (a whisk and some elbow grease works too, but a mixer saves time)
- Spatula for scraping every last bit of goodness
- Piping bag or a sturdy zip-top bag for shaping the tree
- Large serving platter or cutting board for assembly
- Parchment paper for easy cleanup
If you do not have a piping bag, do not worry. A zip-top bag with the corner snipped off works perfectly. I have used that trick more times than I can count. And if you do not have an 8×8 pan, a 9×9 works fine—your brownies will just be a little thinner. Just reduce the baking time by a couple of minutes.
Preparation Method
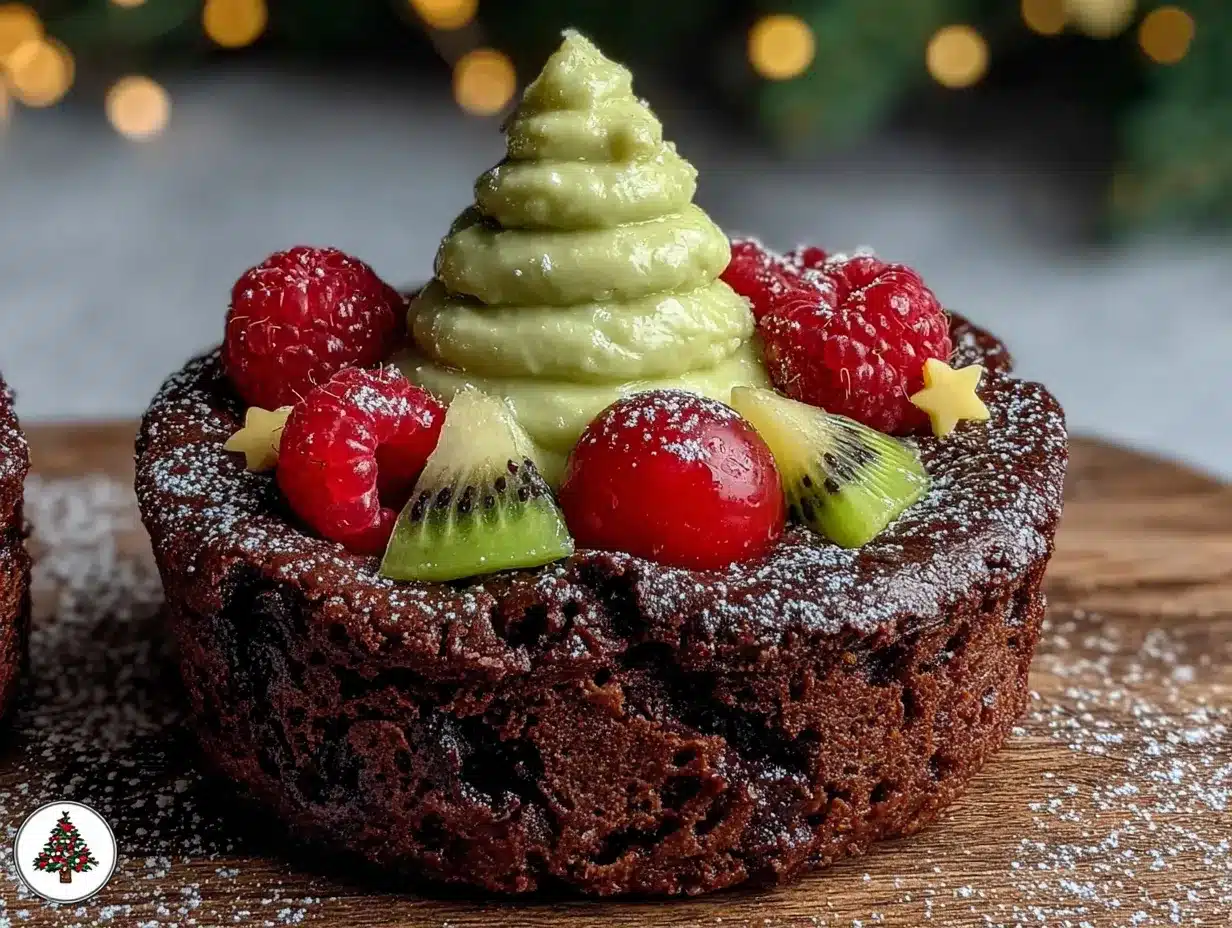
Alright, let us get to the fun part. Here is how to make this Christmas tree brownie dip that will have kids (and adults) hovering around the table.
- Preheat and Prep: Preheat your oven to 350°F (175°C). Line your 8×8 baking pan with parchment paper, leaving a little overhang on two sides. This makes lifting the brownies out a breeze later.
- Make the Brownies: In a medium bowl, combine the brownie mix, oil, water, and egg. Stir until just combined—do not overmix, or the brownies will be tough. Pour the batter into the prepared pan and spread it evenly. Bake for 20-22 minutes, or until a toothpick inserted into the center comes out with a few moist crumbs. The brownies should not be fully set in the middle—we want them fudgy.
- Cool Completely: This is the most important step. Let the brownies cool in the pan for 10 minutes, then transfer them to a wire rack to cool completely. I am talking no warmth at all. If the brownies are even slightly warm, the dip will turn into a soupy mess. I usually make the brownies the night before and let them sit out overnight.
- Make the Creamy Dip: In a large bowl, beat the softened cream cheese and butter together until smooth and fluffy, about 2 minutes. Add the vanilla extract and beat again. Gradually add the sifted powdered sugar, beating on low speed to avoid a cloud of sugar dust, then increase to medium-high and beat until light and creamy. Fold in the thawed whipped topping gently with a spatula until fully incorporated.
- Color the Dip: Divide the creamy mixture in half. Add green food coloring to one half and mix until you reach your desired shade of Christmas tree green. I like a deep forest green, so I use about 8-10 drops of gel food coloring. Leave the other half white.
- Crumble the Brownies: Once the brownies are completely cool, crumble them into a large bowl. You want a mix of fine crumbs and some small chunks for texture. Do not pulverize them into dust—a few little bites of brownie are wonderful.
- Mix the Base: Add the white creamy mixture to the crumbled brownies. Mix with a spatula until everything is evenly combined. You should have a thick, fudgy, scoopable mixture.
- Shape the Tree: On a large serving platter or cutting board, mound the brownie mixture into a cone shape. It does not have to be perfect—think of it as a rustic Christmas tree. Use your hands or a spatula to shape it, pressing gently to make it hold together.
- Pipe the Green Dip: Spoon the green creamy mixture into a piping bag (or zip-top bag). Snip off the tip and pipe stars or swirls all over the brownie tree, starting from the bottom and working your way up. Completely cover the brownie mound. I like to leave a little space between the swirls so you can see the brownie base peeking through.
- Decorate: While the green dip is still soft, press the mini chocolate chips into the tree for ornaments. Sprinkle the holiday sprinkles all over. Place the yellow star sprinkle right at the top. Gently press everything in so it sticks.
- Chill and Serve: Pop the whole platter into the refrigerator for at least 30 minutes to set. This makes it easier to dip without everything falling apart. Arrange your dippers around the base of the tree and serve cold.
Cooking Tips & Techniques
Here are the things I wish someone had told me before my first few attempts. The biggest mistake people make is rushing the cooling process. I get it—you are excited, the kids are hyped up on sugar, and you want to get to the decorating. But warm brownies will absolutely destroy the dip. Trust me, I have been there. The brownie base turns into a sticky, unshapable mess.
Another tip: use gel food coloring, not liquid. Liquid food coloring adds extra moisture that can make your green dip runny. Gel gives you that vibrant color without changing the consistency. I keep a little set of gel colors just for holiday baking.
When you are piping the green dip, work quickly but carefully. If the dip starts to get too soft, pop the piping bag in the fridge for 5 minutes. And do not worry if your tree looks a little lopsided. Honestly, the imperfect ones have the most charm. My first successful tree looked like it had been through a windstorm, and the kids still went wild for it.
Timing is everything with this recipe. I like to make the brownies the day before and the dip the morning of the party. That way, everything is chilled and ready to assemble in about 15 minutes before the guests arrive. Multitasking tip: while the brownies are baking, you can soften your cream cheese and butter on the counter.
Variations & Adaptations
One of the best things about this recipe is how easy it is to tweak. Here are a few variations I have tried and loved:
- Gluten-Free Version: Swap the regular brownie mix for a gluten-free one. Most gluten-free mixes work beautifully here. Just follow the package directions for baking. I have used King Arthur Flour’s gluten-free mix with great results.
- Dairy-Free Option: Use dairy-free cream cheese (like Kite Hill or Tofutti) and a plant-based butter substitute. For the whipped topping, there are several dairy-free options available, or you can whip a can of full-fat coconut cream. The flavor is a little different, but still delicious.
- Peppermint Twist: Add 1/2 teaspoon of peppermint extract to the creamy dip mixture. Crush up a few candy canes and sprinkle them on top along with the sprinkles. It gives the dip that classic holiday mint-chocolate vibe.
- Extra Chocolatey: Melt 1/2 cup of semi-sweet chocolate chips and drizzle it over the finished tree before adding the sprinkles. Because there is no such thing as too much chocolate.
- Nutella Swirl: Warm up a few tablespoons of Nutella and swirl it into the white creamy mixture before adding the green food coloring. It creates a beautiful marbled effect and adds a hazelnut kick.
I have also made this as a Halloween pumpkin shape using orange food coloring and candy corn. It works for any holiday, honestly. Just change the shape and the sprinkles.
Serving & Storage Suggestions
Serve this dip cold, straight from the fridge. The texture is best when it has had time to set up. Arrange your dippers in a circle around the tree on the same platter. I like to use a mix of salty and sweet dippers—the pretzels balance out the rich chocolate perfectly.
For a Christmas party, I set the platter on a bed of fake snow (or a white tablecloth) and scatter a few extra sprinkles around the base. It makes for a gorgeous presentation that kids cannot resist.
As for storage, this dip keeps well in the refrigerator for up to 3 days. Cover the platter tightly with plastic wrap or transfer the dip to an airtight container. The brownie base might soften a little over time, but it is still delicious. Do not freeze it—the texture gets weird when thawed.
To reheat? Honestly, do not. This is meant to be served cold. If you want a warm chocolate dip, make a separate batch of brownies and serve them warm with ice cream. This recipe is all about that cool, creamy, scoopable texture.
One thing I love about this dip is that the flavors actually get better after a day in the fridge. The brownie crumbs soften into the creamy base, and everything melds together into this perfect bite. It is a great make-ahead dessert for busy holiday schedules.
Nutritional Information & Benefits
Let us be real—this is a treat, not a health food. But here is the breakdown per serving (about 1/12 of the recipe, not including dippers):
- Calories: 320
- Fat: 18g
- Carbohydrates: 38g
- Protein: 4g
- Sugar: 28g
The cream cheese adds a little protein and calcium, which is something, right? And if you use dark chocolate chips for the ornaments, you get a small dose of antioxidants. I like to pair this dip with apple slices to sneak in some fruit. It is all about balance.
For those with dietary restrictions, this recipe can easily be made gluten-free or dairy-free as mentioned above. It does contain dairy and gluten in its standard form, so be mindful of allergies. The sprinkles sometimes contain artificial dyes, so if that is a concern, look for natural sprinkle options at your local health food store.
Personally, I think the holidays are about joy and connection, and this dip brings plenty of both. A little sugar never hurt anyone, especially when shared with people you love.
Conclusion
This Christmas tree brownie dip is more than just a dessert—it is a memory in the making. It is the recipe that brings kids to the table, makes them giggle as they pile sprinkles on top, and gives you a moment of peace while they happily dip and munch. It is budget-friendly, ridiculously easy, and guaranteed to be the star of your holiday spread.
I hope you try it and make it your own. Maybe you will add crushed candy canes or a drizzle of caramel. Maybe your kids will insist on using rainbow sprinkles instead of holiday ones. That is the beauty of this recipe—it is forgiving, flexible, and always delicious.
So go ahead, give it a whirl. And when you do, come back and tell me how it went. I would love to hear about your tree—lopsided or perfect, covered in sprinkles or studded with chocolate chips. Drop a comment below, share a photo, or tag me on social media. Let us make this holiday season a little sweeter, one brownie dip at a time.
Frequently Asked Questions
Can I use homemade brownies instead of a box mix?
Absolutely. If you have a favorite homemade brownie recipe, go for it. Just make sure they are fudgy, not cakey. Cakey brownies will make the dip too dry and crumbly. Use about 2 cups of crumbled homemade brownies for the base.
How far in advance can I make this dip?
You can make the brownies up to 2 days ahead and the creamy dip up to 1 day ahead. Store them separately in the fridge. Assemble the tree no more than 4 hours before serving for the best texture and appearance.
My dip turned out runny. What went wrong?
This usually happens for two reasons: the brownies were not completely cool, or the cream cheese was too soft (or too cold). Make sure your brownies are at room temperature or colder before crumbling. Also, beat the cream cheese and butter just until fluffy—overbeating can incorporate too much air and make the dip unstable.
Can I make this without a piping bag?
Yes, and it might even look more rustic and charming. Simply spread the green dip over the brownie tree with a spatula, then use a fork to create textured swirls. Or use a zip-top bag with the corner snipped off—it works just as well.
What are the best dippers for this dip?
Salty pretzels are my number one choice because they balance the sweetness. Graham cracker sticks, vanilla wafers, animal crackers, and apple slices are all excellent. Avoid anything too fragile, like thin potato chips, because they will break when you try to scoop.
Pin This Recipe!
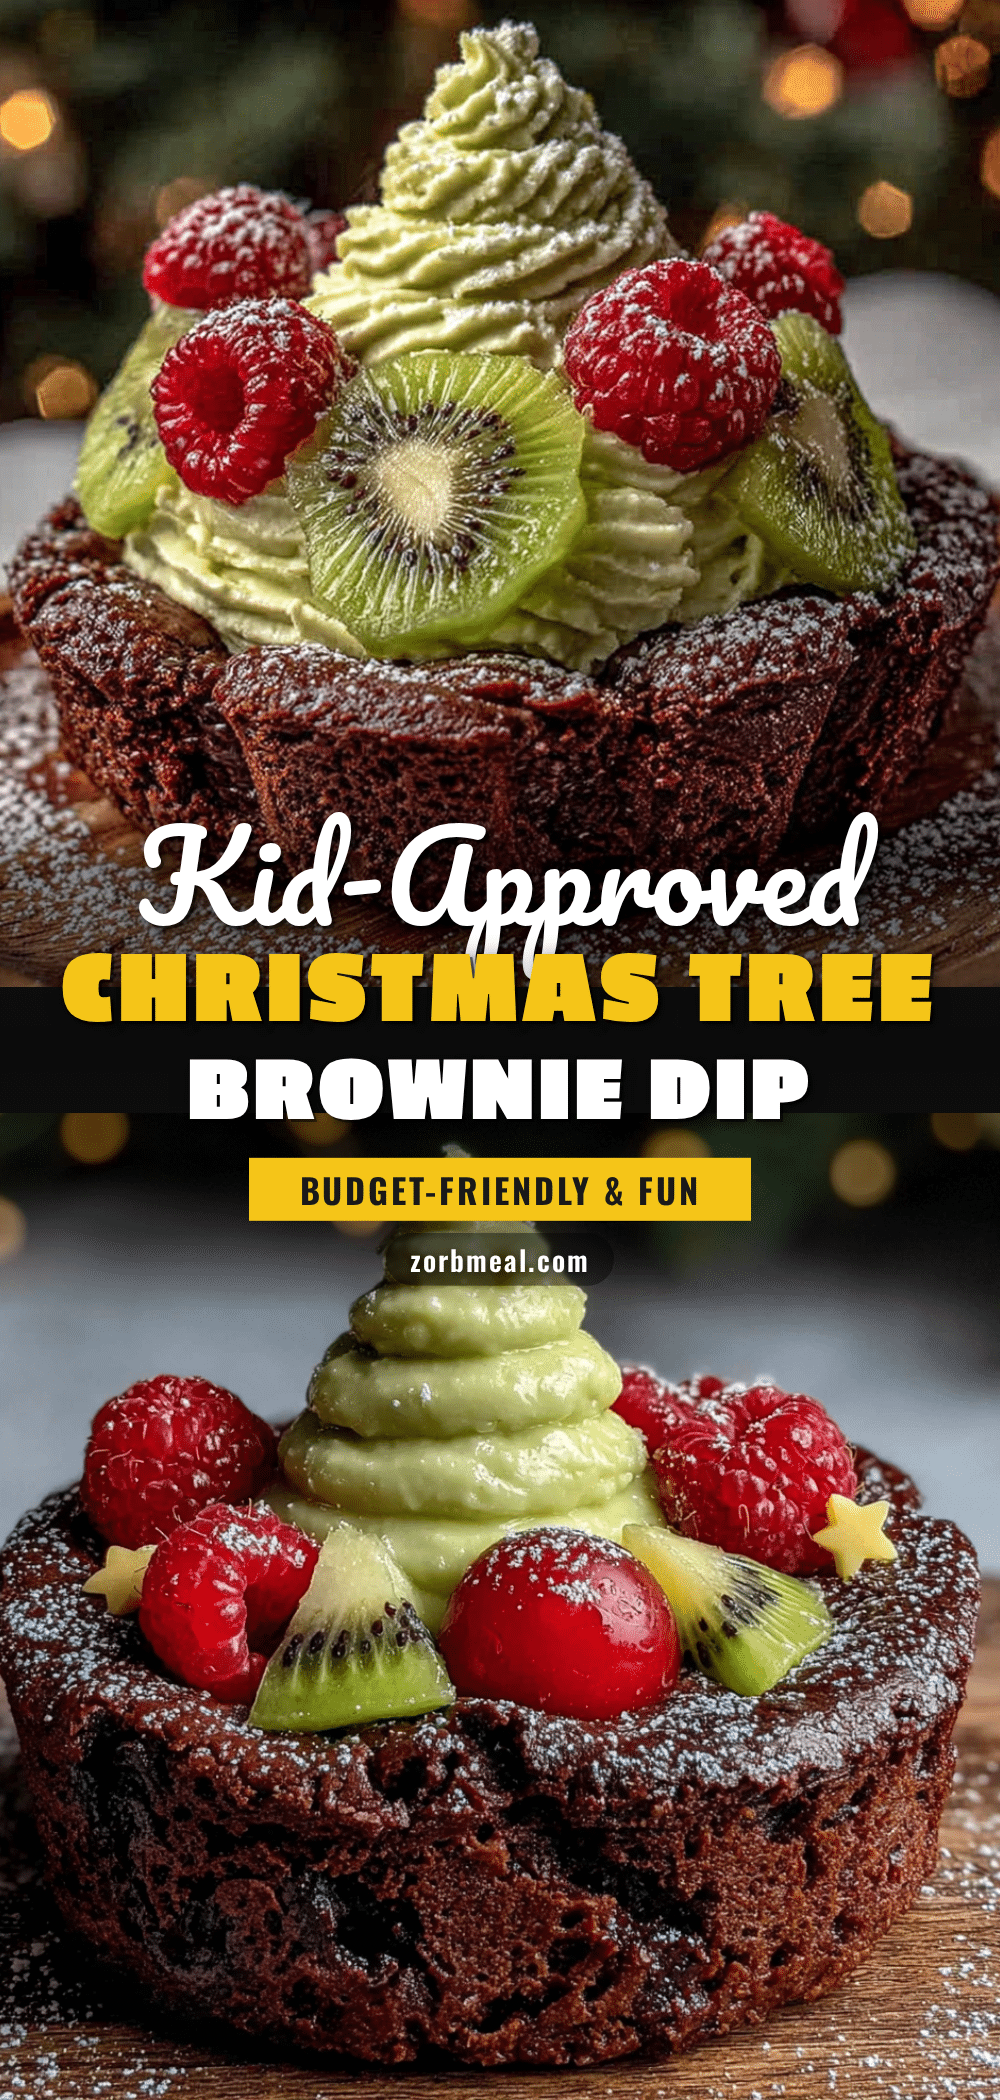
Easy Christmas Tree Brownie Dip for Kids
A festive, no-bake brownie dip shaped like a Christmas tree, made with fudgy brownies, creamy dip, and colorful sprinkles. Perfect for holiday parties and kid-friendly fun.
- Prep Time: 20 minutes
- Cook Time: 22 minutes
- Total Time: 1 hour 12 minutes (includes cooling and chilling)
- Yield: 12 servings 1x
- Category: Dessert
- Cuisine: American
Ingredients
- 1 box (18.3 oz / 520g) fudge brownie mix
- 1/2 cup (120ml) vegetable oil
- 1/4 cup (60ml) water
- 1 large egg
- 8 oz (226g) cream cheese, softened
- 1/2 cup (115g) unsalted butter, softened
- 1 teaspoon vanilla extract
- 2 cups (240g) powdered sugar, sifted
- 1 cup (240ml) frozen whipped topping, thawed
- Green food coloring (gel preferred)
- 1/2 cup (85g) holiday sprinkles
- 1/4 cup (35g) mini chocolate chips
- 1 yellow star-shaped sprinkle or candy
- Pretzel sticks or twists (for dipping)
- Graham crackers, broken into sticks (for dipping)
- Apple slices (tossed in lemon juice, for dipping)
- Waffle cone pieces (for dipping)
Instructions
- Preheat oven to 350°F (175°C). Line an 8×8-inch baking pan with parchment paper, leaving overhang on two sides.
- In a medium bowl, combine brownie mix, oil, water, and egg. Stir until just combined. Pour into prepared pan and spread evenly. Bake for 20-22 minutes, until a toothpick inserted in center comes out with moist crumbs. Do not overbake.
- Cool brownies completely in pan for 10 minutes, then transfer to a wire rack to cool completely (no warmth remaining). For best results, make brownies a day ahead.
- In a large bowl, beat softened cream cheese and butter until smooth and fluffy, about 2 minutes. Add vanilla extract and beat again. Gradually add sifted powdered sugar, beating on low then medium-high until light and creamy. Fold in thawed whipped topping gently.
- Divide creamy mixture in half. Add green food coloring to one half and mix until desired shade is reached. Leave the other half white.
- Crumble cooled brownies into a large bowl, leaving some small chunks for texture.
- Add white creamy mixture to crumbled brownies and mix with a spatula until evenly combined.
- On a large serving platter, mound the brownie mixture into a cone shape (rustic tree shape). Press gently to hold together.
- Spoon green creamy mixture into a piping bag or zip-top bag. Snip off tip and pipe stars or swirls over the brownie tree, starting from bottom and working up, covering completely.
- While green dip is still soft, press mini chocolate chips into the tree for ornaments. Sprinkle holiday sprinkles all over. Place yellow star sprinkle at the top. Gently press decorations to adhere.
- Refrigerate the platter for at least 30 minutes to set. Arrange dippers around the base and serve cold.
Notes
Let cream cheese sit out for at least 30 minutes before using. Use gel food coloring for best results. Brownies must be completely cool to avoid runny dip. Can be made gluten-free or dairy-free with substitutions. Store in refrigerator for up to 3 days; do not freeze.
Nutrition
- Serving Size: 1/12 of recipe (with
- Calories: 320
- Sugar: 28
- Sodium: 200
- Fat: 18
- Saturated Fat: 9
- Carbohydrates: 38
- Fiber: 1
- Protein: 4
Keywords: Christmas tree brownie dip, holiday dessert, kid-friendly, easy brownie dip, no-bake dessert, Christmas party food


