“Hey, you really nailed those tacos last night,” my friend said, still crunching away on the leftover taco I’d packed for lunch. Honestly, I was half-surprised she found them that unforgettable. See, the whole thing started out as a bit of a kitchen experiment when I was running low on time and energy after a long day of wrangling my ever-demanding schedule. I grabbed an Old El Paso taco kit from the pantry, figuring I’d make something quick and decent. But then, I got curious about pushing the crunch factor to the max — you know, that satisfying snap you get when biting into a perfect taco shell filled with juicy, seasoned beef. I tweaked the method a bit, adding just the right sizzle and seasoning, and suddenly what was supposed to be a simple dinner turned into a mini obsession.
It wasn’t just about crunch, though. The way the beef soaked up the Old El Paso spices but still stayed juicy and tender threw me off my skeptical game. I kept making these tacos several nights in a row, testing minor tweaks like adding a splash of lime or swapping out toppings. The more I made them, the more I realized this recipe was something special—comfort food that didn’t feel like a compromise or a last resort, but a little celebration of texture and flavor. No fancy ingredients, just that perfect balance between bold, savory beef and crispy shells that snap with every bite.
When you find something that turns a rushed weeknight into a moment of genuine joy, you hold onto it. These Crispy Beef Tacos Old El Paso Style stuck around because they’re exactly that—simple, crunchy, and honestly a little addictive. There’s a quiet confidence in knowing you can pull together a meal that hits all the right notes without stress or fuss. So, if you’re craving that ultimate taco crunch with a well-seasoned beef filling, this recipe might just become your new go-to, too.
Why You’ll Love This Recipe
This Crispy Beef Tacos Old El Paso Style recipe has been put through its paces in my kitchen more times than I can count, and it always delivers. Here’s why it stands out from the taco pack:
- Quick & Easy: Ready in under 30 minutes, perfect for those nights when you want something tasty without the hassle.
- Simple Ingredients: No need for specialty stores; most items are pantry staples or easy finds in any grocery store.
- Perfect for Taco Night or Casual Get-Togethers: Whether you’re feeding a hungry family or hosting friends, these tacos vanish fast.
- Crowd-Pleaser: The mix of crispy shells and well-seasoned beef wins over kids and adults alike—no complaints here.
- Unbelievably Delicious: The crispy texture combined with the savory, slightly spicy beef makes each bite a little celebration.
This isn’t just another taco recipe. What sets it apart is the technique of crisping Old El Paso’s classic shells just right, so they stay sturdy but shatter with a perfect crunch. The beef is seasoned with a blend inspired by Old El Paso spices but enhanced with a personal touch—like adding a hint of smoked paprika and a splash of Worcestershire sauce for depth. Honestly, the first time I nailed that combo, I closed my eyes mid-bite. It’s comfort food with a crispy twist that makes every taco night feel a little more special.
What Ingredients You Will Need
This recipe leans on straightforward, wholesome ingredients that come together to pack flavor and crunch without fuss. Here’s what you’ll want to have on hand:
- For the Beef Filling:
- 1 lb (450 g) ground beef (preferably 85% lean for juiciness)
- 1 packet Old El Paso taco seasoning mix (or homemade blend of chili powder, cumin, garlic powder, onion powder, and paprika)
- 1/2 cup (120 ml) water
- 1 tsp Worcestershire sauce (adds savory depth)
- 1 small onion, finely chopped (for sweetness and texture)
- 2 cloves garlic, minced (fresh is best for flavor)
- For the Taco Shells & Assembly:
- Old El Paso crispy taco shells (classic corn shells work great)
- 1 cup (100 g) shredded sharp cheddar cheese
- 1 cup (150 g) shredded iceberg lettuce or cabbage (adds crisp freshness)
- 1 medium tomato, diced (for juicy bursts)
- 1/2 cup (120 g) sour cream or Greek yogurt (balances spice with creaminess)
- Fresh cilantro leaves, chopped (optional, for brightness)
- Lime wedges (to squeeze over before eating)
For best results, I recommend using Old El Paso’s crispy taco shells—they hold up well and have a nostalgic crunch. If you want to swap out the ground beef, lean ground turkey or chicken can work, but you might want to adjust seasonings to taste. For dairy-free options, sour cream can be replaced with avocado crema or a dairy-free yogurt.
Equipment Needed
- Large non-stick skillet or frying pan – essential for browning the beef evenly without sticking.
- Wooden spoon or spatula – for breaking up the beef and stirring in seasoning.
- Measuring cups and spoons – precise seasoning and liquid ratios make all the difference.
- Knife and cutting board – to prep onions, tomatoes, and cilantro.
- Serving plates or taco holders – for presentation and keeping those crispy shells upright.
If you don’t have a non-stick skillet, a well-seasoned cast iron pan works just as well. Just be sure to watch the heat so the beef doesn’t burn. For those on a budget, any sturdy frying pan will do, but it might take a little patience to prevent sticking. I’ve also found that warming the taco shells briefly in the oven before filling helps keep their crunch intact, so a baking sheet and oven come in handy.
Preparation Method
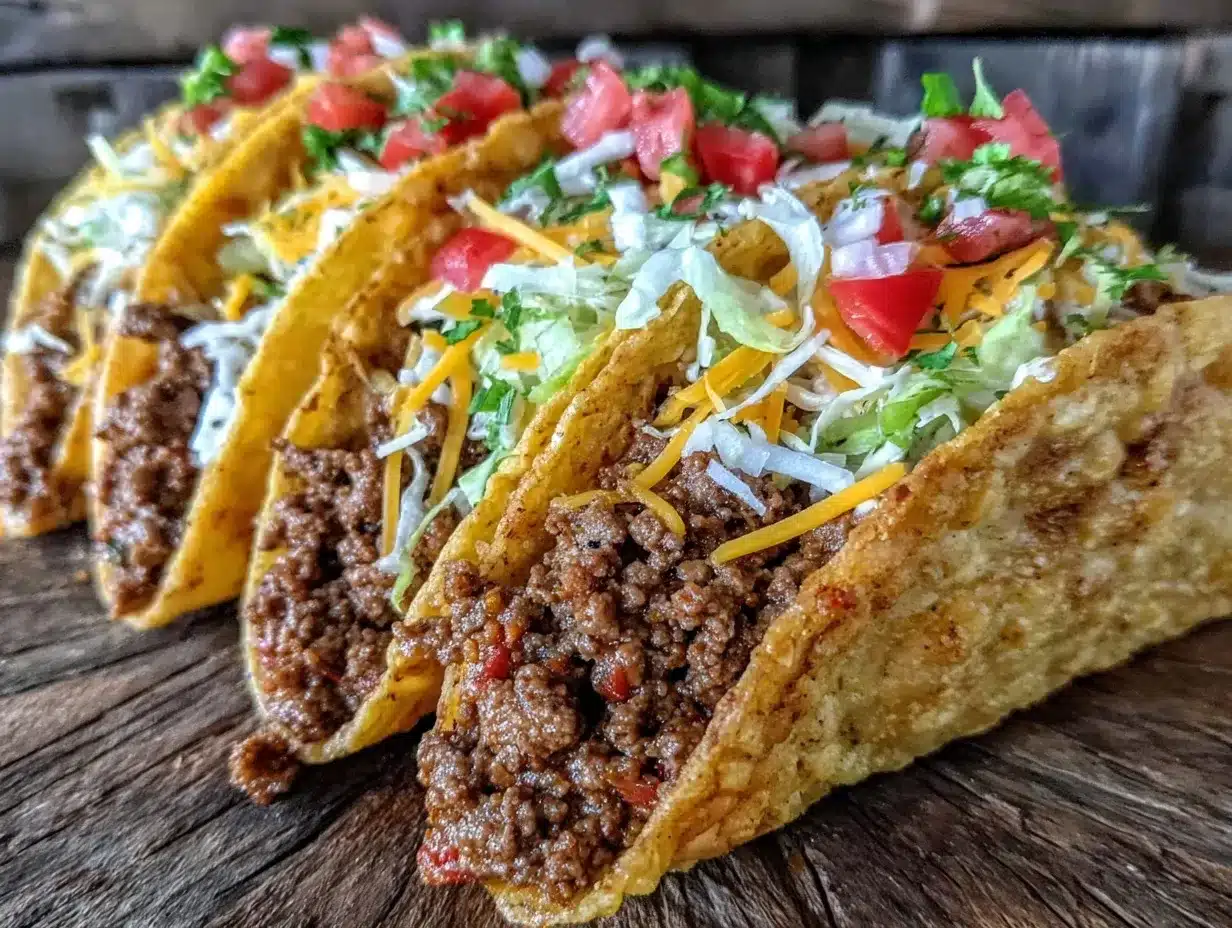
- Prep the veggies: Finely chop the onion and mince the garlic. Dice the tomato and shred the lettuce or cabbage. Set aside. (5 minutes)
- Brown the beef: Heat your skillet over medium-high heat. Add the ground beef and cook, breaking it up with a wooden spoon, until no longer pink and starting to brown, about 6-8 minutes. Drain excess fat if needed to avoid sogginess.
- Add aromatics: Stir in the chopped onion and garlic. Cook for 2-3 minutes until softened and fragrant. You’ll notice a nice savory aroma building here—that’s your cue the flavor is developing.
- Season the beef: Sprinkle in the Old El Paso taco seasoning packet along with the Worcestershire sauce. Pour in 1/2 cup (120 ml) water, stir well, and reduce heat to medium-low. Let it simmer gently, stirring occasionally until the sauce thickens and coats the beef, about 5 minutes. Avoid letting it dry out completely; you want moist, flavorful meat.
- Warm the taco shells: While the beef simmers, preheat your oven to 350°F (175°C). Arrange the taco shells on a baking sheet and warm for 5 minutes. This step keeps them crisp and ready for assembly.
- Assemble the tacos: Spoon the hot beef mixture evenly into each shell. Top with shredded cheddar, lettuce or cabbage, diced tomato, and a dollop of sour cream or Greek yogurt. Garnish with cilantro and a squeeze of fresh lime juice for a bright finish.
- Serve immediately: The key to ultimate crunch is serving these tacos as soon as they’re assembled so the shells don’t get soggy. Trust me, it’s worth the quick assembly rush!
Tip: If you notice your beef mixture seems too wet, cook it a bit longer on low heat to evaporate excess moisture. If it’s too dry, add a splash more water or a teaspoon of tomato sauce to keep it juicy. Smell and texture are your best guides here—beef should smell savory and rich without any burnt notes.
Cooking Tips & Techniques
When it comes to making crispy beef tacos, a few insider tips go a long way. First, don’t rush browning the beef. Let it sit in the hot pan for a minute before stirring to develop those flavorful brown bits—this is where the magic happens. I’ve ruined batches by stirring too soon and ending up with steamed meat instead of browned.
Second, draining excess fat is key. Too much grease will weigh down the shells and ruin the crunch. I usually drain about half after browning, then return the beef to the pan for seasoning.
Simmering the beef with seasoning and water lets the flavors meld and the sauce thicken. If you skip this, the meat can taste flat or dry. Patience really pays off here.
Warming taco shells in the oven is a game changer. I tested microwaving vs. oven warming, and the oven method keeps them crisp instead of rubbery. If you don’t have an oven, a dry pan over low heat works in a pinch—just watch closely to avoid burning.
Finally, assemble just before serving. Tacos are best enjoyed fresh. If you make them ahead, keep beef warm separately and fill shells at the last minute to keep that iconic crunch alive.
Variations & Adaptations
Feel like switching things up? Here are some ideas to make this Crispy Beef Tacos Old El Paso Style your own:
- Vegetarian Option: Swap ground beef with seasoned lentils or crumbled tempeh, using the same seasoning mix. It’s hearty, protein-packed, and still delivers on flavor.
- Spice It Up: Add finely chopped jalapeños or a dash of cayenne for more heat. Alternatively, cool it down with a creamy avocado salsa topping.
- Different Shells: Try soft flour tortillas lightly toasted for a softer taco or grab hard shell tortillas with a hint of chili powder for extra flavor and crunch.
- Gluten-Free: Old El Paso corn shells are naturally gluten-free, but double-check the seasoning packet or make your own to avoid gluten-containing additives.
- Personal Twist: I once added a quick pickled red onion topping to these tacos—acidic, crunchy, and it cut through the richness beautifully. It’s now a favorite add-on for parties.
Serving & Storage Suggestions
These tacos are best served hot and fresh for that signature crunch. Pair them with a simple side like Mexican rice or refried beans, or keep it light with a fresh salad like the fresh avocado egg salad lettuce wraps for a balanced meal.
Leftover beef filling stores well in an airtight container in the fridge for up to 3 days. Reheat gently on the stovetop to keep it juicy—microwaving can dry it out. Taco shells, however, don’t keep well once filled, so store those separately at room temperature and warm fresh before assembling.
Flavors in the beef mixture deepen overnight, so if you can prep ahead, that’s a win. Just reheat carefully, add fresh toppings, and you’re good to go. If you happen to have extra time, this recipe pairs nicely with a cool, creamy side like the creamy cucumber salad with red onion and dill—a refreshing contrast to the spicy beef.
Nutritional Information & Benefits
Each serving of these Crispy Beef Tacos Old El Paso Style (2 tacos) roughly contains:
| Nutrient | Amount |
|---|---|
| Calories | 450-480 kcal |
| Protein | 28 g |
| Fat | 25 g |
| Carbohydrates | 30 g |
| Fiber | 5 g |
| Sodium | 700 mg (varies by seasoning) |
Ground beef provides a solid protein punch and essential nutrients like iron and vitamin B12. Using lean beef helps keep fat content moderate. The corn taco shells add fiber and are naturally gluten-free, making this a suitable option for many dietary needs. The fresh veggies contribute vitamins and fiber, while sour cream adds some calcium and a creamy texture.
For those watching carbs, you can reduce tortilla count or substitute with lettuce wraps to lighten the meal. Just keep an eye on sodium in seasoning packets if that’s a concern—homemade blends allow better control.
Conclusion
These Crispy Beef Tacos Old El Paso Style have become a staple in my recipe rotation because they hit that sweet spot between quick, tasty, and satisfying. The crunch of the shells with the juicy, well-seasoned beef is a simple pleasure that never gets old. You can tweak the toppings and spice level to suit your mood, making it a flexible recipe for any weeknight or casual gathering.
I genuinely love how this recipe turns a few pantry staples into a meal that feels like a small celebration. If you try it, I’d love to hear how you personalize your tacos or what crunch tricks you discover. Sharing those little kitchen wins is part of the fun!
So, go ahead and get that skillet sizzling. Your ultimate crunchy taco experience awaits.
FAQs About Crispy Beef Tacos Old El Paso Style
Can I use homemade taco seasoning instead of the Old El Paso packet?
Absolutely! A mix of chili powder, cumin, garlic powder, onion powder, smoked paprika, and a pinch of salt works great. Just adjust quantities to taste.
How do I keep the taco shells from getting soggy?
Warm the shells in the oven before filling and serve immediately after assembly. Keep beef filling juicy but not watery by draining excess fat and simmering until thickened.
Can I make the beef filling ahead of time?
Yes, the filling keeps well refrigerated for up to 3 days. Reheat gently on the stove before filling shells to maintain moisture and flavor.
What’s the best way to add extra crunch besides the shell?
Fresh shredded cabbage or iceberg lettuce adds a crisp texture, plus pickled onions or radishes make excellent crunchy toppings with a tangy kick.
Are these tacos gluten-free?
If you use Old El Paso’s corn taco shells and check that your seasoning packet is gluten-free, then yes. Always double-check labels if you’re avoiding gluten strictly.
Pin This Recipe!
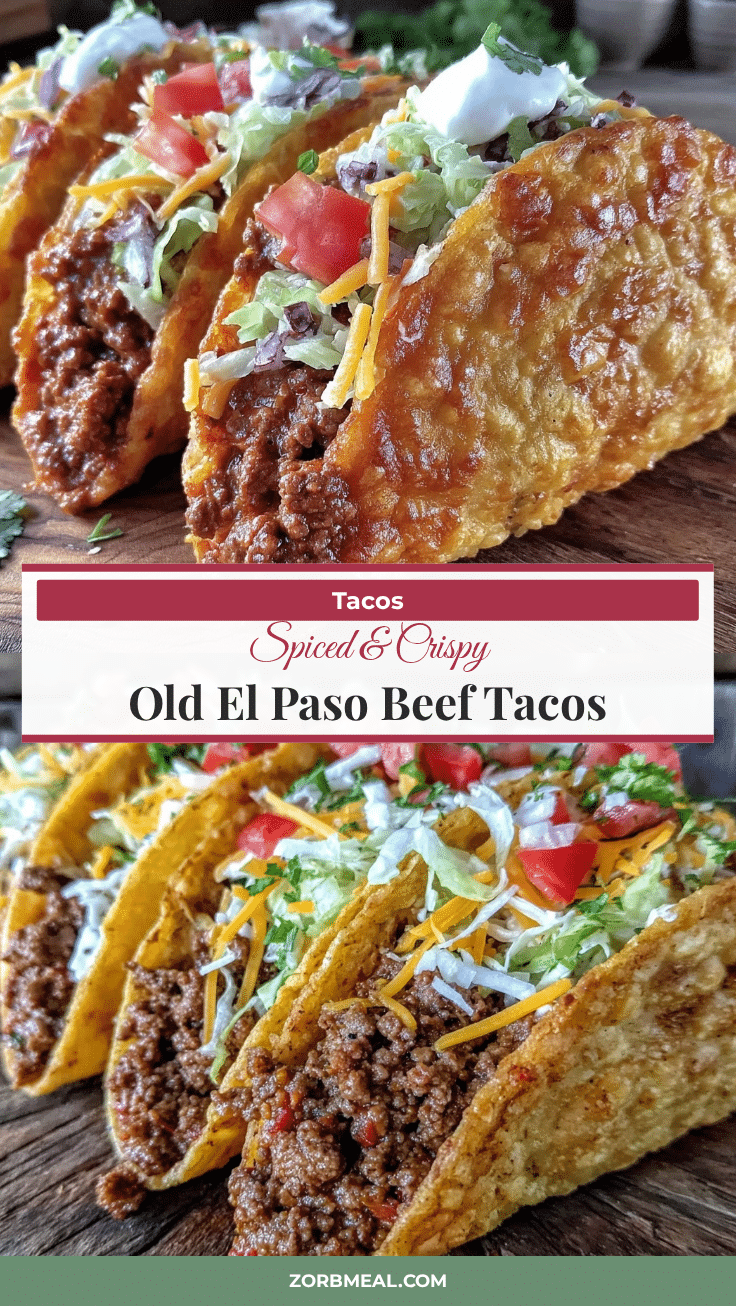
Crispy Beef Tacos Old El Paso Style Easy Recipe for Ultimate Crunch

A quick and easy recipe for crispy taco shells filled with juicy, well-seasoned ground beef, topped with fresh veggies and cheese for the ultimate crunchy taco experience.
- Prep Time: 10 minutes
- Cook Time: 20 minutes
- Total Time: 30 minutes
- Yield: 4 servings 1x
- Category: Main Course
- Cuisine: Mexican
Ingredients
- 1 lb (450 g) ground beef (preferably 85% lean)
- 1 packet Old El Paso taco seasoning mix (or homemade blend of chili powder, cumin, garlic powder, onion powder, and paprika)
- 1/2 cup (120 ml) water
- 1 tsp Worcestershire sauce
- 1 small onion, finely chopped
- 2 cloves garlic, minced
- Old El Paso crispy taco shells (classic corn shells)
- 1 cup (100 g) shredded sharp cheddar cheese
- 1 cup (150 g) shredded iceberg lettuce or cabbage
- 1 medium tomato, diced
- 1/2 cup (120 g) sour cream or Greek yogurt
- Fresh cilantro leaves, chopped (optional)
- Lime wedges
Instructions
- Finely chop the onion and mince the garlic. Dice the tomato and shred the lettuce or cabbage. Set aside.
- Heat a large non-stick skillet over medium-high heat. Add the ground beef and cook, breaking it up with a wooden spoon, until no longer pink and starting to brown, about 6-8 minutes. Drain excess fat if needed.
- Stir in the chopped onion and garlic. Cook for 2-3 minutes until softened and fragrant.
- Sprinkle in the Old El Paso taco seasoning packet along with the Worcestershire sauce. Pour in 1/2 cup water, stir well, and reduce heat to medium-low. Let simmer gently, stirring occasionally until the sauce thickens and coats the beef, about 5 minutes.
- Preheat oven to 350°F (175°C). Arrange taco shells on a baking sheet and warm for 5 minutes to keep them crisp.
- Spoon the hot beef mixture evenly into each shell. Top with shredded cheddar, lettuce or cabbage, diced tomato, and a dollop of sour cream or Greek yogurt. Garnish with cilantro and a squeeze of fresh lime juice.
- Serve immediately to maintain the ultimate crunch.
Notes
Drain excess fat after browning beef to keep shells from getting soggy. Warm taco shells in the oven before filling to maintain crunch. Assemble tacos just before serving. For dairy-free options, replace sour cream with avocado crema or dairy-free yogurt. Ground turkey or chicken can substitute beef with seasoning adjustments.
Nutrition
- Serving Size: 2 tacos
- Calories: 450480
- Sodium: 700
- Fat: 25
- Carbohydrates: 30
- Fiber: 5
- Protein: 28
Keywords: crispy beef tacos, Old El Paso tacos, easy taco recipe, crunchy taco shells, ground beef tacos, quick dinner, taco night


