Introduction
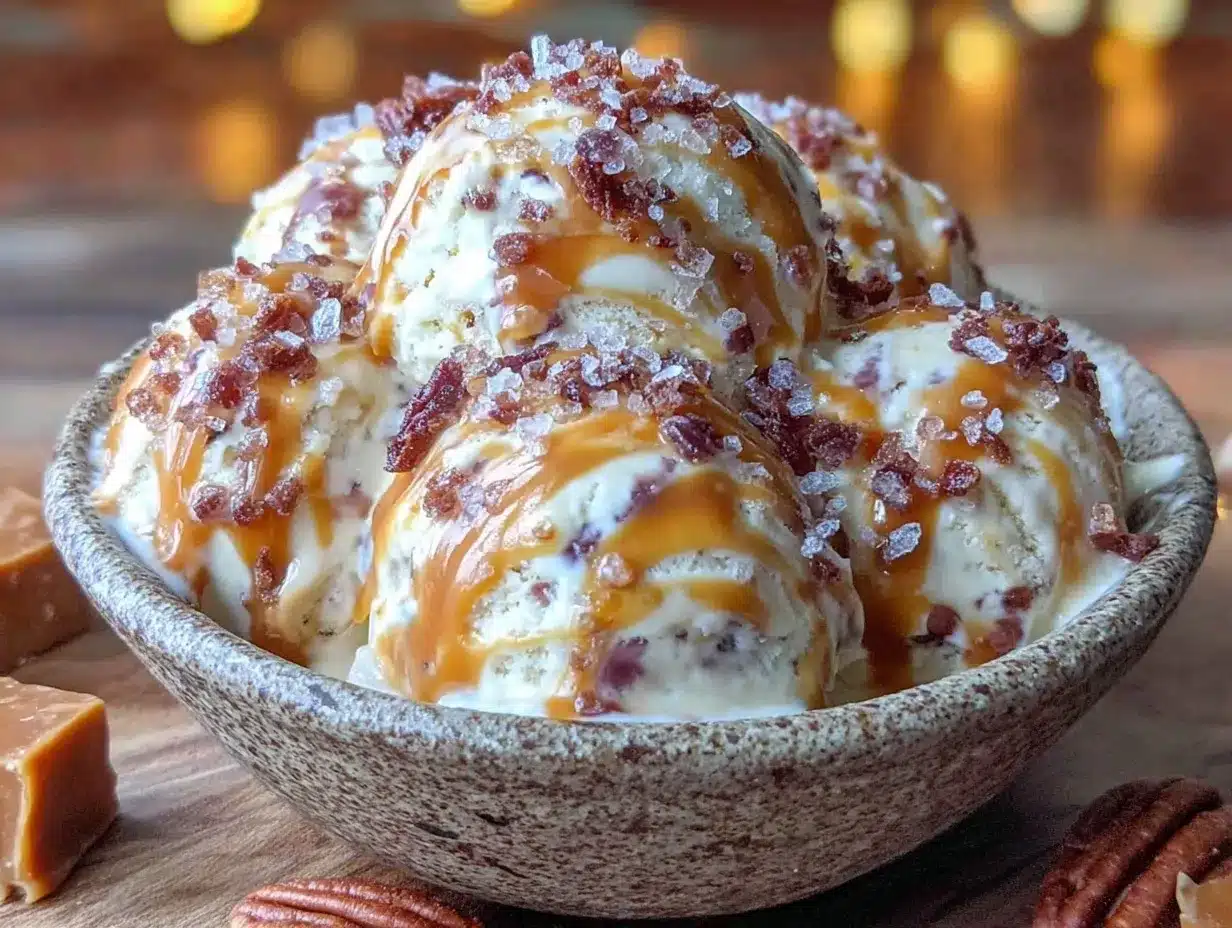
Velvety ribbons of salted caramel swirl through a cloud-like pool of creamy ice cream, and that’s the whole point. The way the glossy caramel threads catch the light — almost sticky, yet soft enough to melt into every spoonful — is what I made this recipe for. There’s something hypnotic about that texture, the contrast between the luscious, buttery caramel and the smooth, pillowy ice cream that grabs your attention before a single taste even lands on your tongue. Honestly, I find myself staring at the surface longer than I probably should, tracing that rich caramel maze before diving in.
It all started on a late summer evening, when I wanted something indulgent but didn’t have the time or fancy equipment for traditional ice cream churning. I’d been obsessed with the idea of capturing that perfect mouthfeel — creamy but not icy, sweet but with just enough salt to tease out the caramel’s depth. The no-churn method was the answer. Mixing simple ingredients with homemade salted caramel, folding it carefully, and freezing without a machine felt like a little kitchen adventure, a test of patience and timing.
Now, this recipe sticks with me because it’s not just dessert — it’s a texture obsession made easy. Once you get that caramel to set just right, everything else falls into place. It’s the kind of treat you want to share with friends, but also keep all to yourself when no one’s looking. And honestly, once you try this creamy no-churn salted caramel ice cream recipe, you might just find yourself making it more often than you expect.
Why You’ll Love This Recipe
Honestly, this creamy no-churn salted caramel ice cream recipe has become my go-to for a few solid reasons. I’ve tested it in all sorts of ways — different caramel thicknesses, chilling times, even swapping out sweeteners — and it always delivers that dreamy texture I crave.
- Quick & Easy: It comes together in under 20 minutes, perfect for those spontaneous dessert cravings or when you want something sweet without the fuss of ice cream machines.
- Simple Ingredients: Nothing fancy here — just pantry staples like sweetened condensed milk, heavy cream, sugar, and a few basics for the caramel. No weird additives or preservatives.
- Perfect for Any Occasion: Whether you’re hosting a summer BBQ, like the ones where I serve my honey bourbon baked beans alongside, or just craving a quiet night in, this recipe fits right in.
- Crowd-Pleaser: The salted caramel twist always brings smiles and “wow”s, especially from those who think ice cream is just vanilla or chocolate.
- Unbelievably Delicious: The contrast between the salty and sweet, plus the creamy texture, hits that comfort food nerve but feels a bit more sophisticated.
What sets this recipe apart is the way the caramel is made and swirled in — I don’t just pour it on top; I fold it gently to get those gorgeous, thick ribbons that stand out in every scoop. Plus, no churning means less hassle but no compromise on that rich, creamy mouthfeel. It’s the kind of homemade ice cream that makes you close your eyes after the first bite and really savor that moment.
What Ingredients You Will Need
This recipe uses simple, wholesome ingredients to deliver bold flavor and satisfying texture without the fuss. Most are pantry staples, and you can easily swap a few to suit your needs or what you have on hand.
- For the Ice Cream Base:
- Sweetened condensed milk (14 oz / 396 g) – I recommend Eagle Brand for the best creaminess
- Heavy whipping cream (2 cups / 480 ml), chilled – cold cream whips better and creates that fluffy texture
- Pure vanilla extract (1 teaspoon) – adds depth and warmth
- For the Salted Caramel:
- Granulated sugar (1 cup / 200 g) – regular white sugar works best for caramelizing
- Unsalted butter (6 tablespoons / 85 g), cut into pieces, room temperature – adds richness
- Heavy cream (1/2 cup / 120 ml), warmed – keeps the caramel smooth and pourable
- Sea salt (1 teaspoon) – coarse salt gives a nice crunch and flavor contrast
Ingredient tips: If you want a dairy-free version, swap the heavy cream with full-fat coconut cream and use coconut condensed milk alternatives. For gluten-free, all these ingredients are naturally safe. When making the caramel, using unsalted butter lets you control the salt level better. And if you’re feeling adventurous, try adding a pinch of cinnamon or espresso powder to the caramel for a subtle twist.
Equipment Needed
Since this is a no-churn recipe, you won’t need an ice cream maker — which is a relief for many of us!
- Mixing bowls (one large for whipping cream, one medium for combining condensed milk and vanilla)
- Electric hand mixer or stand mixer – crucial for whipping the cream to stiff peaks
- Heavy-bottomed saucepan – for making the caramel evenly without burning
- Heat-resistant spatula or wooden spoon – for stirring the caramel
- Loaf pan or freezer-safe container (8×4 inch / 20×10 cm) – to freeze the ice cream
- Measuring cups and spoons – accuracy matters for the caramel especially
If you don’t have an electric mixer, a sturdy whisk and some elbow grease can do the trick, but be patient. Also, maintaining your non-stick saucepan properly helps avoid sticky caramel disasters — a quick soak after use works wonders. For budget-friendly options, basic mixing bowls and a simple hand mixer from a local store work just fine.
Preparation Method
- Make the Salted Caramel (about 15 minutes): In your heavy-bottomed saucepan, heat the granulated sugar over medium heat. Stir gently but constantly with your spatula as the sugar melts and turns a deep amber color. Watch carefully — it can go from perfect to burnt in seconds.
- Once fully melted and amber, quickly whisk in the butter pieces until smooth. Be careful — it will bubble fiercely.
- Slowly drizzle in the warmed heavy cream while stirring. The mixture will bubble up again; keep stirring until glossy and fully combined.
- Remove from heat and stir in sea salt. Set aside to cool to room temperature, then chill in the fridge while you prepare the ice cream base.
- Whip the Cream (about 5 minutes): In a large chilled bowl, whip the heavy cream with your mixer on medium-high speed until stiff peaks form. You want it fluffy but not overbeaten — it should hold shape but still feel soft to the touch.
- Combine the Base (about 3 minutes): In a separate bowl, mix the sweetened condensed milk and vanilla extract until blended.
- Fold the Mixtures (about 5 minutes): Gently fold the whipped cream into the condensed milk mixture, using a spatula and careful strokes to keep as much air in as possible. This keeps the ice cream light and creamy.
- Swirl the Caramel (about 3 minutes): Pour half the ice cream base into your freezer container. Dollop half the chilled salted caramel over it. Use a butter knife or skewer to swirl the caramel gently through the base — you want ribbons, not a full mix.
- Repeat with the remaining ice cream base and caramel, swirling again to create layered ribbons.
- Freeze (at least 6 hours or overnight): Cover the container with a lid or plastic wrap. Freeze until firm but scoopable — usually overnight works best.
- Serve: Let the ice cream sit out for 5 minutes before scooping for the perfect creamy texture.
Pro tips: When swirling, less is more — overmixing blends the caramel too much and loses those gorgeous ribbons. Also, chilling the caramel before swirling prevents it from sinking too deeply, keeping visual appeal intact. Lastly, patience is key; rushing the freezing step can lead to icy texture.
Cooking Tips & Techniques
Making salted caramel can be intimidating, but here’s what I learned by trial and error — and what helps you avoid pitfalls:
- Use a heavy-bottomed pan: This distributes heat evenly and reduces hot spots that burn sugar.
- Don’t stir sugar until it melts: Let it melt undisturbed at first, then stir gently once edges start liquefying.
- Have everything ready: Caramel moves fast once it starts bubbling, so prep your butter and cream beforehand.
- Watch the color closely: Pull off the heat just as it reaches amber — it will continue cooking off heat.
- Whip cream to stiff peaks: This traps air and prevents an icy texture in your no-churn ice cream.
- Fold gently: Overmixing deflates the whipped cream, which makes the ice cream dense.
- Swirl caramel carefully: Use a light hand and swirl just enough to get ribbons that look stunning in the final product.
Early on, I made the mistake of rushing the caramel or swirling too much, which ended up blending the flavors too evenly and losing that satisfying texture. Also, freezing it too quickly without covering caused freezer burn. Learning to be patient and methodical made all the difference.
Variations & Adaptations
Once you master this creamy no-churn salted caramel ice cream recipe, there’s room to play around and make it your own.
- Salted Caramel Mocha: Add a teaspoon of instant espresso powder to the caramel for a coffee-infused twist that’s perfect for chilly evenings.
- Nutty Crunch: Fold in toasted pecans or walnuts before freezing for extra texture and a nutty flavor that pairs beautifully with caramel.
- Dairy-Free Version: Swap heavy cream for chilled coconut cream and use sweetened condensed coconut milk instead of dairy condensed milk.
- Swirl in Chocolate: Add a dark chocolate ganache swirl along with the caramel ribbons for a decadent double swirl effect.
- Seasonal Fruit Swirl: In warmer months, add a swirl of fresh peach or raspberry compote to brighten the richness.
Personally, I love adding a sprinkle of flaky sea salt on top just before serving — it amps up the contrast and looks pretty, too. And for a fun twist, try pairing this ice cream with a warm fruit cobbler or alongside a slice of my classic vanilla bean layer cake for a crowd-pleasing dessert combo.
Serving & Storage Suggestions
This ice cream is best served just slightly softened — about 5 minutes out of the freezer so it scoops easily and the creamy texture shines. I like to serve it in small bowls or waffle cones with a light dusting of flaky sea salt or a drizzle of extra caramel sauce if you have some on hand.
It pairs wonderfully with warm desserts like apple crisp or even alongside a refreshing appetizer like fresh caprese skewers with balsamic drizzle, balancing sweet and savory on the palate.
For storage, keep it in an airtight container in the coldest part of your freezer to avoid ice crystals. If it hardens too much, pop it in the fridge for 10-15 minutes before scooping. Leftover ice cream can last up to 2 weeks without losing quality.
Flavors tend to deepen and mellow after a day or two, so if you can wait, it’s actually better the next day. Just don’t wait too long, or you’ll be sad when it’s gone!
Nutritional Information & Benefits
This creamy no-churn salted caramel ice cream recipe is a treat, but also surprisingly straightforward when it comes to ingredients and nutrition.
| Serving Size | 1/2 cup (about 125 ml) |
|---|---|
| Calories | 280 kcal |
| Fat | 18 g (mostly from butter and cream) |
| Sugar | 24 g (from sugar and condensed milk) |
| Protein | 3 g |
While indulgent, this recipe uses real, minimally processed ingredients—no artificial flavors or preservatives. Butter and cream provide fat-soluble vitamins, and sea salt adds trace minerals. For those watching carbs or dairy, substitutions like coconut cream can make this recipe friendly for low-carb and dairy-free diets.
As a person who values balance, I see this as an occasional homemade treat that satisfies cravings without mystery ingredients. Plus, making it yourself means you control the quality and portion size.
Conclusion
This creamy no-churn salted caramel ice cream recipe is worth every minute of effort for the way it captures that luscious texture and balanced flavor. It brings together simple ingredients in a way that feels special but isn’t complicated — perfect for when you want homemade dessert magic without the fuss. I’ve made it countless times, tweaking and learning, and it’s always a hit whether family, friends, or quiet solo nights.
Feel free to experiment with the variations or try pairing it with other homemade goodies like my creamy buffalo chicken dip for a casual party spread. Whatever you do, savor the texture first — that’s what makes this recipe truly stand out.
Give it a try, and if you do, I’d love to hear how your salted caramel ribbons turned out or what twists you added. Happy scooping!
FAQs
Can I make this salted caramel ice cream without a mixer?
Yes, you can whip the cream by hand using a whisk, but it will take longer and require more effort to reach stiff peaks. Make sure your bowl and cream are very cold to help the process.
How long does the ice cream need to freeze?
At least 6 hours is best, but overnight freezing is ideal to allow the flavors to meld and the texture to firm up perfectly.
Can I use store-bought caramel sauce instead of making my own?
You can, but homemade caramel tastes fresher and has better texture for swirling. If using store-bought, pick a thick, high-quality sauce and add a pinch of sea salt to mimic the salted caramel effect.
Is this recipe suitable for vegans?
Not as written, but you can make a vegan version by swapping heavy cream with coconut cream and using a dairy-free condensed milk alternative or homemade version.
Why does my caramel sometimes harden too much?
Caramel hardens when it cools too quickly or if not enough cream or butter is added. Be sure to add warm cream slowly and stir well to keep it smooth and pourable for swirling.
Pin This Recipe!
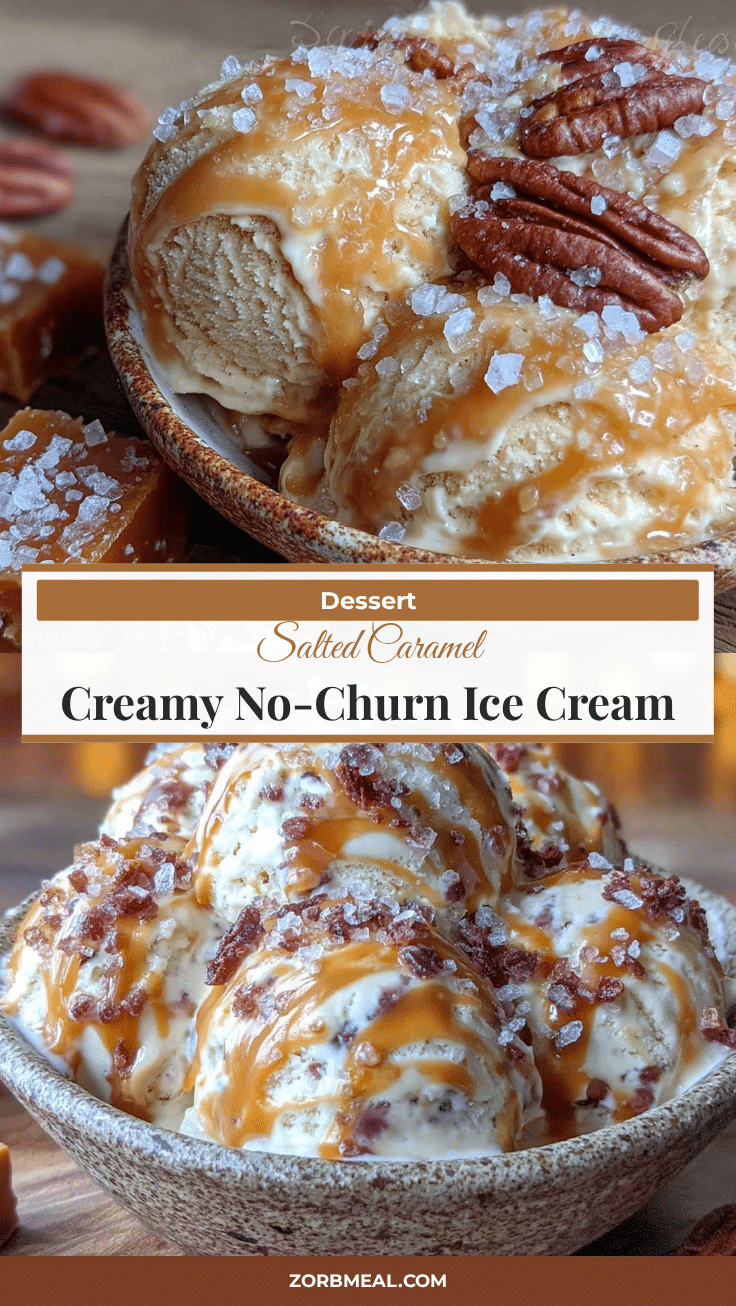
Creamy No-Churn Salted Caramel Ice Cream Recipe Easy Homemade Delight

Velvety ribbons of salted caramel swirl through a cloud-like pool of creamy ice cream, delivering a luscious, buttery caramel contrast with a smooth, pillowy texture. This no-churn recipe is quick, easy, and perfect for homemade indulgence without an ice cream machine.
- Prep Time: 15 minutes
- Cook Time: 15 minutes
- Total Time: 6 hours 30 minutes
- Yield: 8 servings
- Category: Dessert
- Cuisine: American
Ingredients
- Sweetened condensed milk (14 oz / 396 g)
- Heavy whipping cream (2 cups / 480 ml), chilled
- Pure vanilla extract (1 teaspoon)
- Granulated sugar (1 cup / 200 g)
- Unsalted butter (6 tablespoons / 85 g), room temperature
- Heavy cream (1/2 cup / 120 ml), warmed
- Sea salt (1 teaspoon)
Instructions
- Make the Salted Caramel (about 15 minutes): Heat granulated sugar in a heavy-bottomed saucepan over medium heat, stirring gently but constantly until melted and deep amber.
- Whisk in butter pieces quickly until smooth, being careful of bubbling.
- Slowly drizzle in warmed heavy cream while stirring until glossy and combined.
- Remove from heat, stir in sea salt, cool to room temperature, then chill in fridge.
- Whip the Cream (about 5 minutes): In a large chilled bowl, whip heavy cream to stiff peaks.
- Combine the Base (about 3 minutes): Mix sweetened condensed milk and vanilla extract until blended.
- Fold the Mixtures (about 5 minutes): Gently fold whipped cream into condensed milk mixture to keep air in.
- Swirl the Caramel (about 3 minutes): Pour half the ice cream base into freezer container, dollop half the chilled caramel, and swirl gently with a knife or skewer to create ribbons.
- Repeat with remaining ice cream base and caramel, swirling again.
- Freeze (at least 6 hours or overnight): Cover and freeze until firm but scoopable.
- Serve: Let sit out 5 minutes before scooping for perfect creamy texture.
Notes
Use a heavy-bottomed pan to avoid burning sugar. Do not stir sugar until it starts melting. Whip cream to stiff peaks to avoid icy texture. Fold mixtures gently to keep air in. Swirl caramel lightly to create ribbons without blending fully. Chill caramel before swirling to prevent sinking. Freeze overnight for best texture. Let ice cream soften 5 minutes before serving.
Nutrition
- Serving Size: 1/2 cup (about 125 m
- Calories: 280
- Sugar: 24
- Fat: 18
- Protein: 3
Keywords: no-churn ice cream, salted caramel, homemade ice cream, easy dessert, creamy ice cream, caramel ribbons, no ice cream maker


