I figured a Halloween dessert that looks like dirt would be mostly for show—cute to look at, but not something you’d actually crave seconds of. It took about one spoonful of this Easy Graveyard Dirt Pudding Cups with Oreo Crumbs for that assumption to fall apart completely.
I was making these for a neighborhood potluck, trying to come up with something that didn’t require turning on the oven (because October can still get weirdly warm here). The first batch? I used regular chocolate pudding from a box, crushed some Oreos, and called it a day. It was fine. But fine doesn’t get you invited back to the good potlucks.
So I started tweaking. I swapped in a cream cheese layer to cut through all that chocolate sweetness. I toasted some of the Oreo crumbs (weird, I know, but trust me). And I figured out that the pudding needs to set overnight for the texture to go from “soupy mess” to “creamy, spoon-standable perfection.”
Now these little graveyard cups are the thing people text me about in October. Not the costumes, not the decorations—the dirt cups. And honestly? That feels right.
Why You’ll Love This Recipe
Let me tell you why this version is different from the dozens of dirt cup recipes floating around the internet. I’ve tested this about seven times to get the ratios right, and my neighbor’s kids have been very enthusiastic taste-testers.
- No-Bake Magic: You don’t need to turn on your oven at all. Perfect for those days when you’re already doing too much.
- Creamy Texture That Actually Works: The cream cheese layer stops the pudding from being one-note. It adds tang and richness that makes people ask, “What’s in this?”
- Kid-Friendly but Not Boring: My five-year-old niece can assemble these with minimal help. But I’ve also served them at adult gatherings and watched grown-ups go back for seconds.
- Customizable in Every Way: You can make these gluten-free, dairy-free, or turn them into a full-on spooky scene with gummy worms and tombstone cookies.
- Make-Ahead Hero: These actually taste better after a night in the fridge. The flavors meld, the crumbs soften slightly, and the texture becomes almost mousse-like.
What really sets this recipe apart is the toasting trick. Most versions just crush Oreos and call it done. But toasting half the crumbs for a few minutes brings out a nutty, almost roasted flavor that makes the “dirt” taste like something you’d actually want to eat by the handful.
What Ingredients You Will Need
This recipe uses simple, pantry-friendly ingredients that come together in a way that feels way more impressive than it actually is. Here’s what you’ll need to grab:
For the Pudding Layer
- 1 box (3.9 oz) instant chocolate pudding mix (I prefer Jell-O brand for consistent texture)
- 2 cups cold whole milk (2% works too, but whole milk gives a creamier result)
- 4 oz cream cheese, softened (block cream cheese, not the spreadable tub—it makes a difference)
- 1/4 cup powdered sugar (to sweeten the cream cheese layer)
- 1 teaspoon vanilla extract (pure vanilla, not imitation, if you have it)
- 1 cup heavy whipping cream (or 1 1/2 cups Cool Whip if you’re in a rush—no judgment)
For the Dirt Layer
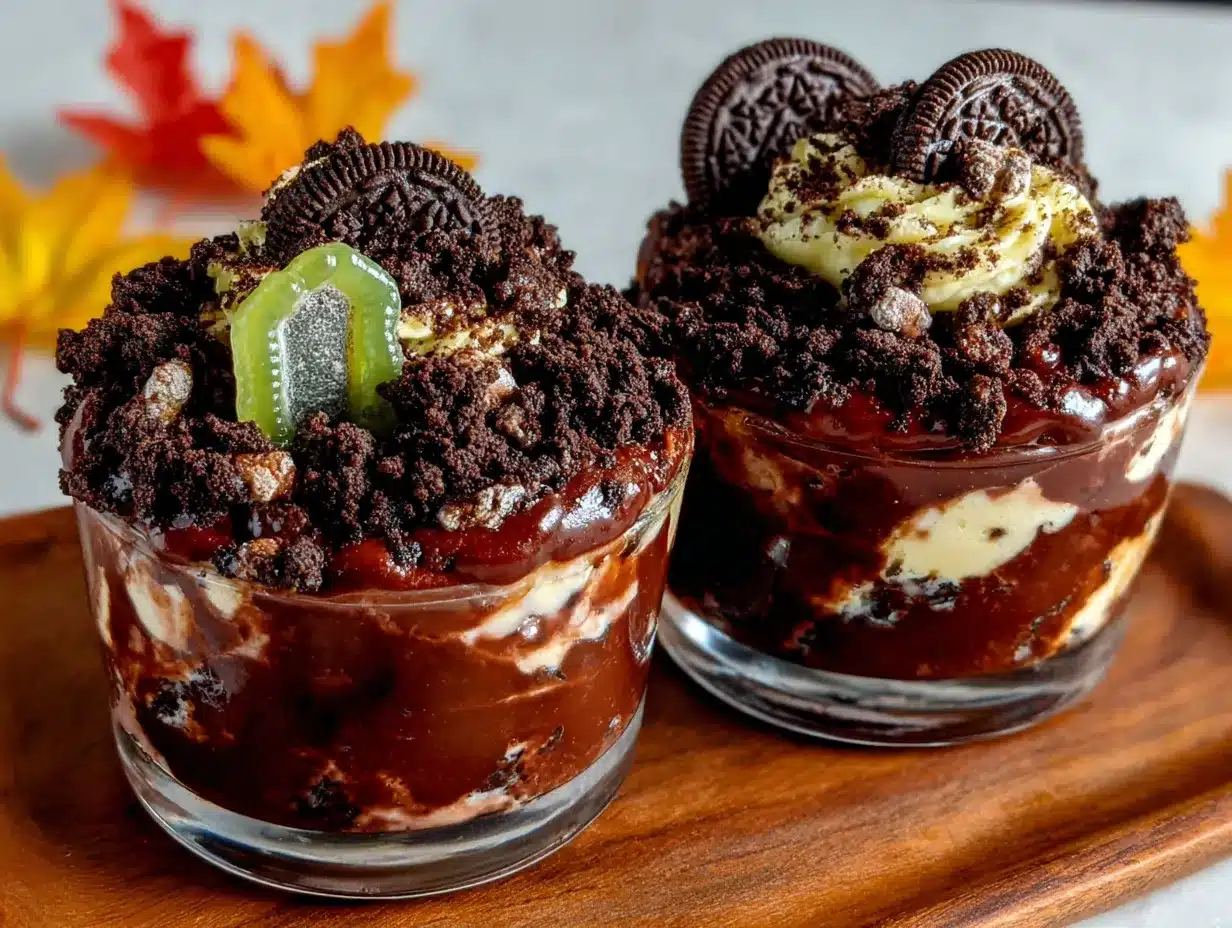
- 1 family-size package (about 36) Oreo cookies (regular, not Double Stuf—you want that cookie-to-cream ratio)
- 2 tablespoons unsalted butter, melted (for toasting the crumbs)
For Decoration
- Gummy worms (about 2-3 per cup)
- Small tombstone cookies or Milano cookies (I use Pepperidge Farm Milano cookies cut in half)
- Black decorating gel (for writing “RIP” on tombstones)
A quick note on the Oreos: I’ve tried this with gluten-free chocolate sandwich cookies and they work fine, though the texture is slightly crumblier. If you’re using a dairy-free cream cheese alternative, make sure it’s the block style, not the whipped kind. I learned this the hard way when my first batch turned into soup.
Equipment Needed
You don’t need anything fancy here, which is part of the appeal. Here’s what you’ll want on hand:
- Electric hand mixer or stand mixer (for whipping the cream and beating the cream cheese)
- Large mixing bowls (at least two—one for the pudding, one for the cream)
- Food processor or rolling pin (for crushing Oreos. Food processor is faster, but a rolling pin and a Ziploc bag works just fine)
- Baking sheet (for toasting the crumbs)
- Small clear cups or dessert glasses (I use 8-ounce plastic cups for parties, but glass looks nicer for serving at home)
- Spatula (a rubber spatula makes layering so much easier)
- Piping bag or Ziploc bag (for neat pudding layers, though you can spoon it in too)
If you don’t have a food processor, just put the Oreos in a sealed Ziploc bag and go to town with a rolling pin. It’s oddly satisfying and the kids love helping with this part.
Preparation Method
Let me walk you through this step by step. I’ve included all the little details I wish someone had told me the first time I made these.
- Crush the Oreos: Put all 36 Oreos (cream filling included) into a food processor. Pulse until you get fine crumbs. You want them to look like dark, rich dirt—no big chunks. If you’re using the Ziploc bag method, crush them until they’re uniformly fine. Set aside about 1/4 cup of the crumbs for topping later.
- Toast half the crumbs: This is the secret step. Take about half the crushed Oreos (roughly 1 1/2 cups) and spread them on a baking sheet. Drizzle with the melted butter and toss to coat. Bake at 350°F for 5-7 minutes, stirring once halfway through. They’ll smell amazing—nutty and almost like chocolate shortbread. Let them cool completely before using.
- Make the cream cheese layer: In a large bowl, beat the softened cream cheese with the powdered sugar and vanilla extract until smooth and fluffy. This takes about 2 minutes with a hand mixer. Scrape down the sides of the bowl halfway through.
- Whip the cream: In a separate bowl, whip the heavy cream until stiff peaks form. You want it thick enough that it holds its shape when you lift the beaters. If you’re using Cool Whip, skip this step and just thaw it in the fridge.
- Combine the cream cheese and whipped cream: Gently fold the whipped cream into the cream cheese mixture. Don’t stir—fold. You want to keep as much air as possible. The mixture should be light and fluffy, like a mousse.
- Make the pudding: In a third bowl, whisk together the instant pudding mix and cold milk. Whisk for about 2 minutes until it starts to thicken. Let it sit for 5 minutes—it will set up into a proper pudding.
- Layer the cups: This is the fun part. Start with a layer of untoasted Oreo crumbs at the bottom of each cup (about 2 tablespoons). Then add a layer of the cream cheese mixture (about 3 tablespoons). Then a layer of pudding (about 3 tablespoons). Repeat the layers until you reach the top, finishing with a generous layer of the toasted Oreo crumbs.
- Chill: This is non-negotiable. Cover the cups and refrigerate for at least 4 hours, but overnight is better. The pudding needs time to set, and the flavors need time to meld. I’ve made these the morning of a party and they were good. I’ve made them the night before and they were great.
- Decorate: Just before serving, press gummy worms into the “dirt” so they look like they’re crawling out. Write “RIP” on the tombstone cookies with black decorating gel and stick them into the cups. Serve cold.
Cooking Tips & Techniques
I’ve made these cups about a dozen times now, and I’ve learned a few things the hard way. Let me save you some trouble.
Don’t skip the toasting step. I know it seems like an extra fuss, but toasting the Oreo crumbs changes everything. The butter helps them crisp up and adds a savory note that balances the sweetness. I once skipped it because I was in a hurry, and the cups were noticeably less interesting.
Room temperature cream cheese matters. If you try to beat cold cream cheese, you’ll end up with lumps. Leave it on the counter for about 30 minutes before you start. If you forget (which I do all the time), microwave it for 10 seconds at 50% power.
Let the pudding sit. Instant pudding needs a few minutes to set up properly. If you layer it too soon, it’ll mix with the cream cheese layer and you’ll lose that beautiful striped effect. Patience pays off here.
Use clear cups. I know this sounds like a presentation thing, and it is—but it’s also practical. You can see the layers, which helps you know when you’ve added enough of each component. Plus, kids love seeing the “dirt” and “worms” through the sides.
One mistake I made early on was over-whipping the cream. If you whip it too long, it turns into butter. Stop when it holds soft peaks and looks like cloud fluff. That’s your sweet spot.
Variations & Adaptations
These dirt cups are endlessly adaptable. Here are some of my favorite twists:
Gluten-Free Version
Use gluten-free chocolate sandwich cookies (like Glutino or Kinnikinnick brands). The texture is slightly different—crumblier—but the taste is still spot-on. Make sure your pudding mix is also gluten-free; most are, but check the label.
Dairy-Free Version
Use dairy-free cream cheese (I like Kite Hill or Violife), coconut cream instead of heavy cream, and almond milk for the pudding. The texture will be slightly less rich, but still delicious. I’ve made this for a friend with dairy allergies and she said it was better than the original.
Spooky Variations
For Halloween parties, I’ve added candy eyeballs, plastic spider rings (washed first!), and even little candy bones. You can also use green-tinted coconut flakes as “grass” around the tombstones. For a less spooky version, skip the tombstone and worms and top with fresh raspberries instead—they look like little jewels against the dark “dirt.”
Adult Version
Add a tablespoon of Kahlúa or Bailey’s to the pudding mixture before layering. It adds a grown-up depth that pairs beautifully with the chocolate. Just don’t serve this version to the kids.
I once made a pumpkin spice version by adding 1/4 cup pumpkin puree and 1 teaspoon pumpkin pie spice to the cream cheese layer. It was honestly one of the best things I’ve made all fall.
Serving & Storage Suggestions
These cups are best served cold, straight from the fridge. The contrast between the creamy pudding layers and the crunchy Oreo “dirt” is what makes them so addictive.
For parties: Arrange the cups on a tray with extra gummy worms scattered around. If you’re feeling fancy, add a few creamy classic deviled eggs with crispy bacon crumbles on the same table for a sweet-and-savory spread that always gets compliments.
Storage: Keep the cups covered in the refrigerator for up to 3 days. The texture changes slightly over time—the crumbs get softer, the pudding gets firmer—but I actually prefer them on day two. If you’re making them ahead, wait to add the decorations until just before serving. Gummy worms get sticky and tombstone cookies get soggy if they sit too long.
Freezing: I don’t recommend freezing these. The dairy separates when thawed and the texture becomes grainy. These are a make-ahead, not a freeze-ahead situation.
Reheating: Don’t. These are meant to be served cold. If you want a warm chocolate dessert, make a decadent chocolate espresso bundt cake instead.
Nutritional Information & Benefits
Let’s be real—this is a dessert, not a health food. But here’s what you’re looking at per serving (based on 8 servings):
- Calories: Approximately 420 per cup
- Fat: 24g (14g saturated)
- Carbohydrates: 48g
- Protein: 6g
- Fiber: 2g
- Sugar: 32g
On the bright side, the cream cheese adds a bit of protein and calcium, and the dark cocoa in Oreos contains antioxidants. But mostly, this is about joy and celebration—and that counts for something too.
If you’re watching your sugar intake, you can use sugar-free pudding mix and reduce the powdered sugar in the cream cheese layer. The texture will be slightly different, but the flavor is still solid.
Conclusion
These Easy Graveyard Dirt Pudding Cups with Oreo Crumbs have become my go-to Halloween dessert for good reason. They’re simple enough to make with kids, impressive enough to serve at adult parties, and flexible enough to adapt for any dietary need.
The thing I love most about this recipe is how it brings people together. There’s something about eating “dirt” out of a cup that makes everyone smile—kids, grandparents, everyone in between. It’s silly and fun and delicious, and that’s exactly what a celebration should be.
I’d love to hear how yours turn out. Did you add anything fun to the decorations? Did you try a flavor variation? Drop a comment below and let me know—I read every single one, and your ideas might end up in my next batch.
Happy haunting, and happy eating!
Frequently Asked Questions
Can I make these dirt cups the night before?
Absolutely. In fact, I recommend it. Making them the night before gives the pudding time to set completely and the flavors time to meld together. Just wait to add the gummy worms and tombstone decorations until right before serving so they stay fresh and crisp.
Can I use sugar-free pudding mix?
Yes, you can. Sugar-free instant pudding works just fine in this recipe. The texture will be slightly less creamy, but it’s a good option if you’re watching your sugar intake. Just follow the same instructions on the box for mixing.
How do I get clean layers in my cups?
The key is patience. Let each layer set slightly before adding the next one. I like to pipe the cream cheese mixture and pudding through a piping bag or Ziploc bag with the corner snipped off—it gives you more control and keeps the layers distinct. Also, use a spoon to gently spread each layer rather than pouring.
Can I freeze these dirt cups?
I don’t recommend freezing them. The dairy in the cream cheese and whipped cream separates when thawed, leaving you with a grainy, watery texture. These are best made fresh or up to three days ahead and kept in the refrigerator.
What can I use instead of Oreos for the dirt layer?
Any chocolate sandwich cookie will work. You can use gluten-free versions, or even chocolate wafer cookies crushed into crumbs. If you’re feeling creative, try chocolate graham crackers or even crushed chocolate cookies. The key is getting that dark, earthy color and crunchy texture.
Pin This Recipe!
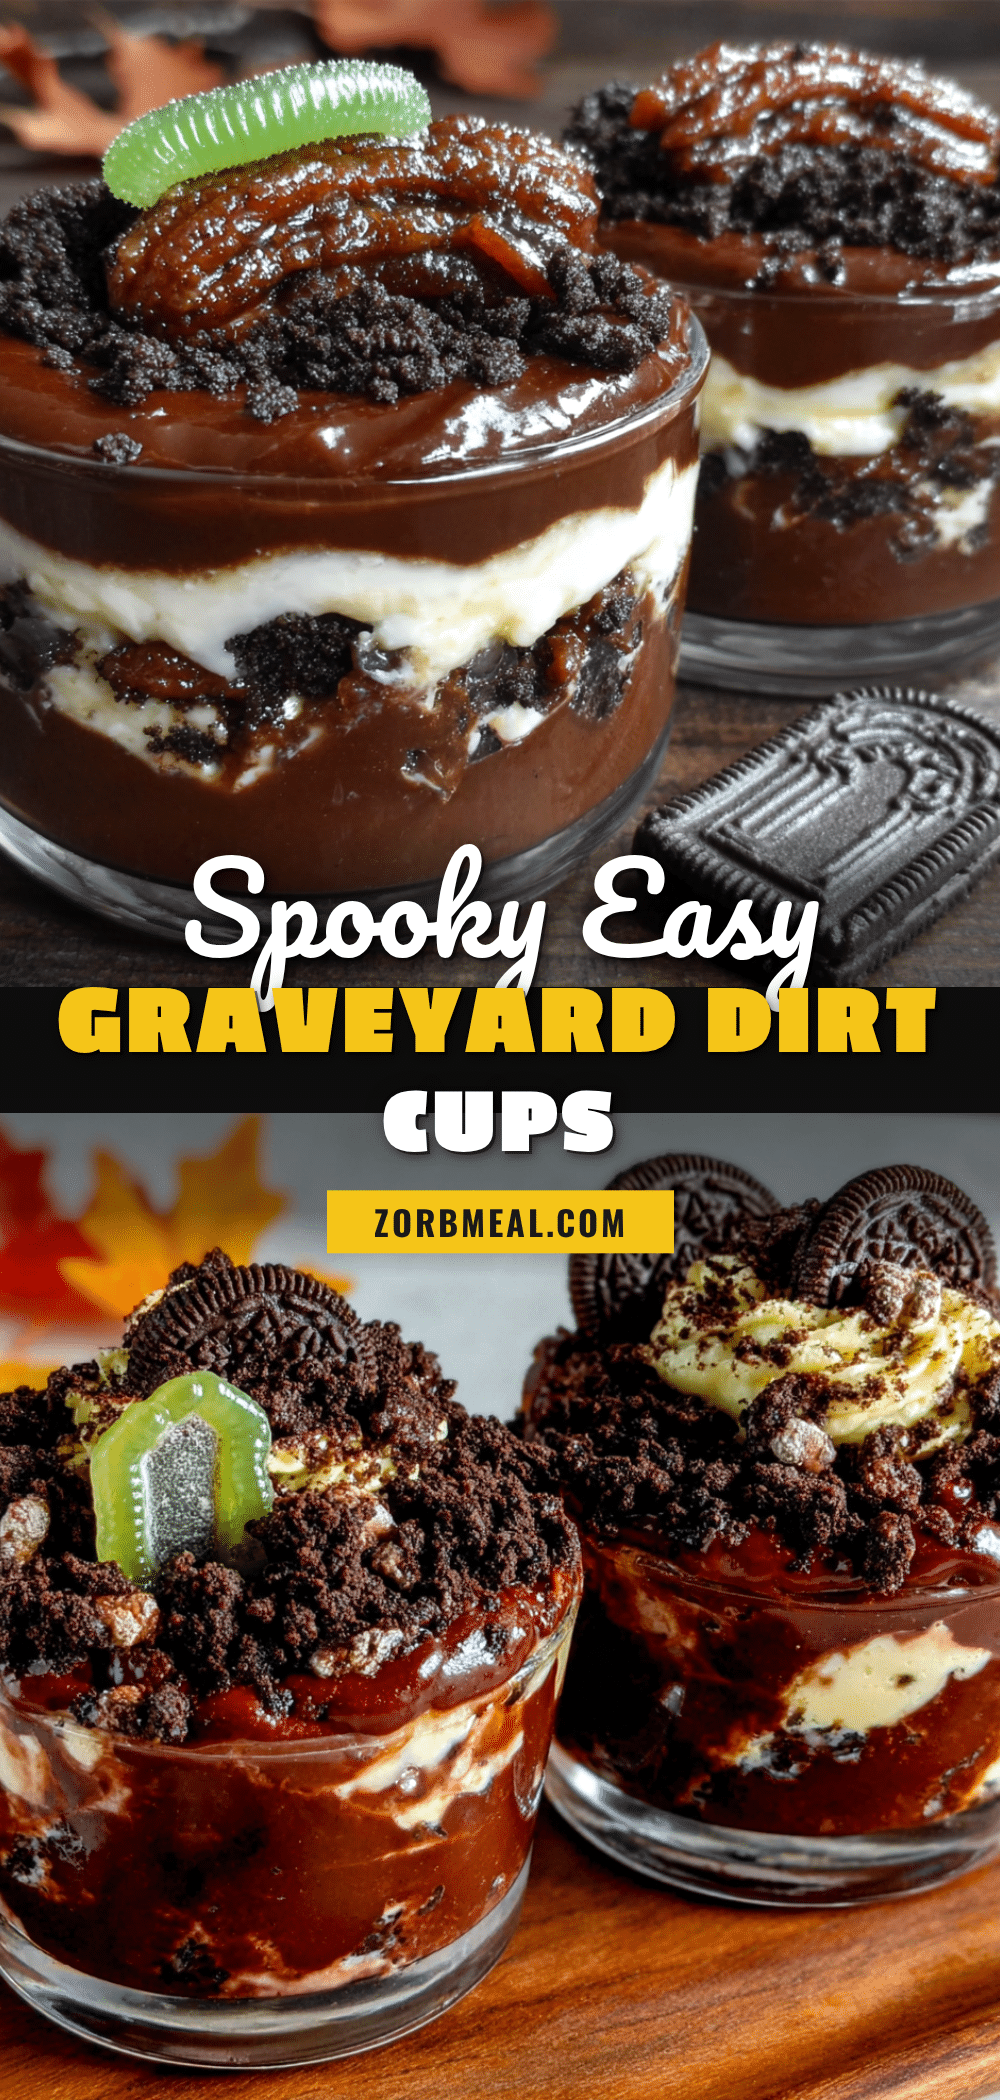
Best Easy Graveyard Dirt Pudding Cups with Oreo Crumbs
These no-bake graveyard dirt pudding cups feature layers of creamy chocolate pudding, a tangy cream cheese mixture, and crunchy toasted Oreo crumbs. Perfect for Halloween parties, they’re kid-friendly, make-ahead, and endlessly customizable.
- Prep Time: 20 minutes
- Cook Time: 7 minutes
- Total Time: 4 hours 27 minutes (includes chilling)
- Yield: 8 servings 1x
- Category: Dessert
- Cuisine: American
Ingredients
- 1 box (3.9 oz) instant chocolate pudding mix
- 2 cups cold whole milk
- 4 oz cream cheese, softened
- 1/4 cup powdered sugar
- 1 teaspoon vanilla extract
- 1 cup heavy whipping cream
- 1 family-size package (about 36) Oreo cookies
- 2 tablespoons unsalted butter, melted
- Gummy worms (about 2-3 per cup)
- Small tombstone cookies or Milano cookies
- Black decorating gel
Instructions
- Crush all 36 Oreos (cream filling included) in a food processor until fine crumbs form. Set aside about 1/4 cup for topping.
- Toast half the crushed Oreos (about 1 1/2 cups) on a baking sheet with melted butter at 350°F for 5-7 minutes, stirring once. Cool completely.
- Beat softened cream cheese with powdered sugar and vanilla extract until smooth and fluffy, about 2 minutes.
- In a separate bowl, whip heavy cream until stiff peaks form.
- Gently fold whipped cream into cream cheese mixture until light and fluffy.
- In a third bowl, whisk instant pudding mix with cold milk for 2 minutes until thickened. Let sit for 5 minutes.
- Layer cups: Start with untoasted Oreo crumbs (about 2 tbsp), then cream cheese mixture (about 3 tbsp), then pudding (about 3 tbsp). Repeat layers, finishing with toasted Oreo crumbs.
- Cover cups and refrigerate for at least 4 hours, preferably overnight.
- Just before serving, press gummy worms into the ‘dirt’ and insert decorated tombstone cookies.
Notes
Don’t skip toasting the Oreo crumbs—it adds a nutty flavor. Use room temperature cream cheese to avoid lumps. Let pudding set before layering for clean stripes. For best results, make the night before. Wait to add decorations until just before serving to keep them fresh.
Nutrition
- Serving Size: 1 cup
- Calories: 420
- Sugar: 32
- Fat: 24
- Saturated Fat: 14
- Carbohydrates: 48
- Fiber: 2
- Protein: 6
Keywords: Halloween dessert, dirt pudding cups, Oreo dirt cups, no-bake dessert, graveyard dessert, chocolate pudding cups, kid-friendly Halloween recipe


