I was supposed to be making a savory spiced nut mix for a party. You know the kind—smoky paprika, a hint of cayenne, something to go with cocktails. I had the pumpkin seeds toasted, the butter melted, and I reached into the spice cabinet for the cumin. But my hand, in a moment of pure distraction (I was also trying to answer a text about who was bringing the ice), grabbed the cinnamon instead. A full teaspoon went into the bowl before I even realized what I’d done.
Honestly, my first instinct was panic. I stood there staring at the bowl, thinking I’d just ruined a perfectly good batch of seeds. The party was in two hours, and I had no backup plan. But instead of tossing them, I figured, well, let’s see what happens. I added a little brown sugar, a pinch of salt, and tossed everything together. I shoved the baking sheet into the oven, fully expecting a waste of ingredients.
What came out of the oven was nothing like the plan—and so much better. The kitchen smelled like a bakery had collided with a fall festival. The seeds were glossy, caramelized, and had this incredible sweet-and-salty crunch that I couldn’t stop stealing. I brought them to the party anyway, and they were gone in fifteen minutes. Someone actually asked me for the recipe, and I had to admit it was a happy accident. That moment of panic turned into my new favorite snack. This recipe stayed with me because it proved that sometimes the best things happen when you stop trying so hard to get it perfect. Maybe you’ve been there—staring at a kitchen mishap, ready to give up, only to discover you’ve stumbled onto something amazing.
Why You’ll Love This Recipe
Let me tell you, after making this recipe about a dozen times (with careful intention, I might add), I can confidently say it’s a winner. I’ve tested it with different sweeteners, various oven temperatures, and even tried air-frying them. This version is the one I keep coming back to, and here is why I think you will love it too.
- Quick & Easy : From start to finish, these seeds come together in under 30 minutes. It’s the kind of recipe you can whip up while the oven is preheating for something else, or when a snack craving hits out of nowhere.
- Simple Ingredients : You probably have everything in your pantry right now. Pumpkin seeds, butter, cinnamon, sugar, and salt. No fancy grocery trips or obscure spice blends required.
- Perfect for Cozy Evenings : This is the snack you want when you’re curled up on the couch with a movie, or when the weather turns chilly and you need something warm and comforting to nibble on.
- Crowd-Pleaser : I’ve served these at parties, given them as little homemade gifts, and packed them for road trips. Kids and adults alike go crazy for that sweet, crunchy texture.
- Unbelievably Delicious : The combination of warm cinnamon, buttery crunch, and a hint of salt is pure comfort food magic. It’s simple, but it hits every single note perfectly.
What makes this recipe different from the rest is the technique. Instead of just tossing seeds with sugar and hoping for the best, we use a combination of melted butter and a quick toss halfway through baking. This creates an even, caramelized coating that sticks to every seed. It’s not just another version—it’s the version that works every single time. This recipe is the kind that makes you close your eyes after the first bite. It’s comfort food in its purest, crunchiest form, and it’s perfect for turning a simple evening into something a little more special.
What Ingredients You Will Need
This recipe uses simple, wholesome ingredients to deliver that cozy, sweet flavor without any fuss. Most of these are pantry staples, which makes this the perfect last-minute snack recipe. Here is everything you will need.
- Pumpkin seeds (pepitas): 1 cup (about 140g), raw and shelled. I prefer the green pepitas for this recipe as they have a tender crunch. If you are using seeds straight from a pumpkin, make sure to wash and dry them thoroughly first. I often buy a big bag from the bulk section at the store.
- Unsalted butter: 2 tablespoons (28g), melted. Using unsalted butter lets you control the salt level. If you only have salted butter, just reduce the added salt in the recipe. I like using a good quality European-style butter for a richer flavor, but any butter works great.
- Ground cinnamon: 1 teaspoon. This is the star of the show. Use a fresh jar of cinnamon for the best, most aromatic flavor. I personally prefer Saigon cinnamon for its warm, slightly sweet kick.
- Light brown sugar: 2 tablespoons (25g), packed. Brown sugar adds a deeper, molasses-like sweetness that pairs perfectly with the cinnamon. You can substitute with coconut sugar for a less refined option, or use white sugar in a pinch.
- Granulated sugar: 1 tablespoon (12g). This adds a bit of extra sweetness and helps create a shinier, crunchier coating.
- Salt: 1/4 teaspoon, plus a pinch for finishing. I use fine sea salt. The salt is crucial—it balances the sweetness and makes the flavors pop. Don’t skip it.
- Vanilla extract (optional): 1/2 teaspoon. This is my little secret ingredient. It adds a warm, aromatic depth that makes the cinnamon taste even cozier. I add it to the melted butter before tossing with the seeds.
For ingredient selection, look for pumpkin seeds that are a vibrant green color and smell fresh, not rancid. If you are using a different brand, just check the ingredient list to make sure there are no added oils or salt. You can easily swap the butter for coconut oil to make this recipe dairy-free, and it will still be delicious.
Equipment Needed
You don’t need any fancy gadgets for this recipe, which is part of its charm. Here is what you will need to get the job done.
- Baking sheet: A standard half-sheet pan works perfectly. I recommend lining it with parchment paper for easy cleanup. I’ve made the mistake of not using parchment, and trust me, the caramelized sugar is a nightmare to scrub off.
- Mixing bowl: A medium-sized bowl for tossing the seeds with the butter and sugar mixture.
- Spatula or wooden spoon: For stirring the seeds around on the baking sheet. A silicone spatula is great for scraping every last bit of the buttery mixture onto the seeds.
- Measuring spoons: For accurate measurements of the cinnamon, sugar, and salt. Baking is a science, even for a simple snack like this.
- Small saucepan or microwave-safe bowl: For melting the butter. I usually just pop it in the microwave for 30 seconds.
If you don’t have parchment paper, you can use a silicone baking mat. It works just as well and is reusable. A rimmed baking sheet is important here to prevent any buttery sugar from dripping off the edges and burning on the bottom of your oven. Trust me on that one—I’ve had to clean that mess up before.
Preparation Method
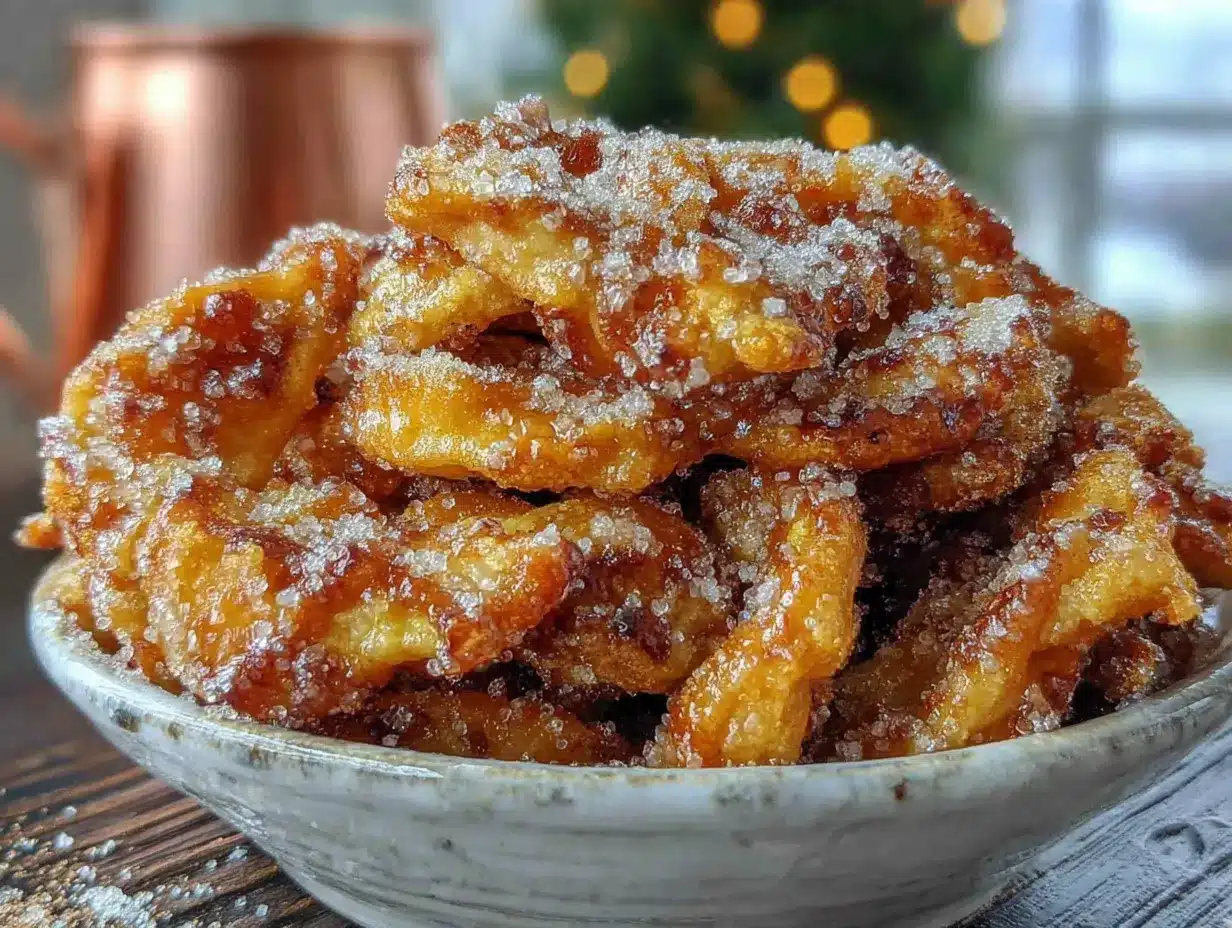
This method is simple, but paying attention to a few key details will make all the difference between good seeds and absolutely irresistible ones. Follow these steps, and you will have a perfect batch every time.
- Preheat your oven to 300°F (150°C). This lower temperature is key. It allows the seeds to toast slowly and evenly without burning the sugar. Line a large baking sheet with parchment paper and set it aside.
- Melt the butter. In a small saucepan over low heat or in a microwave-safe bowl, melt 2 tablespoons of unsalted butter. If you are using the vanilla extract, stir it into the melted butter now. Let it cool for just a minute so it doesn’t cook the sugar when you mix them together.
- Mix the dry ingredients. In a medium mixing bowl, whisk together 1 teaspoon of ground cinnamon, 2 tablespoons of packed light brown sugar, 1 tablespoon of granulated sugar, and 1/4 teaspoon of fine sea salt. Make sure there are no lumps in the brown sugar. I use my fingers to rub it in if it’s a bit clumpy.
- Combine everything. Pour the melted butter over the dry ingredients and stir until it forms a thick, fragrant paste. Then, add 1 cup of raw pumpkin seeds to the bowl. Use a spatula to toss and stir until every single seed is coated in the buttery cinnamon sugar mixture. Don’t rush this step—you want an even coating.
- Spread on the baking sheet. Pour the coated seeds onto the prepared baking sheet. Use the spatula to spread them out into a single, even layer. It’s okay if they are touching a little, but try to avoid piling them on top of each other. A single layer ensures even toasting.
- Bake for 10 minutes. Place the baking sheet in the preheated oven and bake for 10 minutes. The seeds will start to look slightly glossy and the kitchen will start smelling amazing.
- Stir and flip. After 10 minutes, carefully remove the baking sheet from the oven. Use your spatula to stir the seeds around, flipping them over to ensure even cooking. This is a crucial step. The edges of the pan tend to get hotter, so moving the seeds around prevents burning.
- Bake for another 5-8 minutes. Return the baking sheet to the oven and bake for another 5 to 8 minutes. Keep a close eye on them during this last stage. You want the seeds to be a deep golden brown and the sugar to be bubbly and caramelized. They will smell incredibly toasty and sweet. Watch for the warning signs: if you see any seeds turning very dark brown or smell a burnt sugar scent, pull them out immediately.
- Cool completely. This is the hardest part. Remove the baking sheet from the oven and let the seeds cool completely on the pan. As they cool, the sugar will harden and create that irresistible crunchy coating. Do not try to eat them right away, or you will burn your mouth and the coating won’t be set. It takes about 20 to 30 minutes.
- Break them up. Once completely cool, use your hands to gently break apart any clusters of seeds that have stuck together. They should break apart easily into individual, crunchy pieces.
Cooking Tips & Techniques
I’ve learned a few things the hard way so you don’t have to. Here are my best tips for getting perfect cinnamon sugar pumpkin seeds every single time.
Don’t skip the parchment paper. I know I mentioned this already, but it’s worth repeating. The sugar mixture becomes a sticky, hard caramel as it bakes. If it gets directly on your baking sheet, you will be scrubbing for a very long time. Parchment paper makes cleanup effortless.
Watch the oven like a hawk. Oven temperatures can vary wildly. My old oven used to run hot, and I burned my first few batches to a crisp. The line between perfectly toasted and burnt is very thin with sugar involved. Start checking at the 5-minute mark after the stir. Look for a deep, nutty golden color.
Let them cool completely. This is the biggest mistake people make. They taste one straight out of the oven and think they are soft or not crunchy enough. The crunch happens as the sugar hardens during the cooling process. If you eat them warm, they will be chewy. Patience, my friend. It pays off.
Use room temperature seeds. If your pumpkin seeds have been sitting in a cold pantry, let them come to room temperature for about 10 minutes before coating. This helps the butter mixture adhere better and ensures more even cooking.
Double the batch. Honestly, this recipe never makes enough. I always make a double batch now because these seeds disappear so quickly. Just make sure to use two baking sheets and rotate them halfway through the baking time if you are cooking them at the same time.
Variations & Adaptations
This basic recipe is a fantastic jumping-off point for all kinds of flavor adventures. Here are some of my favorite ways to change it up.
Spiced Chai Version: Add 1/4 teaspoon of ground cardamom, 1/4 teaspoon of ground ginger, and a pinch of ground cloves to the cinnamon mixture. It creates a warming, chai-inspired flavor that is perfect for fall. I made this for a book club meeting once, and everyone asked for the recipe.
Maple Pecan Twist: Replace the brown sugar with 2 tablespoons of pure maple syrup. Reduce the granulated sugar to 1 teaspoon, and add 1/4 cup of chopped pecans to the seeds before baking. The maple syrup creates a slightly different, more rustic crunch. It’s incredible sprinkled over a bowl of vanilla ice cream.
Vegan & Dairy-Free: Simply substitute the melted butter with an equal amount of melted coconut oil or a high-quality vegan butter. The flavor will be slightly different—more coconut-y if you use coconut oil—but it is still absolutely delicious. I’ve tested this version for a friend with a dairy allergy, and she couldn’t stop eating them.
Extra Cozy Pumpkin Spice: Swap the cinnamon for 1 teaspoon of pumpkin pie spice mix. It gives you that classic pumpkin spice latte flavor without the coffee. This is my go-to version for Thanksgiving snacking.
Serving & Storage Suggestions
These seeds are incredibly versatile. Here is how to serve and store them to keep them at their crunchy best.
Serving: Serve them at room temperature. They are perfect as a standalone snack, but they also make a fantastic topping. Sprinkle them over a bowl of creamy yogurt or oatmeal for a crunchy breakfast. They are also amazing on top of a simple salad with apples and a sharp cheddar cheese. For a cozy movie night, I like to serve them in a little bowl alongside some dark chocolate chunks. The sweet and salty combo is unbeatable.
Storage: Once the seeds are completely cool, transfer them to an airtight container. A glass jar or a zip-top bag works perfectly. Store them at room temperature in a cool, dry place. Do not refrigerate them, as the moisture in the fridge can make them lose their crunch.
How long they last: These seeds will stay fresh and crunchy for up to 2 weeks when stored properly. In my house, they rarely last longer than 2 days, but if you have more willpower than I do, they will keep well. The flavor actually develops a bit over the first day, becoming even more aromatic.
Re-crisping tip: If they do start to lose their crunch after a week or so, you can spread them back on a baking sheet and pop them in a 300°F (150°C) oven for 3-4 minutes. Let them cool completely, and they will be crunchy again. Just don’t overdo it, or the sugar might burn.
Nutritional Information & Benefits
While this is definitely a treat, it also has some surprising nutritional perks, thanks to the main ingredient. Here is a quick overview.
Estimated Nutritional Values (per 1/4 cup serving):
- Calories: ~180
- Fat: 12g
- Carbohydrates: 14g
- Fiber: 2g
- Sugar: 10g
- Protein: 6g
Health Benefits: Pumpkin seeds are a fantastic source of magnesium, zinc, and healthy fats. Magnesium is great for relaxation and sleep, which makes these a perfect evening snack. The zinc supports your immune system. Plus, the fiber and protein help keep you feeling satisfied, so you won’t be reaching for another handful immediately (though you will probably want to).
Dietary Considerations: This recipe is naturally gluten-free and can easily be made dairy-free and vegan with a simple butter swap. Always check your ingredient labels to be sure. The main potential allergen here is dairy from the butter, so the vegan version is a great alternative for those with sensitivities.
I love that this snack feels indulgent but has a little nutritional backbone. It’s a cozy treat that doesn’t leave you feeling guilty, and that is a win in my book.
Conclusion
This recipe is more than just a snack. It is a little moment of warmth and comfort that you can create in your own kitchen with almost no effort. It started as a mistake, a moment of panic that turned into a happy discovery, and now it is a staple in my home. I love how simple it is, and how it can turn an ordinary evening into something a little more special.
I really hope you give these cozy cinnamon sugar pumpkin seeds a try. Don’t be afraid to customize them to your own taste—add more cinnamon, a pinch of nutmeg, or even a sprinkle of flaky sea salt on top before serving. Make them your own. That is the beauty of a simple recipe like this.
If you make them, I would love to hear about it! Leave a comment below and let me know how they turned out. Did you try any fun variations? Did they disappear as fast as mine always do? Share your photos and tag me on social media—I love seeing your kitchen creations. Happy snacking, and remember, sometimes the best recipes come from the happiest of accidents.
Frequently Asked Questions
Can I use pumpkin seeds straight from a pumpkin?
Yes, absolutely! Just make sure to clean them thoroughly. Rinse the seeds in a colander to remove the stringy pumpkin flesh, then pat them completely dry with a clean kitchen towel. Any moisture on the seeds will make the coating slide off and prevent them from getting crunchy. You might need to add an extra minute or two to the baking time to account for the slightly larger size of fresh seeds.
Why did my seeds turn out chewy instead of crunchy?
This usually happens for two reasons. First, you might not have baked them long enough. They need to be fully toasted to become crunchy. Second, and most commonly, you ate them before they cooled completely. The sugar coating needs to harden as it cools to create that crispy texture. Be patient and let them sit on the baking sheet for at least 20 minutes after they come out of the oven.
Can I use salted butter instead of unsalted?
You can, but you will need to adjust the added salt. If you use salted butter, just omit the 1/4 teaspoon of salt from the dry ingredient mixture. You can always add a tiny pinch of flaky sea salt at the end if you feel it needs it. Using unsalted butter gives you more control over the final flavor.
Can I make these in an air fryer?
Yes, you can! Preheat your air fryer to 300°F (150°C). Prepare the seeds as directed, then spread them in the air fryer basket in a single layer. Cook for 5 minutes, then shake the basket. Cook for another 3 to 5 minutes, keeping a very close eye on them. Air fryers can be more powerful than ovens, so they might cook faster. Let them cool completely in the basket before serving.
How can I make this recipe less sweet?
If you prefer a less sweet snack, you can easily reduce the sugar. Try using just 2 tablespoons of brown sugar and omitting the granulated sugar. You can also add a little extra salt or a pinch of black pepper to balance the sweetness. The butter and cinnamon will still provide plenty of flavor even with less sugar.
Pin This Recipe!
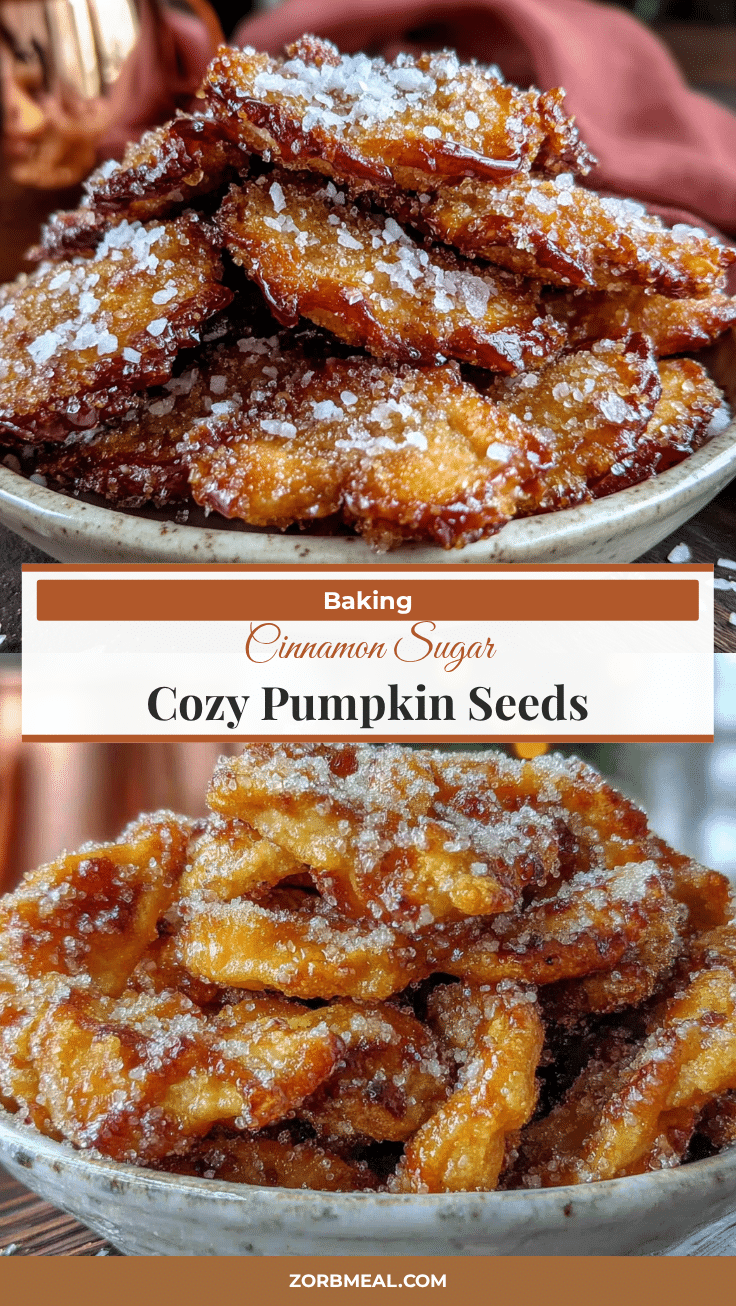
Cozy Cinnamon Sugar Pumpkin Seeds: Easy Homemade Snack

A happy accident turned into the perfect sweet-and-salty snack. These cinnamon sugar pumpkin seeds are quick, easy, and irresistibly crunchy.
- Prep Time: 10 minutes
- Cook Time: 15 minutes
- Total Time: 25 minutes
- Yield: 4 servings 1x
- Category: Snack
- Cuisine: American
Ingredients
- 1 cup (140g) raw pumpkin seeds (pepitas)
- 2 tablespoons (28g) unsalted butter, melted
- 1 teaspoon ground cinnamon
- 2 tablespoons (25g) packed light brown sugar
- 1 tablespoon (12g) granulated sugar
- 1/4 teaspoon fine sea salt, plus a pinch for finishing
- 1/2 teaspoon vanilla extract (optional)
Instructions
- Preheat your oven to 300°F (150°C). Line a large baking sheet with parchment paper.
- Melt the butter in a small saucepan or microwave-safe bowl. If using vanilla extract, stir it into the melted butter.
- In a medium mixing bowl, whisk together the cinnamon, brown sugar, granulated sugar, and salt until no lumps remain.
- Pour the melted butter over the dry ingredients and stir to form a thick paste. Add the pumpkin seeds and toss until every seed is evenly coated.
- Spread the coated seeds in a single layer on the prepared baking sheet.
- Bake for 10 minutes. Remove the sheet from the oven, stir the seeds, and flip them over.
- Return to the oven and bake for another 5 to 8 minutes, until the seeds are deep golden brown and the sugar is bubbly and caramelized. Watch carefully to avoid burning.
- Remove from the oven and let the seeds cool completely on the baking sheet (about 20 to 30 minutes). The coating will harden as it cools.
- Once cool, gently break apart any clusters with your hands.
Notes
Don’t skip the parchment paper for easy cleanup. Watch the oven closely to prevent burning. Let the seeds cool completely for maximum crunch. For a dairy-free version, substitute butter with coconut oil or vegan butter.
Nutrition
- Serving Size: 1/4 cup
- Calories: 180
- Sugar: 10
- Sodium: 150
- Fat: 12
- Saturated Fat: 4
- Carbohydrates: 14
- Fiber: 2
- Protein: 6
Keywords: cinnamon sugar pumpkin seeds, roasted pumpkin seeds, sweet pumpkin seeds, easy snack, fall snack, homemade snack


