I figured a one-pan garlic butter chicken and rice dinner would be fine—tasty enough, maybe a little dry on the second bite, the kind of meal you eat while standing over the sink because you’re too tired to sit down. It took about twenty minutes of smelling that garlic hit the butter for that assumption to fall apart completely.
The rice turned out fluffy, not sticky. The chicken stayed juicy, not rubbery. And the whole thing came together in a single skillet—no colanders, no extra pots, no rice cooker to scrub. Honestly, I kept poking at it with a fork, waiting for the catch. There wasn’t one.
This recipe wasn’t born out of a fancy cooking class or a family heirloom. It came from a Tuesday night when I had chicken thighs, a head of garlic, and zero patience for a sink full of dishes. I wanted something that tasted like I’d tried—but didn’t actually require me to try that hard. That’s the sweet spot, isn’t it?
I’ve made this easy one-pan garlic butter chicken and rice at least a dozen times since then. It’s become my default for nights when I need dinner to feel like a hug, not a chore. And it’s the recipe I send to friends who text me, “What should I make for dinner that doesn’t suck?”
Trust me on this one. It’s simpler than it has any right to be.
Why You’ll Love This Recipe
This isn’t just another chicken and rice recipe. It’s the one that actually works without babysitting, stirring, or crossing your fingers. Here’s why it keeps showing up on my weekly rotation:
- One Pan, Zero Drama: Everything cooks in a single skillet. No boiling rice separately, no transferring chicken to a baking dish. Less cleanup, more couch time.
- Pantry-Friendly Ingredients: Chicken, rice, butter, garlic, broth—you probably have most of this already. No special trips to the store for obscure spices or canned cream soups.
- Juicy Chicken Every Time: The rice absorbs all that garlic butter goodness while the chicken stays tender. I’ve tested this with thighs, breasts, and even drumsticks. Thighs are the safest bet for moisture, but breasts work if you watch the temp.
- Perfect for Busy Weeknights: From start to table in about 45 minutes. That’s faster than delivery in most neighborhoods.
- Customizable Without Stress: Swap in brown rice, add veggies, throw in some lemon—it bends without breaking. I’ve made it with asparagus on the side (kind of like my easy garlic butter chicken with asparagus) and it’s just as solid.
What makes this recipe different from the dozens of other one-pan chicken and rice dishes out there? The technique. Instead of dumping everything in at once, you sear the chicken first, toast the rice in that garlic butter, then let everything simmer together. That little extra step builds layers of flavor without adding complexity.
This is comfort food that doesn’t weigh you down. It’s the kind of meal that makes you close your eyes after the first bite—not because it’s fancy, but because it’s exactly what you needed.
What Ingredients You Will Need
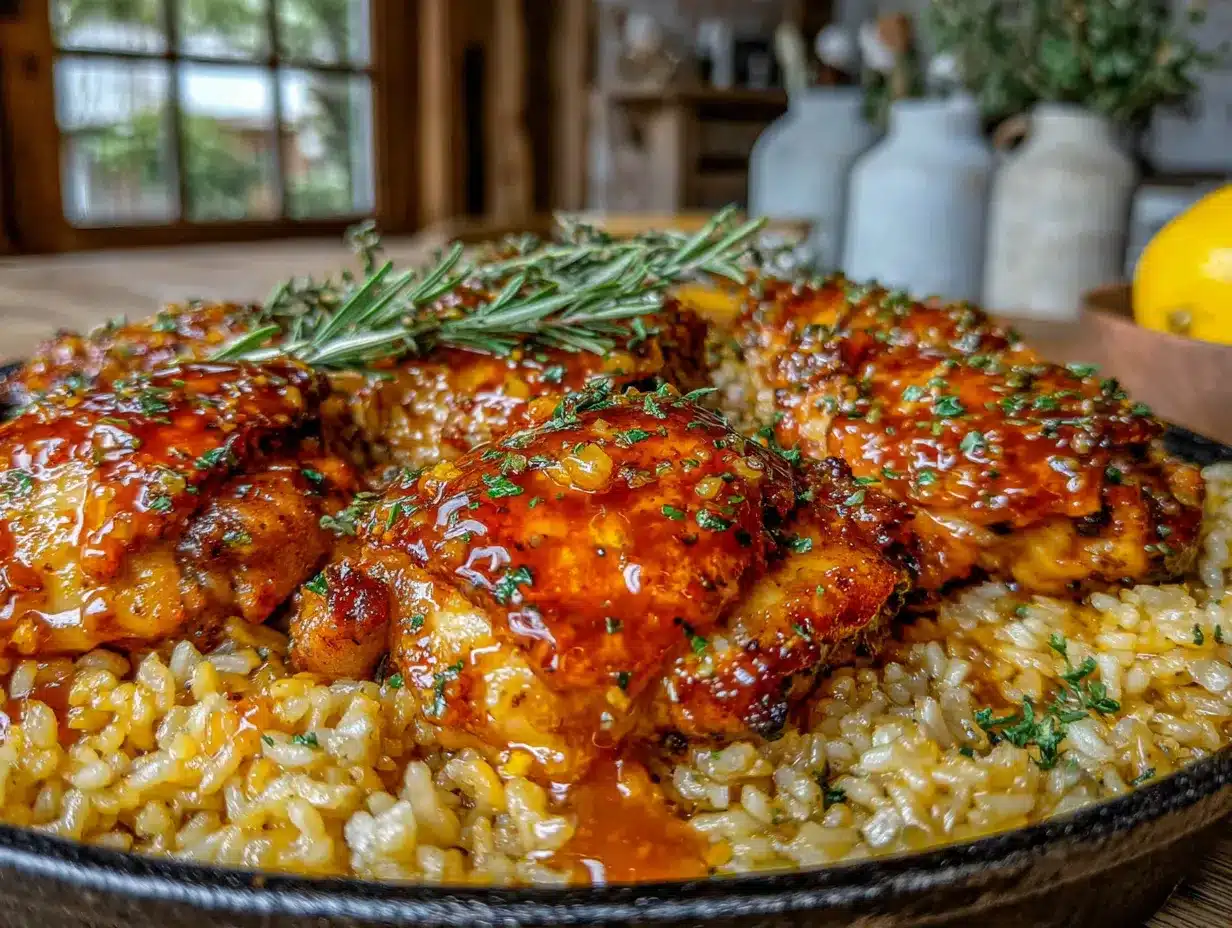
This easy one-pan garlic butter chicken and rice uses simple, wholesome ingredients that deliver big flavor without the fuss. Most of these are pantry staples, so you’re probably already halfway there.
For the Chicken
- 4 bone-in, skin-on chicken thighs (about 1.5 lbs / 680g) — the bone keeps the meat moist during simmering. You can use boneless thighs, but reduce cooking time by about 5 minutes.
- 1 teaspoon salt — I use kosher salt for better control. Diamond Crystal is my go-to.
- ½ teaspoon black pepper — freshly ground, if you’ve got it.
- ½ teaspoon paprika — adds color and a mild smoky note. Smoked paprika works beautifully too.
- 2 tablespoons olive oil — for searing. Avocado oil works if that’s what you have.
For the Garlic Butter Rice
- 4 tablespoons unsalted butter — salted butter works, just cut back on the added salt later.
- 6 cloves garlic, minced — yes, six. Don’t skimp. Fresh garlic is non-negotiable here; pre-minced stuff burns faster.
- 1 cup long-grain white rice (200g) — basmati or jasmine both work. Avoid short-grain or sushi rice; they get too sticky.
- 2 cups chicken broth (480ml) — low-sodium is best so you control the salt. Homemade broth adds even more depth.
- ½ cup water (120ml) — helps the rice cook evenly without drying out.
- 1 small yellow onion, finely diced (about ¾ cup / 110g) — adds sweetness and body to the rice.
- ½ teaspoon dried thyme — or 1 teaspoon fresh thyme leaves. Rosemary works in a pinch.
- Salt and pepper to taste — adjust after the broth goes in.
For Garnish (Optional but Recommended)
- 2 tablespoons fresh parsley, chopped — brightens everything up.
- Lemon wedges — a squeeze of lemon right before eating cuts through the richness beautifully.
- Grated Parmesan cheese — not traditional, but I’ve done it and it’s delicious.
Ingredient Note: I’ve made this with brown rice before, and it works—but you’ll need to increase the liquid by about ½ cup and extend the simmer time to 40-45 minutes. The texture is chewier, which some people prefer. If you’re looking for a quicker option, stick with white rice.
For the butter, I recommend Kerrygold or any European-style butter. The higher fat content means less splattering and richer flavor. But honestly, any unsalted butter will do the job.
If you’re out of chicken broth, vegetable broth works fine. Water alone will make the rice taste flat, so at least add an extra clove of garlic and a bay leaf to compensate.
Equipment Needed
One of the best things about this recipe is how little gear it requires. Here’s what you’ll need:
- A large, deep skillet or Dutch oven (12-inch / 30cm with a lid) — cast iron, stainless steel, or nonstick all work. Just make sure it has a tight-fitting lid. I use my 12-inch cast iron skillet for this; the even heat distribution is perfect for the rice.
- Tongs — for flipping the chicken without piercing the skin. I’ve used a fork in a pinch, but tongs keep the juices in.
- A wooden spoon or silicone spatula — for stirring the rice and scraping up the browned bits (fond) from the bottom of the pan. That fond is pure flavor.
- A sharp knife and cutting board — for mincing garlic and dicing the onion.
- Measuring cups and spoons — rice is forgiving, but accurate measurements help.
- A fine-mesh strainer — optional, but useful if you rinse your rice first (which I recommend for fluffier grains).
If you don’t have a lid that fits your skillet, a sheet of aluminum foil crimped tightly around the edges works as a temporary cover. I’ve done it more times than I’d like to admit.
Preparation Method
This method is broken down into clear steps so you don’t miss anything. Take your time, especially with the searing—that’s where the magic starts.
Step 1: Prep the Chicken
Pat the chicken thighs dry with paper towels. This is crucial—wet chicken won’t brown properly, and you’ll end up steaming it instead of searing. Season both sides generously with salt, pepper, and paprika. Let them sit at room temperature for 10-15 minutes while you prep the other ingredients. This helps the seasoning penetrate and takes the chill off the meat.
Step 2: Sear the Chicken
Heat the olive oil in your skillet over medium-high heat until it shimmers (about 2 minutes). Place the chicken thighs skin-side down in the skillet. Don’t crowd them—if they don’t all fit, do it in two batches. Let them cook undisturbed for 5-6 minutes until the skin is deep golden brown and crispy. Flip and cook for another 3-4 minutes. Transfer the chicken to a plate and set aside. Don’t wipe out the pan—those browned bits are flavor gold.
Step 3: Build the Garlic Butter Base
Reduce the heat to medium. Add the butter to the skillet and let it melt, scraping up the browned bits with your wooden spoon. Add the diced onion and cook for 3-4 minutes until softened and translucent. Add the minced garlic and dried thyme, stirring constantly for about 30 seconds until fragrant. Watch it carefully—garlic burns fast and turns bitter.
Step 4: Toast the Rice
Add the rice to the skillet and stir to coat it in that garlic butter mixture. Cook for 2-3 minutes, stirring frequently, until the rice starts to look slightly translucent at the edges and smells nutty. This toasting step is what keeps the rice from turning mushy later.
Step 5: Add the Liquid
Pour in the chicken broth and water. Stir gently to combine, scraping up any remaining bits from the bottom. Bring the liquid to a gentle boil. Taste the broth and adjust salt and pepper if needed—remember, the rice will absorb it, so it should be slightly saltier than you think it needs to be.
Step 6: Simmer Together
Nestle the seared chicken thighs back into the skillet, skin-side up, pressing them gently into the rice. The rice should be mostly submerged in liquid. Bring everything to a simmer, then cover the skillet with a tight-fitting lid. Reduce the heat to low and let it cook undisturbed for 20 minutes. Don’t peek! Lifting the lid releases steam and messes with the cooking time.
Step 7: Rest and Fluff
After 20 minutes, turn off the heat but keep the lid on. Let it rest for 5-10 minutes. This allows the rice to absorb any remaining steam and finish cooking gently. Remove the lid, fluff the rice with a fork, and check the chicken’s internal temperature—it should reach 165°F (74°C) at the thickest part. If it’s slightly under, cover and let it sit for another 5 minutes.
Step 8: Garnish and Serve
Sprinkle with fresh parsley and squeeze a lemon wedge over the top if you’re using it. Serve directly from the skillet (fewer dishes, remember?). The rice should be tender but not mushy, and the chicken skin should still have some crispness.
Sensory Cue: When you lift the lid, you should smell garlic, butter, and savory chicken broth. The rice should look plump and separate, not clumpy. If the top layer looks a little wet, give it a gentle stir—it’ll absorb as it sits.
Cooking Tips & Techniques
I’ve made this recipe enough times to know where things can go sideways. Here’s what I’ve learned the hard way so you don’t have to.
Don’t skip the rice toasting step. I know it seems unnecessary, but that 2-3 minutes of toasting transforms the texture. Untoasted rice absorbs liquid faster and turns gummy. Toasted rice stays separate and fluffy. It’s the difference between a great dish and a sad, clumpy one.
Use a heavy pan. Thin skillets heat unevenly, which means the rice on the edges might burn while the center stays undercooked. Cast iron or stainless steel with a thick bottom is ideal. If you’re using a nonstick pan, keep the heat at medium—nonstick doesn’t hold heat as well, so you might need an extra minute or two for the rice.
Watch your heat levels. When you add the broth, make sure it’s at a gentle simmer, not a rolling boil. A vigorous boil will cook the rice too quickly on the outside while leaving the center hard. You want lazy bubbles, not aggressive ones.
Resist the urge to stir. Once the lid is on, leave it alone. Stirring releases starch and turns the rice into porridge. Trust the process. If you’re nervous about sticking, make sure your pan is heavy and your heat is low enough.
My biggest failure: The first time I made this, I used a cheap nonstick skillet and cranked the heat to high because I was impatient. The rice burned on the bottom, the chicken skin stuck to the pan, and I ended up scraping charred bits into the trash. Lesson learned. Low and slow is your friend here.
Timing tip: While the chicken sears, dice your onion and mince your garlic. While the rice simmers, chop the parsley and cut the lemon wedges. This keeps the active cooking time under 15 minutes.
Variations & Adaptations
This recipe is a solid base, but it loves to be customized. Here are some variations I’ve tried and loved.
Vegetable-Packed Version
Add 1 cup of frozen peas and diced carrots during the last 5 minutes of simmering. Or stir in a handful of baby spinach right before serving—it wilts into the rice beautifully. I’ve also added sliced mushrooms along with the onions for extra umami.
Spicy Garlic Butter Chicken
Add ½ teaspoon of red pepper flakes along with the garlic. Or stir in a tablespoon of sriracha with the broth for a spicy kick. My husband loves this version—he says it wakes up the dish without overpowering the garlic butter.
Creamy Version
Stir in ¼ cup of heavy cream or half-and-half after the rice has cooked, just before serving. It turns the rice into something almost risotto-like. I did this once when I had leftover cream in the fridge, and it was decadent—save it for a special occasion.
Herb and Lemon Version
Add the zest of one lemon along with the garlic, and toss in a few sprigs of fresh thyme or rosemary before covering. The lemon brightens everything up, especially if you’re serving this in warmer months.
Dietary Adaptations
- Gluten-free: This recipe is naturally gluten-free as written. Just double-check your chicken broth label—some brands add wheat-based flavorings.
- Dairy-free: Substitute the butter with a high-quality vegan butter or ghee (if you tolerate it). I’ve used Miyoko’s vegan butter and it worked well.
- Low-carb: Swap the rice for cauliflower rice. Cook the cauliflower rice separately and serve the chicken on top, since cauliflower rice doesn’t need 20 minutes of simmering.
I personally love the lemon and herb version for spring dinners. It feels lighter but still comforting—kind of like a warm sweater on a cool evening.
Serving & Storage Suggestions
This dish is best served hot, straight from the skillet. The contrast between the crispy chicken skin and the tender, buttery rice is the whole point.
Serving temperature: Let it rest for 5 minutes after cooking, then serve immediately. If you’re hosting, you can keep the skillet on a trivet at the table—it stays warm for a good 20 minutes.
What to serve with it: A simple green salad with lemon vinaigrette cuts through the richness perfectly. Steamed green beans or roasted asparagus also work well. If you’re feeling indulgent, a side of crusty bread to soak up any leftover garlic butter in the pan is never a bad idea. For a heartier meal, this pairs beautifully with my creamy Tuscan chicken—though that might be overkill on a weeknight.
Storage: Store leftovers in an airtight container in the refrigerator for up to 4 days. The rice will absorb more liquid as it sits, so it’ll be slightly denser the next day—still delicious, just different.
Reheating: The best way to reheat is in a skillet over medium-low heat with a splash of broth or water. Cover and let it steam for 5-7 minutes. Microwave works in a pinch, but the chicken skin will lose its crispness. If you’re microwaving, cover the plate with a damp paper towel to add moisture.
Freezing: This freezes surprisingly well. Let it cool completely, then transfer to a freezer-safe container. It keeps for up to 3 months. Thaw overnight in the fridge and reheat in a skillet. The rice texture won’t be quite as fluffy, but the flavor holds up.
Flavor development note: Honestly, this dish tastes even better the next day. The garlic butter seeps into the rice overnight, and the flavors meld together. I’ve been known to make a double batch just for leftovers.
Nutritional Information & Benefits
Here’s the estimated nutritional breakdown per serving (based on 4 servings, using chicken thighs with skin and white rice):
| Nutrient | Amount per Serving |
|---|---|
| Calories | 485 |
| Protein | 32g |
| Fat | 22g |
| Saturated Fat | 9g |
| Carbohydrates | 38g |
| Fiber | 1g |
| Sugar | 2g |
| Sodium | 680mg |
Health benefits: Chicken thighs provide a good source of protein and B vitamins, especially B6 and B12, which support energy metabolism. Garlic is rich in allicin, a compound linked to immune support and heart health. Butter, while high in saturated fat, contains butyrate, a fatty acid that may support gut health in moderation.
Dietary considerations: This recipe is naturally gluten-free and nut-free. If you’re watching sodium, use low-sodium broth and reduce the added salt. For a lower-fat version, remove the chicken skin before eating (though you’ll lose that crispy texture).
Potential allergens: Dairy (butter). If you’re lactose intolerant, use lactose-free butter or ghee, which has minimal lactose.
I’m not a nutritionist, but I’ve found this dish fits well into a balanced diet when paired with a vegetable side. It’s satisfying enough to keep you full without being heavy.
Conclusion
This easy one-pan garlic butter chicken and rice is the kind of recipe that earns a permanent spot in your rotation. It’s forgiving enough for a beginner, fast enough for a weeknight, and flavorful enough to impress anyone who takes a bite. The single pan means you spend less time scrubbing and more time actually enjoying your meal.
I love that this recipe doesn’t pretend to be something it’s not. It’s not a 45-minute project with a dozen obscure ingredients. It’s just good food made simply—the way most of us actually cook on a regular Tuesday. And honestly, that’s what makes it special.
If you make this, I’d love to hear how it turns out. Did you add your own twist? Use a different protein? Burn the garlic and start over? (Been there.) Leave a comment below or tag me in your photos—I genuinely read every one.
Go ahead, grab that skillet. Dinner’s waiting.
Frequently Asked Questions
Can I use boneless, skinless chicken breasts instead of thighs?
Yes, but they cook faster and dry out more easily. Sear them for 3-4 minutes per side, then reduce the simmer time to 15 minutes. Check the internal temperature—165°F (74°C) is your target. I’d still recommend thighs for the juiciest result.
Why is my rice still hard after 20 minutes?
This usually means the heat was too low or the lid wasn’t tight enough. Make sure your liquid is at a gentle simmer before covering. If the rice is still undercooked after 20 minutes, add 2-3 tablespoons of hot broth, re-cover, and cook for another 5 minutes on low heat.
Can I make this in a slow cooker or Instant Pot?
I’ve tested both. For the Instant Pot, use the sauté function to sear the chicken and toast the rice, then pressure cook on high for 6 minutes with a natural release. For a slow cooker, sear the chicken first, then cook on low for 3-4 hours—but the rice will be softer and less distinct. The skillet method is still my favorite for texture.
How do I keep the chicken skin crispy?
The key is searing it well before adding the liquid, and not submerging the skin in the broth. Place the chicken skin-side up when you add it back to the skillet. If the skin softens during simmering, you can pop the skillet under the broiler for 2-3 minutes at the end to re-crisp it.
Can I double this recipe?
Yes, but use a larger pan (14-inch or a Dutch oven) to avoid overcrowding. If your pan is too full, the rice won’t cook evenly. You may need to add 5 extra minutes to the simmer time. Leftovers freeze beautifully, so I often make a double batch on purpose.
Pin This Recipe!
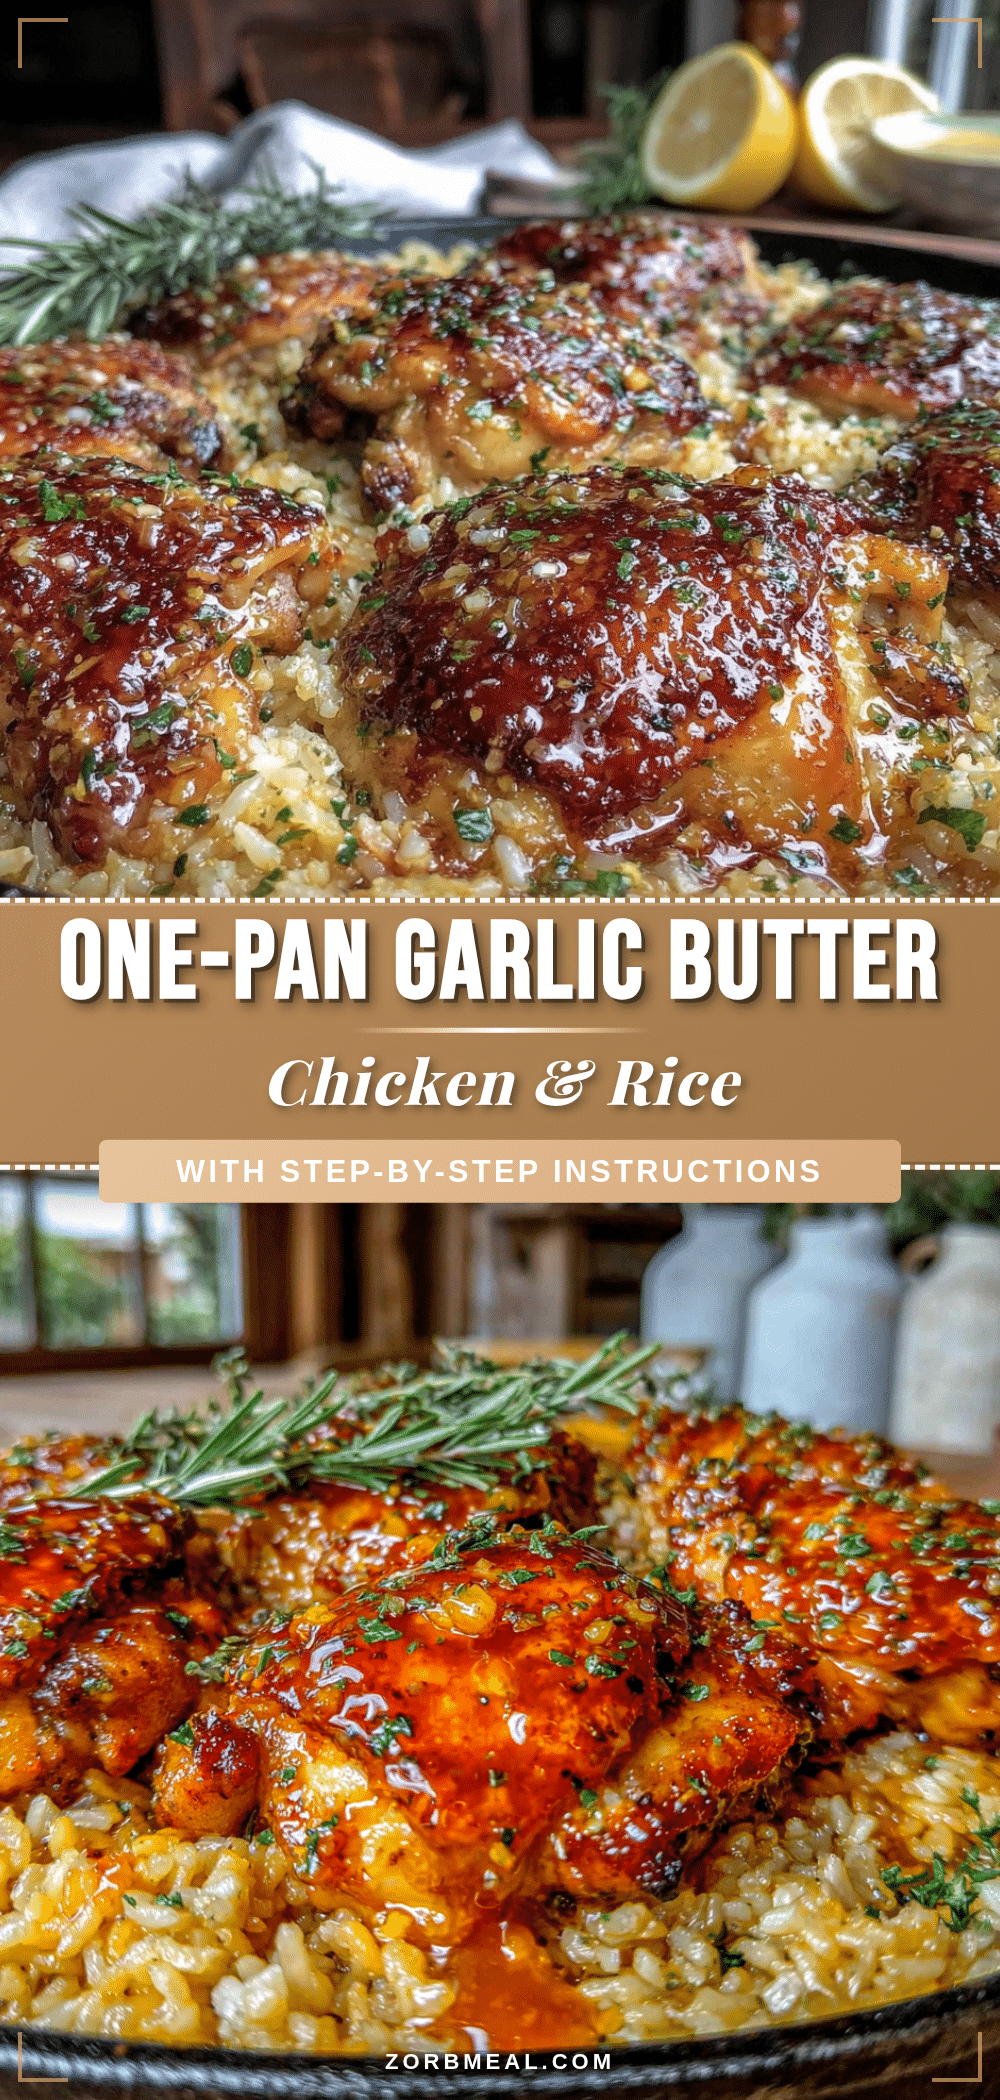
Easy One-Pan Garlic Butter Chicken and Rice
A simple, flavorful one-pan meal featuring juicy chicken thighs and fluffy rice cooked in a rich garlic butter sauce. Perfect for busy weeknights with minimal cleanup.
- Prep Time: 15 minutes
- Cook Time: 30 minutes
- Total Time: 45 minutes
- Yield: 4 servings 1x
- Category: Main Course
- Cuisine: American
Ingredients
- 4 bone-in, skin-on chicken thighs (about 1.5 lbs / 680g)
- 1 teaspoon salt
- ½ teaspoon black pepper
- ½ teaspoon paprika
- 2 tablespoons olive oil
- 4 tablespoons unsalted butter
- 6 cloves garlic, minced
- 1 cup long-grain white rice (200g)
- 2 cups chicken broth (480ml)
- ½ cup water (120ml)
- 1 small yellow onion, finely diced (about ¾ cup / 110g)
- ½ teaspoon dried thyme
- Salt and pepper to taste
- 2 tablespoons fresh parsley, chopped (optional)
- Lemon wedges (optional)
- Grated Parmesan cheese (optional)
Instructions
- Pat the chicken thighs dry with paper towels. Season both sides generously with salt, pepper, and paprika. Let them sit at room temperature for 10-15 minutes.
- Heat the olive oil in a large deep skillet or Dutch oven over medium-high heat until shimmering. Place the chicken thighs skin-side down and cook undisturbed for 5-6 minutes until deep golden brown. Flip and cook for another 3-4 minutes. Transfer chicken to a plate and set aside.
- Reduce heat to medium. Add butter to the skillet, scraping up browned bits. Add diced onion and cook for 3-4 minutes until softened. Add minced garlic and dried thyme, stirring constantly for about 30 seconds until fragrant.
- Add rice to the skillet and stir to coat in the garlic butter mixture. Cook for 2-3 minutes, stirring frequently, until rice starts to look slightly translucent and smells nutty.
- Pour in chicken broth and water. Stir gently to combine, scraping up any remaining bits. Bring to a gentle boil. Taste and adjust salt and pepper if needed.
- Nestle the seared chicken thighs back into the skillet, skin-side up. Bring to a simmer, cover with a tight-fitting lid, reduce heat to low, and cook undisturbed for 20 minutes.
- Turn off heat but keep the lid on. Let rest for 5-10 minutes. Remove lid, fluff rice with a fork, and check chicken internal temperature (should reach 165°F / 74°C).
- Sprinkle with fresh parsley and squeeze lemon wedges over the top if desired. Serve directly from the skillet.
Notes
For best results, use bone-in, skin-on chicken thighs. Don’t skip toasting the rice. Avoid lifting the lid during simmering. If chicken skin softens, broil for 2-3 minutes to re-crisp.
Nutrition
- Serving Size: 1 serving (about 1 c
- Calories: 485
- Sugar: 2
- Sodium: 680
- Fat: 22
- Saturated Fat: 9
- Carbohydrates: 38
- Fiber: 1
- Protein: 32
Keywords: one-pan chicken and rice, garlic butter chicken, easy weeknight dinner, skillet chicken and rice