“Are you sure this will hold up?” my cousin asked, eyeing the flag-shaped cheesecake I was nervously assembling on a sweltering July afternoon. You know that moment when you try a recipe you’ve only read about and suddenly the kitchen feels like a stage? That was me, hovering over this no-bake cheesecake, skeptical about whether it would set right, especially with the fresh berries arranged so delicately on top. The heat was relentless, and honestly, the last thing I wanted was to turn on the oven. But this recipe promised a creamy no-bake flag cheesecake, and I was curious enough to give it a shot.
What happened next was a quiet little victory. After a few hours in the fridge, the cheesecake was perfectly firm—not stiff, but just right—and that fresh berry flag on top? It looked like a little edible celebration. The best part was how the flavors balanced: the tangy cream cheese filling, the buttery graham cracker crust, and the burst of sweetness from the berries. It became a summer staple for us, especially on days when I was too tired to bake but still wanted something impressive for guests. This creamy no-bake flag cheesecake with fresh berries stuck around not because it was flashy, but because it felt like an easy win on a hot day when nothing else seemed to go right.
It wasn’t just about the look, either—that creamy texture made me close my eyes after the very first bite, the kind of comfort food that quietly impresses. Honestly, it’s a recipe that feels like a little secret passed down from friend to friend, perfect for those moments when you want something sweet without the fuss. And that’s why I keep coming back to it, especially during berry season, ready to whip up a dessert that everyone can admire and enjoy without me breaking a sweat.
Why You’ll Love This Creamy No-Bake Flag Cheesecake with Fresh Berries
This cheesecake recipe isn’t just your average dessert—it’s a little celebration in every slice, and here’s why it’s earned a permanent spot in my recipe box:
- Quick & Easy: It comes together in about 20 minutes, then you just let it chill—no oven required! Perfect for those busy summer afternoons or last-minute parties.
- Simple Ingredients: Most of what you need is probably already in your pantry or fridge. No hunting down exotic items, just straightforward staples like cream cheese and graham crackers.
- Perfect for Summer Gatherings: This cheesecake shines at barbecues, picnics, or Fourth of July celebrations, thanks to its fresh berry topping arranged like a festive flag.
- Crowd-Pleaser: Kids love the creamy texture and colorful berries, and adults appreciate the light but satisfying dessert after a big meal.
- Unbelievably Delicious: The smooth, rich filling contrasts beautifully with the crumbly crust, while the fresh berries add brightness and just the right touch of natural sweetness.
What makes this version stand out is the careful balance of tang and sweetness in the filling—thanks to a splash of lemon juice and just the right amount of sugar—which keeps it lively rather than overly rich. Plus, the no-bake method means the texture stays silky smooth, unlike baked cheesecakes that can sometimes get dense or dry. I also love that the crust is simple but sturdy enough to hold the creamy filling and berries without crumbling all over the place.
Honestly, this recipe feels like the kind of dessert that invites you to relax, close your eyes, and savor each bite. It’s comfort food reimagined for the heat of summer—lighter, faster, but with all the soul-soothing satisfaction. If you want a dessert that looks like you put in hours but really didn’t, this creamy no-bake flag cheesecake is the one to trust.
What Ingredients You Will Need for Creamy No-Bake Flag Cheesecake with Fresh Berries
This recipe uses simple, wholesome ingredients to deliver bold flavor and a satisfying texture without any fuss in the kitchen. Most are pantry staples, and the fresh berries bring that seasonal, colorful pop that makes the flag design come alive.
- For the Crust:
- 1 ½ cups graham cracker crumbs (I prefer Kraft for a sturdy texture)
- 6 tablespoons unsalted butter, melted (adds richness and helps with binding)
- 2 tablespoons granulated sugar
- For the Cheesecake Filling:
- 16 oz (450 g) cream cheese, softened (full fat for creamier results)
- 1 cup heavy cream (cold, for whipping)
- ¾ cup powdered sugar, sifted (for smooth sweetness)
- 1 teaspoon pure vanilla extract
- 1 tablespoon fresh lemon juice (brightens the flavor)
- For the Fresh Berry Flag Topping:
- 1 cup fresh strawberries, hulled and sliced (for the red stripes)
- 1 cup fresh blueberries (for the blue star area)
- Optional: fresh raspberries or blackberries to add variation or fill in gaps
If you want a gluten-free crust, substitute the graham crackers with almond flour or gluten-free cookie crumbs. For a dairy-free version, try swapping cream cheese with a plant-based alternative and use coconut cream instead of heavy cream. The fresh lemon juice is key—it pulls all the flavors together and gives the filling a subtle zing that keeps it from tasting too sweet or heavy.
Equipment Needed
- 9×13 inch (23×33 cm) rectangular baking dish or a similarly sized springform pan – the shape helps create the flag design easily
- Mixing bowls (one large for whipping cream, one medium for the cream cheese mixture)
- Electric hand mixer or stand mixer – essential for whipping the cream and smoothing the filling
- Spatula (preferably silicone) for folding and spreading the filling evenly
- Measuring cups and spoons for precise measurements
- Food processor or resealable bag and rolling pin to crush graham crackers (if you don’t buy pre-crumbled)
If you don’t have a mixer, a sturdy whisk and a bit of elbow grease can work, but it’ll take longer to get that fluffy filling. I learned the hard way that skipping the electric mixer usually means a denser, less airy cheesecake, which I wasn’t thrilled with. A springform pan is great for easy removal, but a baking dish works just as well when lined with parchment paper.
Preparation Method
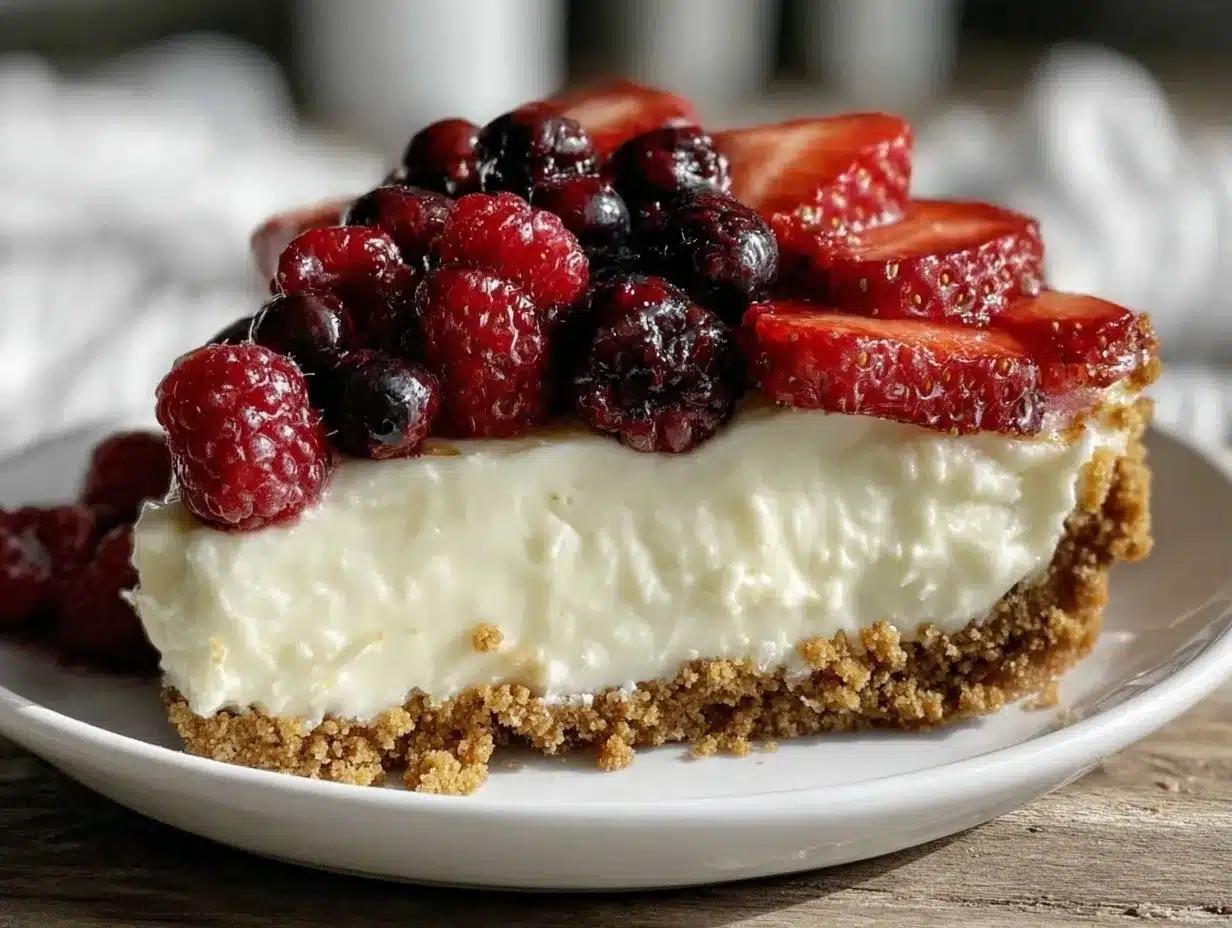
- Prepare the crust (10 minutes): Crush the graham crackers into fine crumbs using a food processor or by placing them in a plastic bag and rolling with a pin. In a medium bowl, combine the crumbs, melted butter, and sugar. Mix until the crumbs are evenly coated and hold together when pressed.
- Press crust into the pan: Transfer the crumb mixture into your 9×13 inch dish. Press firmly and evenly into the bottom using the back of a spoon or your fingers. This helps create a compact base that won’t crumble later. Place the crust in the fridge to chill while you prepare the filling.
- Make the cheesecake filling (15 minutes): In a large bowl, beat the softened cream cheese with an electric mixer until smooth and creamy. Add powdered sugar, vanilla extract, and lemon juice, mixing until fully combined and no lumps remain.
- Whip the cream: In a separate bowl, whip the cold heavy cream until stiff peaks form. This may take 3-5 minutes on medium-high speed. Be careful not to overwhip or it will become grainy.
- Fold the whipped cream into the cream cheese mixture: Gently fold the whipped cream into the cream cheese base in batches, using a spatula. This keeps the filling light and airy—try to avoid deflating it.
- Assemble the cheesecake: Spread the creamy filling evenly over the chilled crust, smoothing the top with an offset spatula or spoon. Cover loosely with plastic wrap.
- Chill for at least 4 hours or overnight: The cheesecake needs time to set firmly. If you’re short on time, 4 hours will do, but overnight is best for that perfect slice.
- Arrange the fresh berries: Before serving, create the flag design on top. Place blueberries in the top left corner to form the “stars” section. Arrange strawberries in stripes across the rest of the cake to mimic the flag’s red stripes. Use raspberries or blackberries to fill in gaps if needed.
- Serve and enjoy: Slice with a sharp knife dipped in warm water for clean cuts. Serve chilled for the creamiest texture.
Watch out for overmixing the cream cheese or over-whipping the cream—it can ruin the texture. Also, pressing the crust too hard might make it too dense, so aim for firm but not compacted. The sensory cues to look for are a smooth, fluffy filling that holds its shape and a crust that feels solid but not rock hard. This recipe pairs wonderfully with summer meals like the grilled chimichurri shrimp skewers, making it an easy, crowd-pleasing combo.
Cooking Tips & Techniques for the Best No-Bake Cheesecake
Honestly, making a creamy no-bake cheesecake isn’t rocket science, but a few tricks make a big difference:
- Room temperature cream cheese: Softened cream cheese blends smoother and avoids lumps. If it’s too cold, you’ll end up with a bumpy filling.
- Cold heavy cream: Chilling your bowl and beaters before whipping helps the cream reach stiff peaks faster. This adds that perfect fluffy texture to the filling.
- Gentle folding: When combining whipped cream with cream cheese, fold slowly and carefully to keep as much air as possible. That’s what makes the cheesecake light instead of dense.
- Chill time is key: Don’t rush the fridge time. The cheesecake needs to firm up well so it slices cleanly and holds its shape.
- Berry arrangement tip: Start with the blueberry corner first, then add strawberry stripes from top to bottom. It’s less fiddly that way.
I once tried cutting corners by skipping the chill time and ended up with a messy, runny dessert—lesson learned! Also, using a warm knife to slice helps a lot—you just dip it in hot water, wipe it dry, and slice smoothly without dragging the filling.
Timing-wise, I like to prep the crust and filling in an hour, then let it chill while I get dinner ready. That way, no extra stress, just a simple dessert waiting in the fridge. If you want something equally quick and creamy, the creamy coconut curry shrimp is a fantastic easy dinner that pairs well with this cheesecake for a full meal.
Variations & Adaptations for Your Perfect Cheesecake
This no-bake cheesecake is a great base for tweaks, so feel free to make it your own:
- Seasonal Berry Swap: Use fresh raspberries, blackberries, or even kiwi slices for a colorful twist. In winter, frozen berries thawed and drained work surprisingly well.
- Gluten-Free Crust: Swap graham crackers for almond flour mixed with melted butter and a touch of honey. It’s nutty and just as sturdy.
- Flavor Boosts: Add a teaspoon of almond extract to the filling for a subtle nutty aroma or mix in some finely grated lemon zest for extra zing.
- Dairy-Free Version: Use vegan cream cheese and coconut cream instead of dairy. The texture will be slightly different but still deliciously creamy.
- Mini Cheesecake Cups: Make this recipe in individual glasses for a fun presentation—great for parties or to-go.
Personally, I love adding a thin layer of homemade raspberry jam on the crust before the filling—it adds a tart surprise in every bite. If you want to try a no-bake dessert that’s a little different but just as creamy, the creamy crockpot white chicken chili is a savory crowd-pleaser that’s just as fuss-free.
Serving & Storage Suggestions
This creamy no-bake flag cheesecake is best served chilled, straight from the fridge. The texture is delightfully smooth and cool, perfect for hot days. When slicing, use a sharp knife warmed under hot water and wiped dry for clean, pretty pieces.
For serving, plate slices with an extra handful of fresh berries or a light dusting of powdered sugar. A dollop of whipped cream on the side never hurts, especially if you’re sharing with berry lovers. It pairs nicely with iced tea or a sparkling lemonade for a refreshing summer dessert experience.
Store any leftovers covered tightly with plastic wrap or in an airtight container in the refrigerator for up to 3 days. The flavors actually mellow and blend more after a day, so it’s perfectly fine to make this cheesecake a day ahead. For longer storage, you can freeze slices wrapped individually in plastic and foil for up to a month—just thaw overnight in the fridge before serving.
Over time, the crust may soften slightly, but the filling holds up beautifully, making it a reliable make-ahead dessert. If you’re looking for other easy, make-ahead dinner ideas to pair with this cheesecake, the Mediterranean stuffed chicken breast is a hearty, flavorful option that complements this light dessert perfectly.
Nutritional Information & Benefits
This creamy no-bake flag cheesecake offers a balance of indulgence and nutrition, especially when topped with fresh berries packed with antioxidants and vitamins. A typical serving (about 1/12th of the recipe) provides roughly:
| Calories | 320 kcal |
|---|---|
| Fat | 24 g (mostly from cream cheese and butter) |
| Carbohydrates | 20 g (includes natural sugars from berries and added sugar) |
| Protein | 5 g |
The fresh berries contribute dietary fiber and vitamin C, making the dessert feel a bit lighter and healthier. Using full-fat cream cheese and heavy cream helps with satiety, so a small slice is quite satisfying.
For those watching carbs or gluten, this recipe can be easily modified to be gluten-free or lower in sugar by using alternative sweeteners and crust options. Just be mindful of allergens like dairy and gluten when serving guests.
Conclusion
This creamy no-bake flag cheesecake with fresh berries is one of those recipes that feels like a secret weapon in the kitchen. It’s simple enough to whip up on a whim but impressive enough to make any gathering feel special. I love how it balances tangy cream cheese with sweet berries and a buttery crust—comfort food that’s fresh and inviting.
Whether you’re celebrating a holiday, hosting a summer cookout, or just craving something sweet and refreshing, this cheesecake fits the bill. Plus, it’s easy to customize, so you can make it your own with different fruits or crusts.
Give it a try, and if you tweak it or find a favorite variation, I’d love to hear about it. Sharing recipes is what keeps food memories alive, and this one has plenty of stories yet to be made.
Here’s to simple desserts that bring smiles with every bite!
FAQs about Creamy No-Bake Flag Cheesecake with Fresh Berries
Can I make this cheesecake ahead of time?
Absolutely! It actually tastes better after chilling overnight, giving the flavors time to meld and the filling to set perfectly.
What can I use instead of graham crackers for the crust?
Almond flour or gluten-free cookie crumbs work well as a substitute for a gluten-free crust option. You can also try crushed digestive biscuits depending on your region.
How long does the cheesecake keep in the fridge?
Stored properly in an airtight container, it stays fresh for up to 3 days. Beyond that, the texture may change.
Can I freeze this cheesecake?
Yes, slice and wrap individual pieces tightly before freezing. Thaw in the fridge overnight for best results.
What if I don’t have heavy cream?
You can try substituting with full-fat coconut milk for a dairy-free option, but the texture may be slightly less fluffy.
Pin This Recipe!
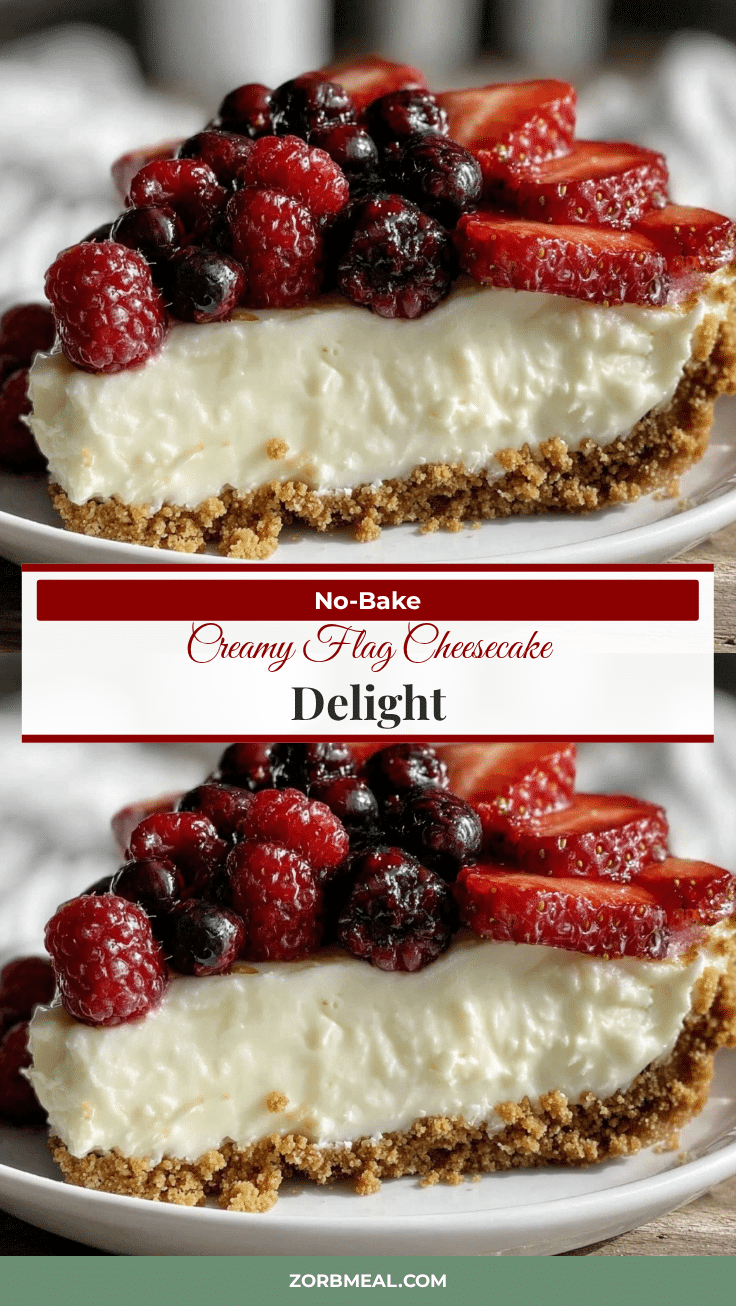
Creamy No-Bake Flag Cheesecake Recipe Easy Step-by-Step Guide with Fresh Berries
A creamy no-bake cheesecake with a buttery graham cracker crust and fresh berries arranged like a flag, perfect for summer gatherings and easy to prepare without an oven.
- Prep Time: 20 minutes
- Cook Time: 0 minutes
- Total Time: 4 hours 20 minutes
- Yield: 12 servings 1x
- Category: Dessert
- Cuisine: American
Ingredients
- 1 ½ cups graham cracker crumbs
- 6 tablespoons unsalted butter, melted
- 2 tablespoons granulated sugar
- 16 oz (450 g) cream cheese, softened
- 1 cup heavy cream, cold
- ¾ cup powdered sugar, sifted
- 1 teaspoon pure vanilla extract
- 1 tablespoon fresh lemon juice
- 1 cup fresh strawberries, hulled and sliced
- 1 cup fresh blueberries
- Optional: fresh raspberries or blackberries
Instructions
- Crush the graham crackers into fine crumbs using a food processor or rolling pin.
- In a medium bowl, combine graham cracker crumbs, melted butter, and sugar. Mix until evenly coated and holds together when pressed.
- Press the crumb mixture firmly and evenly into the bottom of a 9×13 inch dish. Chill in the fridge while preparing the filling.
- Beat softened cream cheese with an electric mixer until smooth and creamy.
- Add powdered sugar, vanilla extract, and lemon juice to the cream cheese and mix until fully combined.
- Whip the cold heavy cream in a separate bowl until stiff peaks form.
- Gently fold the whipped cream into the cream cheese mixture in batches to keep it light and airy.
- Spread the filling evenly over the chilled crust and cover loosely with plastic wrap.
- Chill the cheesecake for at least 4 hours or overnight to set firmly.
- Before serving, arrange blueberries in the top left corner and strawberries in stripes to mimic a flag. Use raspberries or blackberries to fill gaps if desired.
- Slice with a sharp knife dipped in warm water for clean cuts and serve chilled.
Notes
Use room temperature cream cheese for smooth filling. Chill heavy cream and bowl before whipping for best results. Fold whipped cream gently to keep filling airy. Chill cheesecake at least 4 hours or overnight for best texture. Use a warm knife dipped in hot water for clean slicing. For gluten-free crust, substitute graham crackers with almond flour or gluten-free cookie crumbs. For dairy-free, use vegan cream cheese and coconut cream.
Nutrition
- Serving Size: 1 slice (1/12th of t
- Calories: 320
- Fat: 24
- Carbohydrates: 20
- Protein: 5
Keywords: no-bake cheesecake, flag cheesecake, summer dessert, fresh berries, easy cheesecake, no oven dessert, creamy cheesecake


