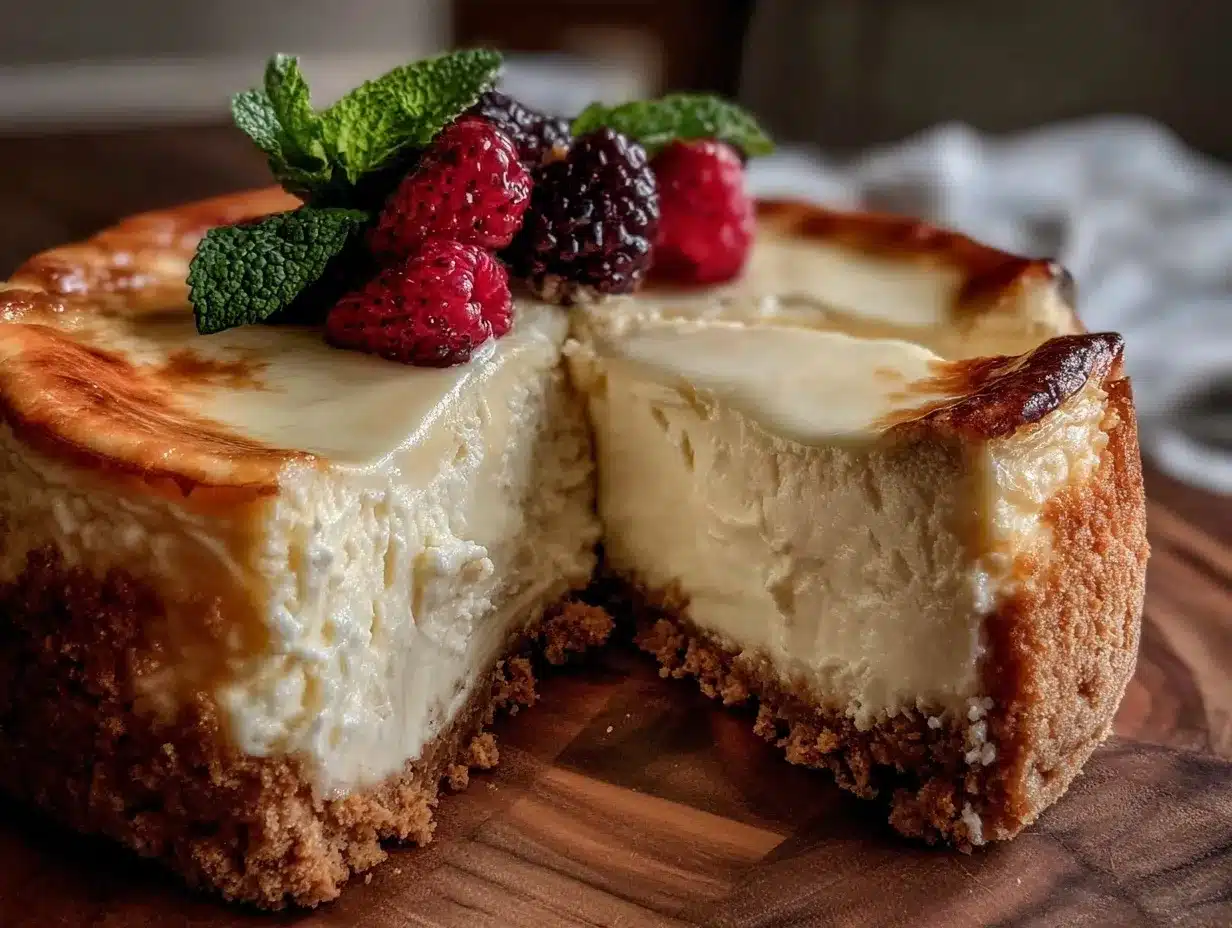
Let me tell you, the scent of rich cream cheese mingling with fragrant vanilla bean, wafting from my pressure cooker, is enough to make anyone’s mouth water. The first time I baked this creamy pressure cooker cheesecake with vanilla bean, I was instantly hooked—the kind of moment where you pause, take a deep breath, and just smile because you know you’re onto something truly special. Years ago, when I was knee-high to a grasshopper, cheesecake was this fancy dessert reserved for celebrations or special outings. I never thought I’d be able to whip up a cheesecake like this at home, and honestly, it feels like I’ve been missing out all these years.
My family couldn’t stop sneaking slices off the cooling rack (and I can’t really blame them). It’s dangerously easy to make, yet delivers pure, nostalgic comfort with every bite. You know what? Whether you’re hosting a potluck, looking for a sweet treat for your kids, or simply want to brighten up your Pinterest cookie board with a show-stopping dessert, this creamy pressure cooker cheesecake with vanilla bean has you covered. I tested this recipe multiple times in the name of research, of course, and it’s become a staple for family gatherings and gifting alike. Honestly, this dessert feels like a warm hug on a plate, and you’re going to want to bookmark this one.
Why You’ll Love This Creamy Pressure Cooker Cheesecake with Vanilla Bean
This recipe isn’t just good—it’s the kind that makes you close your eyes after the first bite. I’ve put my chef-tested and family-approved stamp on this creamy pressure cooker cheesecake with vanilla bean, and here’s why it stands out:
- Quick & Easy: Comes together in under an hour, perfect for busy weeknights or last-minute dessert cravings.
- Simple Ingredients: No fancy grocery trips needed; you likely already have everything in your kitchen.
- Perfect for Any Occasion: Great for brunch, potlucks, cozy dinners, or holiday mornings.
- Crowd-Pleaser: Always gets rave reviews from kids and adults alike—trust me, nobody can resist that creamy texture.
- Unbelievably Delicious: The texture and flavor combo is next-level comfort food, with just the right balance of sweetness and vanilla bean aroma.
What really sets this cheesecake apart is the magic of the pressure cooker. It makes the texture ultra-creamy without the fuss of a water bath in the oven, and the vanilla bean adds a subtle depth that ordinary extracts just can’t match. This isn’t just another cheesecake—it’s your best version, perfect for impressing guests without the stress, or turning a simple meal into a memorable treat.
What Ingredients You Will Need
This creamy pressure cooker cheesecake with vanilla bean uses simple, wholesome ingredients to deliver bold flavor and a satisfyingly smooth texture without the fuss. Most are pantry staples, but a few fresh touches really make it shine.
- For the crust:
- 1 ½ cups (150 g) graham cracker crumbs (I recommend Honey Maid for best texture)
- 5 tablespoons (70 g) unsalted butter, melted (adds richness)
- 2 tablespoons (25 g) granulated sugar
- For the filling:
- 24 ounces (680 g) cream cheese, softened (use full-fat for the creamiest results)
- 1 cup (200 g) granulated sugar
- 3 large eggs, room temperature
- 1 cup (240 ml) sour cream
- 1 tablespoon vanilla bean paste or seeds scraped from 1 vanilla bean (for that authentic vanilla flavor)
- 2 tablespoons (15 g) all-purpose flour (helps with structure)
- Optional:
- Fresh berries or fruit compote for serving
If you want to make it gluten-free, swap the graham cracker crumbs for gluten-free cookies or almond flour. For a dairy-free version, try using vegan cream cheese and coconut yogurt instead of sour cream. It’s flexible, and I’ve played around with these substitutions plenty—each one brings its own twist while keeping that creamy pressure cooker cheesecake with vanilla bean vibe intact.
Equipment Needed
- 6-inch springform pan (fits perfectly inside most electric pressure cookers; if you don’t have one, a silicone pan with a removable bottom works too)
- Electric pressure cooker or Instant Pot (this is the star tool for the recipe)
- Mixing bowls (one large for the batter, one small for the crust)
- Electric mixer or sturdy whisk (to get that filling smooth and lump-free)
- Measuring cups and spoons
- Spatula for scraping down the bowl
- Trivet or rack to place inside the pressure cooker (keeps the pan elevated from the water)
If you don’t have a pressure cooker, you can bake this cheesecake in a traditional oven, but the pressure cooker speeds things up and guarantees a silky texture. My favorite budget-friendly springform pans come from Wilton—they last forever and clean up easily. And a good trivet is worth keeping around; it’s a small investment for perfect results.
Preparation Method
- Prepare the crust: In a medium bowl, combine 1 ½ cups (150 g) graham cracker crumbs, 5 tablespoons (70 g) melted unsalted butter, and 2 tablespoons (25 g) sugar. Stir until the mixture resembles wet sand and holds together when pressed. Press the mixture evenly into the bottom of your 6-inch springform pan. Set aside while you prepare the filling. (This takes about 10 minutes.)
- Make the filling: In a large mixing bowl, beat 24 ounces (680 g) softened cream cheese with 1 cup (200 g) sugar until smooth and creamy—no lumps! Scrape down the sides as needed. Add 3 large eggs one at a time, mixing gently after each addition. (Don’t overbeat; you don’t want to incorporate too much air.)
- Add the flavor and texture: Mix in 1 cup (240 ml) sour cream, 1 tablespoon vanilla bean paste or seeds scraped from 1 whole vanilla bean, and 2 tablespoons (15 g) all-purpose flour. Blend just until combined—the batter should be silky and thick.
- Pour and prep for cooking: Pour the filling over the crust in your springform pan. Smooth the top with a spatula. Cover the pan loosely with aluminum foil to prevent water from dripping on the cheesecake during cooking. (This step is key for a smooth surface.)
- Set up the pressure cooker: Pour 1 cup (240 ml) water into the pressure cooker’s inner pot. Place a trivet or rack inside, then carefully lower the foil-covered springform pan onto the trivet.
- Cook the cheesecake: Seal the pressure cooker lid and set it to high pressure for 35 minutes. Once the cooking time is up, allow a natural pressure release for 15 minutes before carefully releasing any remaining pressure. (The natural release helps prevent cracks.)
- Cool and chill: Carefully remove the cheesecake from the pressure cooker. Let it cool to room temperature on a wire rack, then refrigerate for at least 4 hours or overnight. This step is essential for that creamy, firm texture.
- Serve: Release the sides of the springform pan, slice, and serve plain or with fresh berries for a bright contrast.
Pro tip: If you notice any cracks on the surface, don’t sweat it—smooth them out with a thin layer of sour cream glaze or top with fruit compote. I’ve had my fair share of cracked cheesecakes, and this little trick always works wonders!
Cooking Tips & Techniques
Honestly, mastering this creamy pressure cooker cheesecake with vanilla bean is easier than you think, but a few tricks make all the difference.
- Use room temperature ingredients: This helps the batter come together smoothly without lumps. Cold cream cheese or eggs can cause clumps.
- Don’t overbeat: Mixing too vigorously incorporates air, which can cause cracks or a spongy texture. Mix just until combined for the creamiest results.
- Cover the pan with foil: This prevents water droplets from the pressure cooker lid from ruining your cheesecake’s surface—a small step that pays off big.
- Natural pressure release is your friend: It helps the cheesecake finish cooking gently, reducing the chance of cracks or sinking.
- Let it chill long enough: Resist the urge to slice immediately. Chilling firm ups the cheesecake and enhances the flavor.
One time I rushed the chilling step, and the cheesecake was tasty but too soft to slice neatly. Lesson learned! Also, I’ve found a silicone spatula works best for scraping the batter without wasting any precious filling. Multitasking tip: prep your crust while the cream cheese softens so you’re ready to go when mixing time comes.
Variations & Adaptations
This creamy pressure cooker cheesecake with vanilla bean is a fantastic base recipe that welcomes creativity. Here are some fun ways to switch things up:
- Fruit Swirl: Add a swirl of raspberry or blueberry jam to the batter before cooking for a fruity surprise inside.
- Chocolate Lover’s: Mix in ½ cup (90 g) melted dark chocolate or cocoa powder for a rich twist. Top with chocolate shavings after chilling.
- Dairy-Free Version: Swap cream cheese for a vegan alternative and sour cream for coconut yogurt. Use gluten-free cookies for the crust to make it allergy-friendly.
- Spiced Up: Add 1 teaspoon ground cinnamon or cardamom to the crust or batter for cozy warmth.
Personally, I once tried adding a hint of espresso powder to the batter—it was subtle but gave a lovely depth that coffee lovers will appreciate. You can also adapt cooking times slightly if you’re using a bigger or smaller pan—just keep an eye on texture and do a toothpick test if you’re unsure.
Serving & Storage Suggestions
Serve this creamy pressure cooker cheesecake with vanilla bean chilled straight from the fridge. It tastes fantastic on its own, but you can dress it up with fresh berries, a drizzle of caramel sauce, or a dollop of whipped cream for extra indulgence. Pairing with a cup of hot coffee or a light dessert wine makes it a perfect finish to any meal.
To store, keep cheesecake covered in the refrigerator for up to 5 days. For longer storage, wrap it tightly in plastic wrap and aluminum foil, then freeze for up to 2 months. When you’re ready to enjoy, thaw in the refrigerator overnight and let it sit at room temperature for 20 minutes before serving to bring out its creamy texture.
Flavors actually deepen after a day or two in the fridge, so if you can wait, your patience will be rewarded with an even tastier dessert. Just remember to keep it well-covered to avoid absorbing fridge odors.
Nutritional Information & Benefits
Each slice of this creamy pressure cooker cheesecake with vanilla bean (based on 8 servings) contains approximately:
| Nutrient | Amount per serving |
|---|---|
| Calories | ~350 kcal |
| Fat | 28g |
| Protein | 6g |
| Carbohydrates | 18g |
| Sugar | 14g |
The key ingredients like cream cheese and sour cream provide a good amount of calcium and protein, while vanilla bean adds antioxidants without extra calories. If you’re watching carbs, this recipe can be modified by using almond flour for the crust and a sugar substitute in the filling. Keep in mind this dessert contains dairy and eggs, so it’s not suitable for those with allergies.
Personally, I appreciate that this cheesecake balances indulgence with simple ingredients, making it a treat I can feel good about enjoying occasionally.
Conclusion
So there you have it—a creamy pressure cooker cheesecake with vanilla bean that’s not only delicious but surprisingly easy to make. This recipe brings together simple ingredients and clever pressure cooker magic to create a dessert perfect for any occasion. Customize it to your liking, whether you fancy a fruit swirl, chocolate twist, or a spiced version.
This cheesecake has won over my family and friends time and time again, and I’m confident you’ll find yourself reaching for it when you want something sweet, comforting, and just a little bit fancy. Give it a try, share your thoughts, and let me know how you make it your own. Happy baking and enjoy every creamy bite!
FAQs About Creamy Pressure Cooker Cheesecake with Vanilla Bean
Can I use vanilla extract instead of vanilla bean paste?
Yes, you can use 1 teaspoon of vanilla extract as a substitute, though the flavor won’t be as intense or aromatic as vanilla bean paste or fresh vanilla seeds.
Do I need to grease the springform pan?
It’s a good idea to lightly grease the pan or use parchment paper on the bottom to help release the cheesecake easily after cooking.
What if my cheesecake cracks after cooking?
Cracking is common. Covering the pan with foil and using natural pressure release reduces cracks. If cracks appear, topping with sour cream glaze or fruit compote hides them nicely.
Can I make this cheesecake ahead of time?
Absolutely! It tastes even better after chilling overnight. Just keep it covered and refrigerated until serving.
Is it necessary to cover the pan with foil?
Yes, covering with foil prevents water condensation from dripping onto the cheesecake and ruining its surface texture.
Pin This Recipe!
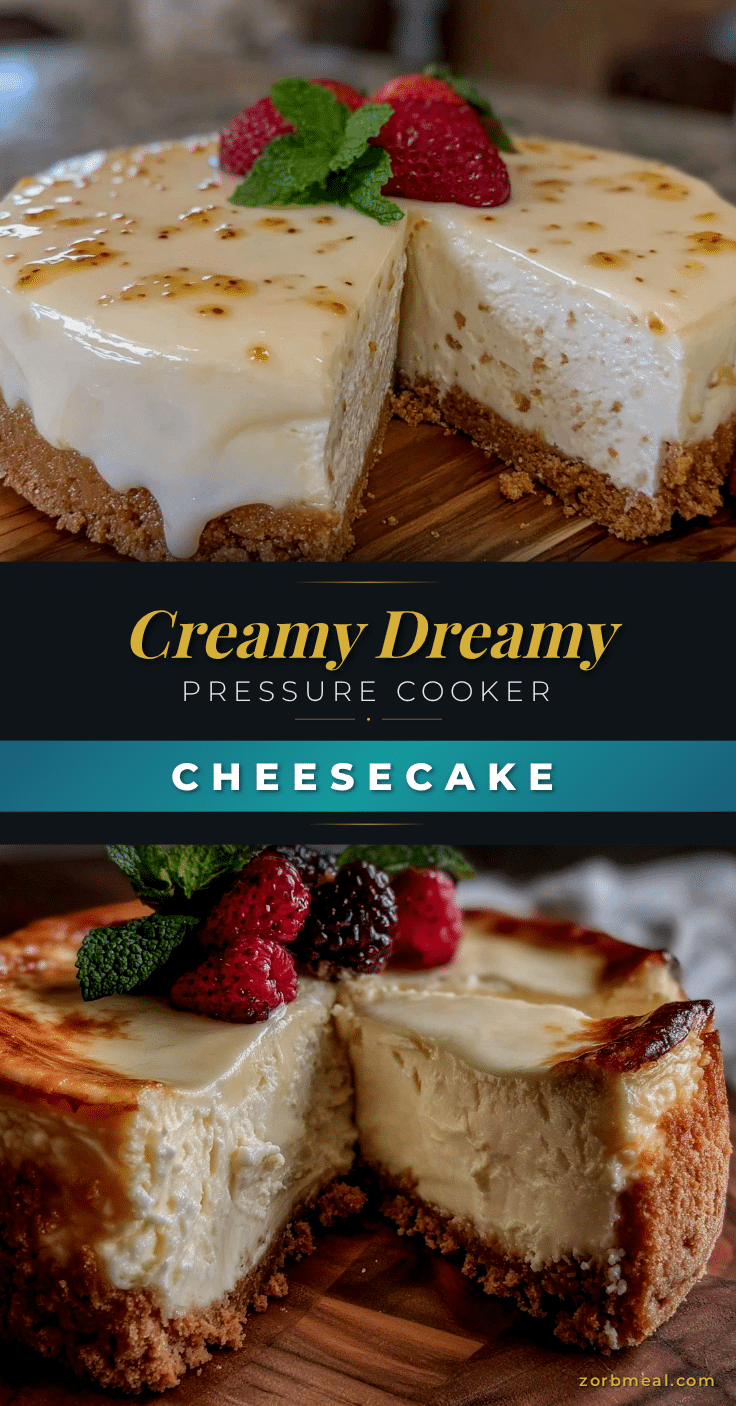
Creamy Pressure Cooker Cheesecake with Vanilla Bean
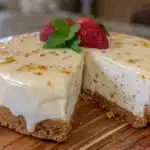
A rich and creamy cheesecake made effortlessly in a pressure cooker, infused with authentic vanilla bean flavor. Perfect for any occasion, this dessert delivers a smooth texture and nostalgic comfort in under an hour.
- Prep Time: 15 minutes
- Cook Time: 35 minutes
- Total Time: 5 hours 50 minutes
- Yield: 8 servings 1x
- Category: Dessert
- Cuisine: American
Ingredients
- 1 ½ cups (150 g) graham cracker crumbs
- 5 tablespoons (70 g) unsalted butter, melted
- 2 tablespoons (25 g) granulated sugar
- 24 ounces (680 g) cream cheese, softened
- 1 cup (200 g) granulated sugar
- 3 large eggs, room temperature
- 1 cup (240 ml) sour cream
- 1 tablespoon vanilla bean paste or seeds scraped from 1 vanilla bean
- 2 tablespoons (15 g) all-purpose flour
- Optional: Fresh berries or fruit compote for serving
Instructions
- Prepare the crust: In a medium bowl, combine graham cracker crumbs, melted butter, and sugar. Stir until the mixture resembles wet sand and holds together when pressed. Press evenly into the bottom of a 6-inch springform pan. Set aside.
- Make the filling: In a large mixing bowl, beat softened cream cheese with sugar until smooth and creamy. Scrape down the sides as needed. Add eggs one at a time, mixing gently after each addition.
- Add sour cream, vanilla bean paste or seeds, and all-purpose flour to the cream cheese mixture. Blend just until combined; the batter should be silky and thick.
- Pour the filling over the crust in the springform pan. Smooth the top with a spatula. Cover the pan loosely with aluminum foil to prevent water from dripping on the cheesecake during cooking.
- Set up the pressure cooker: Pour 1 cup (240 ml) water into the inner pot. Place a trivet or rack inside, then carefully lower the foil-covered springform pan onto the trivet.
- Seal the pressure cooker lid and set it to high pressure for 35 minutes. After cooking, allow a natural pressure release for 15 minutes before releasing any remaining pressure.
- Carefully remove the cheesecake from the pressure cooker. Let it cool to room temperature on a wire rack, then refrigerate for at least 4 hours or overnight.
- Release the sides of the springform pan, slice, and serve plain or with fresh berries.
Notes
Use room temperature ingredients to avoid lumps. Do not overbeat the batter to prevent cracks. Cover the pan with foil to avoid water droplets on the cheesecake surface. Use natural pressure release to reduce cracking. Chill cheesecake for at least 4 hours or overnight for best texture. If cracks appear, smooth with sour cream glaze or top with fruit compote.
Nutrition
- Serving Size: 1 slice (1/8 of chee
- Calories: 350
- Sugar: 14
- Fat: 28
- Carbohydrates: 18
- Protein: 6
Keywords: pressure cooker cheesecake, creamy cheesecake, vanilla bean cheesecake, easy cheesecake recipe, no-bake cheesecake, quick dessert, family dessert, pressure cooker dessert