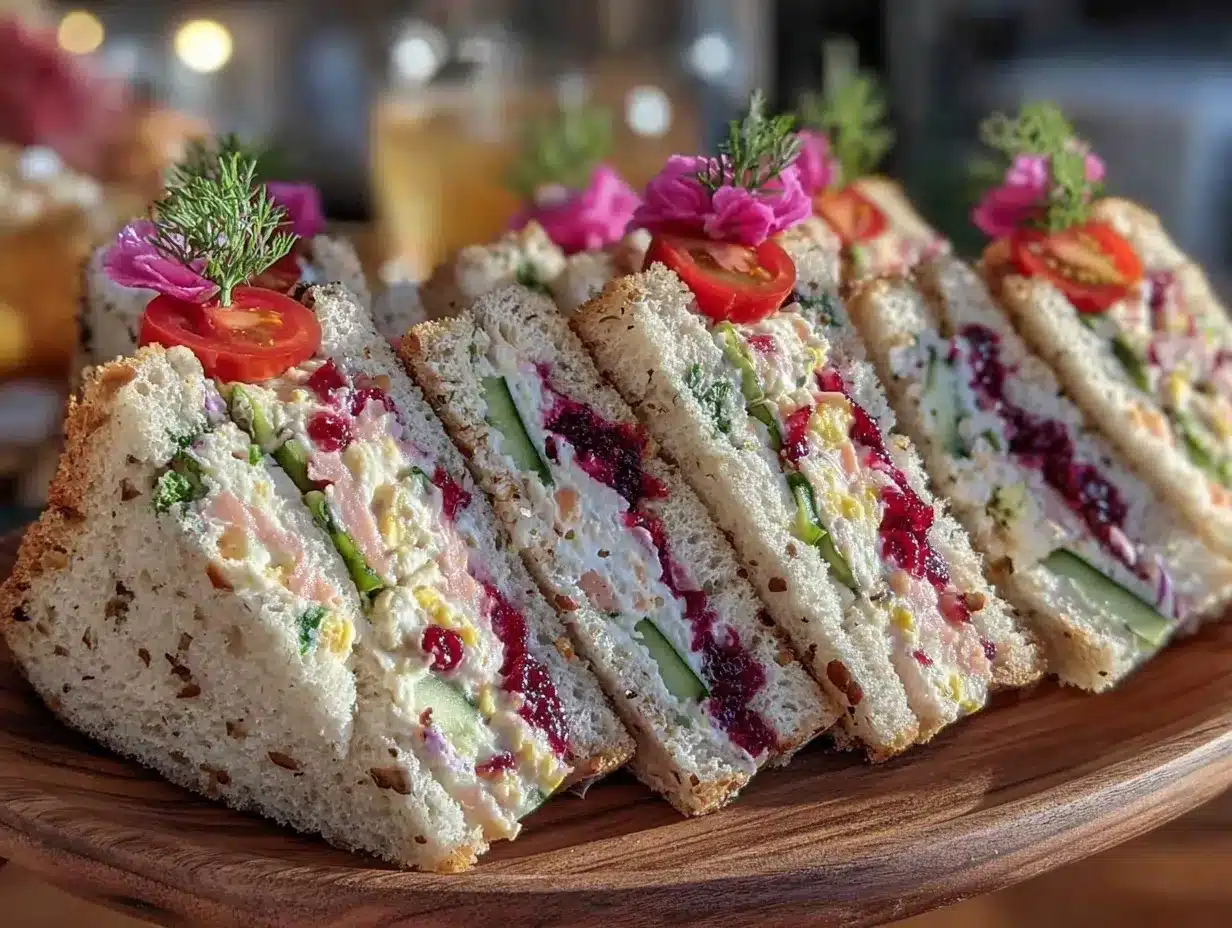
Picture this: laughter bubbling up around the table, the clink of pretty glasses, and right in the middle—a dazzling Galentine’s Mini Sandwich Board that’s almost too cute to eat. The colors pop—rosy ham, creamy cheese, emerald lettuce, and jewel-red tomatoes—all tucked between pillowy, crustless bread. The scent of fresh herbs wafts up as you arrange each tiny sandwich, feeling like you’re hosting the Galentine’s party of the year (even if it’s just you and a couple of besties in slippers and face masks). The first time I put together this DIY sandwich platter, I was honestly just trying to impress my friends with something besides store-bought dip. Suddenly, everyone was hovering around the board, snapping pics, and exclaiming things like, “Wait, can I steal this idea for next week?” That was the kind of moment where you pause, take a deep breath, and just smile because you know you’re onto something truly special.
When I was knee-high to a grasshopper, my grandma used to make dainty tea sandwiches for her garden club, and I remember being fascinated by the tiny triangles stacked on her best china. Years later, I wanted to recreate that fun, nostalgic vibe—but with a modern Galentine’s twist. I wish I’d realized sooner that a DIY sandwich board could be this simple and still look so high-end! My friends couldn’t stop sneaking the little smoked salmon stacks or swooning over the heart-shaped turkey sliders (and I can’t really blame them). There’s just something about a platter bursting with color, texture, and endless variety that brings everyone together—whether you’re hosting a full bash or just brightening up a rainy afternoon. Honestly, this board is dangerously easy, endlessly customizable, and delivers pure, nostalgic comfort in every bite. It’s perfect for brunch, baby showers, or just a sweet treat for your kids (or let’s face it, a Pinterest-worthy lunch for yourself). After testing and tweaking this recipe (in the name of research, of course), it’s become my go-to for family gatherings, gifting, and any day that needs a little extra sparkle. It feels like a warm hug on a platter—you’re going to want to bookmark this one for sure!
Why You’ll Love This Galentine’s Mini Sandwich Board
Let’s face it, not all party platters are created equal. The Galentine’s Mini Sandwich Board is the secret weapon for busy hosts, Pinterest enthusiasts, and anyone who believes that food should be as fun as it is flavorful. Here’s why you’ll be smitten with this idea (and probably make it your new party staple):
- Quick & Easy: You can assemble this entire board in under 30 minutes—no stove, oven, or fancy gadgets required. It’s the definition of last-minute-friendly.
- Simple Ingredients: You likely have everything you need in your fridge or pantry. No searching specialty shops—just grab your favorite sandwich fixings and go.
- Perfect for Celebrations: This board shines at Galentine’s Day parties, brunches, bridal showers, or cozy family gatherings. It’s cheerful, interactive, and instantly Instagram-ready.
- Crowd-Pleaser: Everyone—from picky eaters to adventurous foodies—finds something they love. The variety means there’s a bite for every palate.
- Unbelievably Delicious: Each mini sandwich is a little flavor bomb. The balance of creamy, crunchy, savory, and fresh is what comfort food dreams are made of.
What sets this mini sandwich board apart? For one, the arrangement is as important as the fillings. I use a mix of shapes—hearts, circles, and classic triangles (cookie cutters make it extra special)—and layer with fresh herbs, edible flowers, and colorful garnishes for a display that pops on Pinterest and real life. My “secret weapon” is spreading a thin layer of whipped cream cheese on each slice to keep fillings in place and add a creamy touch. This board isn’t about soggy, sad sandwiches—it’s about vibrant, fresh, bite-sized happiness.
This isn’t just another sandwich platter; it’s the one that makes people pause, snap a photo, and smile after the first bite. It brings back all those cozy, childhood feelings with a grown-up twist. Whether you’re impressing guests, treating your friends, or just making your Tuesday a little more special, this Galentine’s Mini Sandwich Board is a no-stress, all-fun way to turn ordinary sandwiches into something truly memorable.
What Ingredients You Will Need
This recipe uses simple, wholesome ingredients to deliver big flavor and irresistible texture without any fuss. Most of these are pantry and fridge staples, and you can easily swap things in and out to suit your crew’s tastes (or dietary needs). Here’s what you’ll need for the perfect Galentine’s Mini Sandwich Board:
- Breads (Choose a Variety for Color & Texture):
- Soft white sandwich bread, crusts removed (classic tea sandwich style)
- Whole wheat or multigrain bread (adds nuttiness and color)
- Mini slider buns or brioche rolls (for heartier bites)
- Rye cocktail bread or pumpernickel slices (for deeper flavor)
- Gluten-free or low-carb bread, if needed
- Proteins & Savory Fillings:
- Deli turkey, thinly sliced (smoked or honey-roasted)
- Deli ham or prosciutto, thinly sliced
- Roast beef, turkey breast, or rotisserie chicken, shredded
- Smoked salmon or lox (for a luxe touch!)
- Egg salad or chicken salad (homemade or store-bought)
- Hummus or mashed chickpeas (for vegetarian/vegan options)
- Cheeses:
- Swiss, cheddar, or provolone, thinly sliced
- Cream cheese, whipped (for spreading and “gluing” sandwiches together)
- Goat cheese or brie for fancy flavor
- Vegan cheese slices, if needed
- Fresh Veggies & Herbs:
- Baby spinach, arugula, or butter lettuce
- Mini cucumbers, thinly sliced (for that classic crunch)
- Tomatoes—grape, cherry, or thinly sliced regular
- Avocado, sliced or mashed (adds creaminess)
- Roasted red peppers or pickled onions (for a tangy twist)
- Fresh dill, basil, or parsley (pretty and flavorful!)
- Fun Extras & Garnishes:
- Edible flowers or microgreens (totally optional, but make the board pop!)
- Mini pickles, olives, or pepperoncini
- Strawberries, grapes, or apple slices (for a sweet touch)
- Assorted mustards, mayo, or aioli for spreading
- Heart-shaped cookie cutters for festive flair
Ingredient tips: For cream cheese, I love Philadelphia whipped for easy spreading. For sandwich breads, look for loaves with a tight crumb so your cut-outs hold together. If you’re shopping for deli meats, ask for them “shaved” for the best texture. And if you want to keep things extra simple, pick just 2-3 breads and 3-4 fillings—totally customizable!
Equipment Needed
- Large wooden board or serving platter: I use a wooden cheese board, but a big cutting board, cookie sheet, or even a pretty tray works great.
- Serrated bread knife: For neat, squish-free slicing.
- Sharp chef’s knife: Essential for slicing veggies and cheese cleanly.
- Heart-shaped and round cookie cutters: Not strictly necessary, but they add tons of charm! If you don’t have these, a drinking glass can double as a cutter.
- Small offset spatula or butter knife: For spreading cream cheese and condiments smoothly.
- Small bowls: To corral pickles, olives, or dips on the board.
- Toothpicks or sandwich picks: For stacking and securing slippery layers (plus, they make serving easy).
Personal note: My favorite “budget” board is actually a $5 bamboo cutting board I found at a discount store—sturdy and totally presentable. Cookie cutters from the dollar store work just as well as fancy ones. I always hand-wash my wooden boards and dry them thoroughly to keep them looking their best. If you only have one knife, make it a serrated bread knife—trust me, it’s a game-changer for neat sandwiches!
How to Make the Perfect Galentine’s Mini Sandwich Board
-
Prep Your Ingredients (10 minutes):
- Lay out all breads, meats, cheeses, veggies, and spreads. This is your “mise en place”—makes assembly a breeze.
- Use cookie cutters to cut bread into fun shapes (hearts and circles are my go-tos). If you don’t have cutters, simply trim into neat triangles or squares.
- Slice all veggies thinly (think 1/8-inch or 3mm) so sandwiches stack easily.
- Arrange fillings in easy-to-grab piles for super-fast assembly.
-
Make Your Sandwiches (15 minutes):
- Spread a thin layer (about 1 tsp or 5g) of cream cheese, mayo, or mustard on each bread slice. This keeps fillings from sliding and adds a creamy bite.
- Layer on your proteins: turkey, ham, roast beef, egg salad, etc. Use about 1 oz (30g) meat or 2 tbsp (30g) salad per sandwich. Don’t overstuff—these are meant to be dainty!
- Add cheese and veggies. For heart-shaped sandwiches, use small leaves and thin slices so nothing pokes out the sides.
- Top with the second slice of bread, gently press, and trim edges if needed for a polished look.
-
Garnish & Secure (5 minutes):
- For open-face sandwiches, add toppings like fresh dill, a sprinkle of microgreens, or edible flowers.
- For stacked sandwiches, secure with a toothpick. Add a mini pickle or olive on top for extra flair.
- If using multiple breads, alternate colors for visual interest.
-
Arrange Your Board (5 minutes):
- Start by placing small bowls of pickles, olives, or fruit around the board.
- Fan out sandwiches in neat rows or clusters, mixing shapes and colors for a “garden” look.
- Fill in any gaps with berries, herbs, or more mini sammies. The more abundant, the better!
-
Final Touches:
- Add a sprinkle of flaky salt, a drizzle of honey (for brie sandwiches), or a few extra herbs just before serving.
- Snap a photo—it’s almost too cute to eat!
Prep note: If making ahead, cover sandwiches with a slightly damp paper towel and plastic wrap to keep everything fresh and soft. If you end up with soggy bread, try spreading a thin layer of butter before toppings—it acts as a barrier. And if any sandwiches look a little sad, tuck them under the prettier stacks (no one ever notices!).
Cooking Tips & Techniques
Making a show-stopping Galentine’s Mini Sandwich Board is all about details and a few clever kitchen hacks. Here are my best tips, learned the fun (and sometimes messy) way:
- Keep It Fresh: Assemble the board close to serving time. If you need to prep ahead, store sandwiches in a single layer, covered, in the fridge. Add garnishes just before serving.
- Uniform Slices: Use a serrated knife for bread and a thin, sharp knife for veggies and cheese. This keeps everything neat and stackable—less squishing, more wow.
- Moisture Control: Pat veggies (like tomatoes or cucumbers) dry with a paper towel before adding. Too much moisture can make bread soggy fast—learned that one the hard way!
- Balance Flavors: Alternate fillings—if you’re using salty meats, add sweet or tangy spreads (honey mustard, cranberry sauce). For richer cheeses, layer in crisp lettuce or sharp pickles.
- Batch Assembly: Make one type of sandwich at a time assembly-line style. It’s faster, and you can adjust quantities as you go.
- Pretty Presentation: Mix up shapes, colors, and heights. If you’re using heart-shaped cutters, stack the hearts in little clusters and sprinkle with fresh herbs for a “bouquet” effect.
- Avoid Overstuffing: Keep fillings modest. Overfilled sandwiches can fall apart or look messy (I’ve lost a few to over-ambition—don’t be like me!).
- Make It Interactive: Let guests build their own combos by placing extra fillings and condiments on the side. It’s fun, and everyone gets their perfect bite.
Timing tip: If you’re hosting solo, prep all ingredients the night before (except for bread, which dries out fast). In the morning, assembly is a snap—and you’ll actually have time to enjoy your own party. Consistency is key—keep sandwiches roughly the same size so the board looks cohesive and everyone gets a fair share. And remember, a little imperfection adds homemade charm!
Variations & Adaptations
The Galentine’s Mini Sandwich Board is a chameleon—it adapts to every taste, season, and dietary need. Here are a few of my favorite twists:
- Dietary-Friendly:
- Gluten-Free: Use your favorite gluten-free bread or rice crackers.
- Vegan: Swap meats and cheeses for hummus, grilled eggplant, roasted peppers, and vegan cheese slices.
- Keto/Low-Carb: Use mini lettuce cups or cucumber slices as the “bread.”
- Seasonal Flair:
- Spring: Add asparagus tips, radish slices, and fresh chives.
- Summer: Go wild with heirloom tomatoes, basil, and strawberries.
- Fall: Try roasted squash, apple slices, and cranberry spread.
- Winter: Add roasted red peppers, brie, and a sprinkle of pomegranate arils.
- Flavor Twists:
- Spicy: Add pepper jack cheese, hot mustard, or a dash of sriracha.
- Sweet & Savory: Pair brie with fig jam or cream cheese with raspberry preserves.
- Classic Tea: Stick with cucumber, dill, and a touch of lemon zest.
Allergen swaps: Use nut-free spreads for allergies, and check labels on deli meats and cheeses. One of my favorite personal variations? A “caprese” mini sandwich with mozzarella, tomato, fresh basil, and a drizzle of balsamic glaze—simple, but so fresh and pretty. Don’t be afraid to let your imagination (and what’s in your fridge) guide you!
Serving & Storage Suggestions
Serve your Galentine’s Mini Sandwich Board slightly chilled or at cool room temperature for the best texture and flavor. I like to present the board surrounded by sparkling glasses of pink lemonade, rosé, or a fun fruit punch—nothing fancy, just whatever makes your crew smile. For extra flair, add a few candy hearts or a sprinkle of edible glitter around the edges (it’s a party, after all!).
If you have leftovers (rare, but it happens!), store sandwiches in a single layer in an airtight container with a damp paper towel on top. They’ll keep in the fridge for up to 24 hours—just freshen with a new garnish before serving. To reheat (for heartier, melt-style sandwiches), pop them in a toaster oven for 2-3 minutes—watch closely to avoid drying out the bread. Flavors tend to mingle and mellow overnight, making day-two snacking surprisingly tasty (if you ask me, some combos get even better)!
This platter pairs beautifully with fresh fruit, crunchy veggie sticks, chips, or a light soup as a side. Don’t forget plenty of napkins—these are finger foods, after all. And if you’re prepping for a party, assemble the board just before guests arrive for the freshest bites and prettiest presentation.
Nutritional Information & Benefits
Estimated per mini sandwich (varies by fillings):
- Calories: 60-120
- Protein: 2-6g
- Carbohydrates: 7-15g
- Fat: 2-5g
- Fiber: 0.5-2g
Health perks: Using whole grain breads, lean proteins, and plenty of veggies means your Galentine’s Mini Sandwich Board can be both fun and nourishing. Add avocado for healthy fats, or opt for hummus to bump up fiber. This board is easily adaptable for gluten-free, dairy-free, or vegetarian/vegan diets—just swap ingredients as needed. Major allergens include wheat, dairy, and eggs, so check labels and offer alternatives if serving a crowd. My take? Mini sandwiches are perfect for portion control and make it easy to sneak in extra veggies for everyone (kids included!).
Conclusion
If you’re looking for a party platter that’s equal parts playful and practical, this Galentine’s Mini Sandwich Board is pure gold. It’s endlessly customizable, looks stunning, and is shockingly easy to pull off—even when you’re pressed for time or inspiration. I love how this recipe lets you get creative, celebrate friendship, and actually enjoy the party (instead of being stuck in the kitchen). Whether you switch up the fillings, play with shapes, or just stick to the basics, this board has a way of making every gathering feel special.
Don’t be shy—make it your own! I’d love to hear how you customize your board, so drop a comment below with your favorite combos or party stories. If you try this recipe, snap a pic and tag me so I can see your gorgeous creations. Here’s to more laughter, more memories, and lots of mini sandwiches on every Galentine’s Day—cheers, friends!
Frequently Asked Questions (FAQs)
How far in advance can I make my mini sandwich board?
You can prep most ingredients a day ahead, but assemble the sandwiches within 2-3 hours of serving for the freshest flavor and texture. Keep them covered in the fridge to prevent drying out.
Can I make this board gluten-free?
Absolutely! Use your favorite gluten-free bread or crackers, and double-check all deli meats and spreads to make sure they’re gluten-free. The rest of the fillings are naturally gluten-free.
What’s the best way to keep sandwiches from getting soggy?
Pat all veggies dry before assembling. You can also spread a thin layer of butter or cream cheese on each slice of bread to act as a “moisture barrier.” Store sandwiches with a damp paper towel on top to keep them fresh but not soggy.
Can I use different shapes if I don’t have cookie cutters?
Yes! Triangles, squares, and rectangles work just fine. A drinking glass makes perfect circles, and you can always freehand simple shapes with a sharp knife.
How do I make this board kid-friendly?
Stick to familiar favorites like turkey, cheddar, and cucumber. Use fun shapes and let kids help assemble their own sandwiches—they love getting hands-on! Add a few sweet bites like fruit or cream cheese with jam for extra smiles.
Pin This Recipe!

Galentine’s Mini Sandwich Board Ideas Easy DIY Party Platter

This Galentine’s Mini Sandwich Board is a colorful, customizable party platter featuring bite-sized sandwiches in fun shapes, perfect for celebrations or cozy gatherings. It’s quick to assemble, endlessly adaptable for dietary needs, and guaranteed to impress with its playful presentation and delicious variety.
- Prep Time: 15 minutes
- Cook Time: 0 minutes
- Total Time: 20-30 minutes
- Yield: 6-8 servings
- Category: Appetizer
- Cuisine: American
Ingredients
- Soft white sandwich bread, crusts removed
- Whole wheat or multigrain bread
- Mini slider buns or brioche rolls
- Rye cocktail bread or pumpernickel slices
- Gluten-free or low-carb bread (optional)
- Deli turkey, thinly sliced
- Deli ham or prosciutto, thinly sliced
- Roast beef, turkey breast, or rotisserie chicken, shredded
- Smoked salmon or lox
- Egg salad or chicken salad
- Hummus or mashed chickpeas
- Swiss, cheddar, or provolone cheese, thinly sliced
- Cream cheese, whipped
- Goat cheese or brie
- Vegan cheese slices (optional)
- Baby spinach, arugula, or butter lettuce
- Mini cucumbers, thinly sliced
- Tomatoes (grape, cherry, or thinly sliced regular)
- Avocado, sliced or mashed
- Roasted red peppers or pickled onions
- Fresh dill, basil, or parsley
- Edible flowers or microgreens (optional)
- Mini pickles, olives, or pepperoncini
- Strawberries, grapes, or apple slices
- Assorted mustards, mayo, or aioli
- Butter (optional, for moisture barrier)
Instructions
- Prep Your Ingredients (10 minutes): Lay out all breads, meats, cheeses, veggies, and spreads. Use cookie cutters to cut bread into fun shapes or trim into triangles or squares. Slice all veggies thinly and arrange fillings in piles for easy assembly.
- Make Your Sandwiches (15 minutes): Spread a thin layer of cream cheese, mayo, or mustard on each bread slice. Layer on proteins (about 1 oz per sandwich), add cheese and veggies, then top with a second slice of bread. Press gently and trim edges if needed.
- Garnish & Secure (5 minutes): For open-face sandwiches, add toppings like fresh dill or edible flowers. For stacked sandwiches, secure with a toothpick and add a mini pickle or olive on top. Alternate bread colors for visual interest.
- Arrange Your Board (5 minutes): Place small bowls of pickles, olives, or fruit around the board. Fan out sandwiches in rows or clusters, mixing shapes and colors. Fill gaps with berries, herbs, or more sandwiches.
- Final Touches: Add flaky salt, a drizzle of honey (for brie sandwiches), or extra herbs before serving. Snap a photo and enjoy!
- If making ahead, cover sandwiches with a damp paper towel and plastic wrap to keep fresh.
Notes
Assemble sandwiches close to serving time for best freshness. Pat veggies dry to prevent soggy bread. Use a variety of shapes and colors for visual appeal. Easily adaptable for gluten-free, vegan, or dairy-free diets. Store leftovers in a single layer with a damp paper towel in the fridge for up to 24 hours.
Nutrition
- Serving Size: 1 mini sandwich
- Calories: 60120
- Sugar: 13
- Sodium: 150350
- Fat: 25
- Saturated Fat: 12
- Carbohydrates: 715
- Fiber: 0.52
- Protein: 26
Keywords: mini sandwich board, galentine’s party platter, tea sandwiches, appetizer, finger food, brunch, party food, easy entertaining, DIY sandwich platter, kid-friendly, gluten-free option, vegetarian option