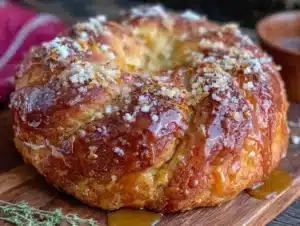
My neighbor Rosa asked why I couldn’t just use store-bought bread dough for the Day of the Dead altar. I started to explain why that wouldn’t work—then stopped. She had this hopeful look, holding a bag of frozen roll dough she’d grabbed from the bodega on her way over. Honestly, I almost laughed. But something made me pause. Maybe it was the way she clutched that bag like it held a secret. So I said, “Let’s try it.”
Two hours later, we pulled a golden loaf from the oven that smelled like orange blossoms and vanilla. The texture was softer than my usual recipe—dare I say better? Rosa beamed while I stood there, mouth full of bread, eating my words. That afternoon taught me something I still think about every October. Sometimes the best traditions aren’t the ones we guard so carefully. They’re the ones we accidentally let someone else mess with.
Pan de Muerto has always felt sacred to me. It’s that pillowy, slightly sweet bread that shows up on altars every November 1st and 2nd, decorated with bone-shaped pieces that somehow look more charming than spooky. The orange blossom glaze drizzled on top makes it smell like a garden in spring—even when autumn leaves are falling outside. I’d spent years perfecting my grandmother’s recipe, measuring everything twice, refusing to change a single thing. Then Rosa came along with her frozen dough and reminded me that bread, like tradition, needs room to breathe.
You know that feeling when you’ve been doing something the “right way” for so long that you forget why it matters? That was me, standing over a warm loaf that tasted exactly like home—but better. Maybe you’ve been there too, holding onto a recipe so tightly that the joy gets squeezed out. This Traditional Pan de Muerto with Orange Blossom Glaze is my way of letting go. It’s forgiving, it’s fragrant, and it’s meant to be shared with people who might not know the “right” way to do things. Honestly, those are the best people to bake with anyway.
Why You’ll Love This Recipe
This isn’t just another bread recipe that sits on your counter looking pretty. This is the one that makes your whole kitchen smell like a Mexican bakery on a cool November morning. Here’s why it’s earned a permanent spot in my fall rotation:
- Comforting Tradition: This bread connects you to Día de los Muertos in the most delicious way possible. The soft, slightly sweet crumb and citrusy glaze feel like a hug from someone you miss.
- Surprisingly Simple: Despite its fancy appearance, this dough is forgiving. It doesn’t need a stand mixer or a proofing box. Your hands and a warm spot in your kitchen are enough.
- Perfect for Sharing: Whether you’re building an altar or just having friends over for coffee, this bread invites conversation. Everyone asks about the bone-shaped pieces—and then they ask for seconds.
- Orange Blossom Magic: The glaze uses orange blossom water, which sounds fancy but costs about the same as vanilla extract. It adds a floral brightness that regular orange juice just can’t match.
- Freezes Beautifully: Make two loaves. Eat one now, freeze one for the actual Day of the Dead. The glaze holds up perfectly after thawing.
What makes this version different from all the others? It’s the balance. Many recipes go heavy on the anise or drown the bread in sugar. This one lets the orange blossom shine while keeping the bread light enough to eat with your morning coffee. I’ve tested it with all-purpose flour, bread flour, and even a half-whole wheat blend (don’t recommend that last one, trust me). The version you’re getting today is the one that disappeared fastest at every gathering I brought it to.
This recipe is for the baker who wants to honor tradition without feeling like they’re taking a final exam. It’s forgiving. It’s fragrant. And it’s the kind of bread that makes people close their eyes when they take the first bite. I mean that literally—I’ve watched four different people do it. Every single time, it makes me smile.
What Ingredients You Will Need
This recipe uses simple, pantry-friendly ingredients to create something that tastes anything but ordinary. The magic happens through the combination of citrus, warm spices, and that distinctive orange blossom finish. Most of these items you probably already have—the orange blossom water might require a quick trip to a Latin market or an online order, but it’s worth the effort.
For the Dough
- 4 cups all-purpose flour (500 grams) — plus extra for dusting. Bread flour works too, but all-purpose gives a softer, more tender crumb that I prefer for this bread.
- 1/2 cup granulated sugar (100 grams) — not too much. The sweetness comes through in the glaze, so the dough stays balanced.
- 1 packet active dry yeast (2 1/4 teaspoons) — I use Fleischmann’s or Red Star. Instant yeast works too, just skip the blooming step.
- 1/2 cup whole milk (120 ml), warmed to about 110°F — this wakes up the yeast without killing it. Too hot and you’ll murder your yeast. Too cold and it takes forever to rise.
- 1/4 cup unsalted butter (57 grams), softened — salted butter works if that’s what you have, just reduce the added salt by half.
- 3 large eggs, room temperature — cold eggs will shock your dough. Leave them on the counter for an hour before starting.
- 2 teaspoons vanilla extract — pure, not imitation. Trust me on this one.
- 1 teaspoon orange zest — from one medium orange. Wash it well first.
- 1/2 teaspoon salt — fine sea salt or table salt both work.
- 1 teaspoon ground cinnamon — this is optional but adds a warmth that pairs beautifully with the orange.
For the Orange Blossom Glaze
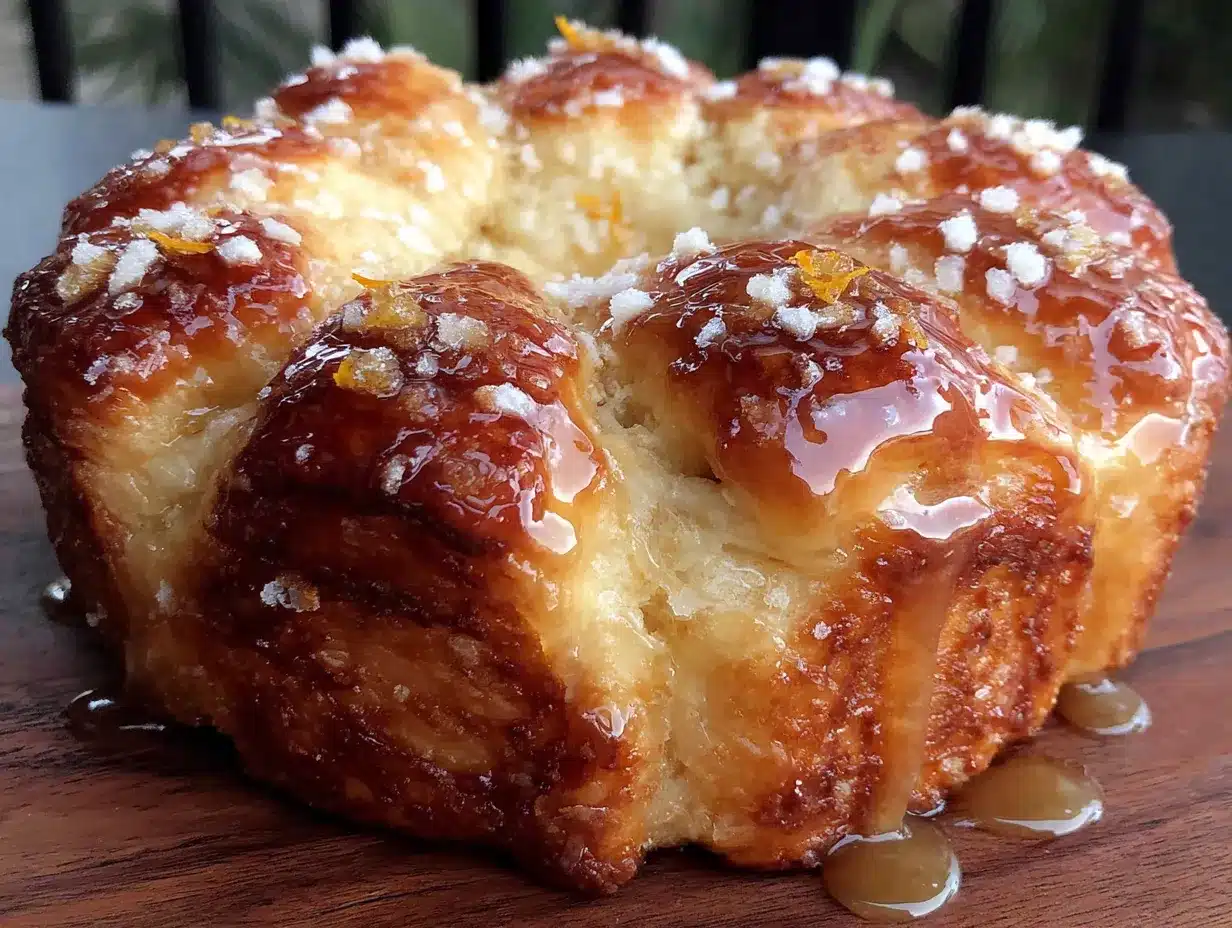
- 1 cup powdered sugar (120 grams) — sifted if it’s lumpy. Nobody wants lumpy glaze.
- 2 tablespoons orange blossom water — this is the star. Brands like Cortas or Sadaf are reliable. You can find it in the international aisle or at Middle Eastern markets.
- 1 tablespoon fresh orange juice — from that same orange you zested. Fresh makes a difference here.
- 1 tablespoon melted butter — for richness and shine.
- Orange zest for garnish — optional but pretty.
For Decoration
- Additional sugar for sprinkling — coarse or granulated, whatever you have.
- Extra flour for shaping — you’ll use more than you think.
A quick note on orange blossom water: it’s not the same as orange extract. Orange blossom water is floral and delicate, while orange extract is concentrated and can taste artificial. If you can’t find orange blossom water, you can substitute with 1 teaspoon orange extract mixed with 2 tablespoons water. It won’t be exactly the same, but it’ll still be delicious.
Equipment Needed
You don’t need a professional bakery setup for this bread. Here’s what actually matters:
- Large mixing bowl — glass or stainless steel works best. Plastic can hold onto odors.
- Wooden spoon or dough whisk — for the initial mixing. Your hands will take over soon enough.
- Baking sheet — a standard half-sheet pan lined with parchment paper. No greasing needed if you use parchment.
- Clean kitchen towel — for covering the dough while it rises. A damp paper towel works in a pinch.
- Cooling rack — so the bottom of your bread doesn’t get soggy. If you don’t have one, carefully balance the loaf on its edge.
- Pastry brush — for applying the glaze. A silicone one is easiest to clean.
- Sharp knife or bench scraper — for cutting the bone shapes. A pizza cutter works too.
I’ve made this bread in a tiny apartment kitchen with a warped baking sheet and a plastic bowl that smelled vaguely of garlic. It still turned out beautiful. Don’t let missing equipment stop you. If you don’t have a cooling rack, flip a wire oven rack upside down. If you don’t have a pastry brush, use the back of a spoon. Baking is about resourcefulness, not perfection.
Preparation Method
Let’s make some bread. Set aside about 3 hours total—most of that is hands-off rising time. The actual work takes maybe 30 minutes.
- Bloom the yeast. In your large mixing bowl, combine the warm milk (110°F—warm but not hot on your wrist) with 1 tablespoon of the sugar and the yeast packet. Stir gently and let it sit for 5-10 minutes until it gets foamy. If nothing happens after 10 minutes, your yeast might be dead. Start over with fresh yeast. I learned this the hard way on a Tuesday afternoon and ended up with hockey pucks instead of bread.
- Mix the wet ingredients. Add the softened butter, remaining sugar, eggs, vanilla extract, orange zest, and salt to the yeast mixture. Stir until the butter is mostly broken up—it doesn’t need to be perfectly smooth. A few small lumps are fine. The mixture will look slightly curdled. Don’t panic. That’s normal.
- Add the flour. Add the flour and cinnamon (if using) one cup at a time, stirring with your wooden spoon. After the third cup, the dough will start getting stiff. Switch to using your hands. The dough should be slightly sticky but not wet. If it’s too sticky to handle, add flour one tablespoon at a time. If it’s too dry, add milk one tablespoon at a time. You’re looking for a soft, supple dough that springs back when you poke it.
- Knead the dough. Turn the dough onto a lightly floured surface. Knead for 8-10 minutes. The motion is push, fold, turn, repeat. You’ll feel the dough change from shaggy to smooth. It should feel like your earlobe—soft and slightly springy. If you’re using a stand mixer with a dough hook, knead on medium-low for 6 minutes. But honestly, hand-kneading this bread is part of the experience. It connects you to the process.
- First rise. Shape the dough into a smooth ball. Place it in a lightly greased bowl (I use a drizzle of vegetable oil). Cover with a clean towel and let it rise in a warm spot for 1.5 to 2 hours. It should double in size. A good warm spot is your oven with the light on (not the oven turned on), or on top of your refrigerator. If your kitchen is cold, it might take longer. Be patient.
- Punch and shape. Gently punch down the dough to release the air. Turn it onto a lightly floured surface. Cut off about one-third of the dough and set it aside—this will become your bone decorations. Shape the larger piece into a round loaf by tucking the edges underneath. Place it on your parchment-lined baking sheet.
- Make the decorations. Divide the reserved dough into 4 equal pieces. Roll each piece into a rope about 6 inches long. Then shape each rope into a bone: make the center slightly thinner than the ends, and use your finger to press indentations at each end to create the “knobs.” You’re going for a cartoon bone shape. It doesn’t need to be perfect. Place two bones across the top of the loaf in an X shape. Place the other two bones parallel to each other, one on each side of the X. This represents the four directions and the circle of life. Press a small ball of dough into the very center where the bones cross—this is the “teardrop” or soul button.
- Second rise. Cover the shaped loaf loosely with the towel and let it rise again for 45 minutes to 1 hour. It should puff up noticeably but not double. When you gently poke it, the indentation should slowly spring back.
- Bake. Preheat your oven to 350°F (175°C) during the last 20 minutes of the second rise. Bake the bread for 25-30 minutes, rotating the pan halfway through. The top should be deep golden brown, and the internal temperature should reach 190°F (88°C). If the top is browning too fast, tent it loosely with foil for the last 10 minutes.
- Cool slightly. Let the bread cool on the baking sheet for 10 minutes, then transfer to a cooling rack. It needs to cool for at least 20 more minutes before you glaze it. If you glaze it while it’s hot, the glaze will melt into a puddle. If you glaze it while it’s cold, it won’t stick properly. Warm—not hot, not cold—is the sweet spot.
- Make and apply the glaze. While the bread cools, whisk together the powdered sugar, orange blossom water, orange juice, and melted butter until smooth. It should be thick but pourable—like heavy cream. Drizzle it over the warm bread, letting it drip down the sides. Sprinkle with extra sugar and orange zest if you’re feeling fancy. Let the glaze set for about 15 minutes before slicing.
A note about timing: the first time I made this, I started at 4 PM and didn’t eat until 9 PM. It was worth it, but plan accordingly. This is a weekend baking project, not a “I need bread in an hour” situation. That said, the active work is minimal. Most of the time is just waiting for the dough to do its thing.
Cooking Tips & Techniques
I’ve made this bread probably two dozen times over the past few years. Here’s what I’ve learned the hard way so you don’t have to:
Temperature is everything. Yeast is a living thing. It likes warmth but not heat. Milk over 120°F will kill it. Milk under 100°F will make it sluggish. Use a thermometer if you have one. If you don’t, test the milk on your wrist—it should feel like warm bath water, not hot. I killed three batches of yeast before I bought a $5 thermometer. Best investment I ever made.
Don’t skip the second rise. I know it’s tempting to rush, especially when the kitchen smells amazing. But the second rise is what gives Pan de Muerto its characteristic light, airy texture. If you bake it too early, you’ll get a dense, heavy loaf that’s more like a brick than bread. I’ve done this. I cried. Learn from my mistakes.
Use room temperature eggs. Cold eggs straight from the fridge will seize up your butter and make the dough difficult to work with. If you forgot to take them out ahead of time, place them in a bowl of warm water for 5 minutes. This is one of those small steps that makes a big difference.
The bone decorations aren’t just for show. They serve a structural purpose too. The dough pieces on top help the bread hold its shape during baking. Without them, the loaf tends to spread out instead of rising up. Plus, they give you something to pull off and eat first. I’m not saying I’ve done that, but I’m not saying I haven’t.
Glaze with confidence. Don’t be shy with the glaze. This bread is meant to be sticky and sweet. If you’re worried about it being too sweet, reduce the sugar in the dough slightly. But honestly, the glaze is what makes this bread special. It soaks into the top layer and creates this perfect contrast between the soft bread and the crackly sugar coating.
One more thing: if your bread cracks on top during baking, that’s okay. It’s not a failure—it’s character. The cracks tell a story. Every loaf is unique, just like every altar is different. Perfection is overrated. Good bread, shared with good people, is what matters.
Variations & Adaptations
This recipe is traditional at heart, but it’s also flexible. Here are some ways to make it your own:
Gluten-Free Version: Substitute the all-purpose flour with a 1:1 gluten-free baking blend that contains xanthan gum. Cup4Cup and King Arthur both work well. The dough will be stickier and harder to shape, so wet your hands frequently. The bone decorations might not hold their shape as well, so you can skip them and just make a round loaf with a cross scored on top. The texture will be slightly more crumbly, but the flavor is still there.
Dairy-Free Adaptation: Use oat milk or almond milk instead of whole milk. Replace the butter with vegan butter or coconut oil (refined, so it doesn’t taste like coconut). The dough will be slightly less rich, but it still works beautifully. For the glaze, use melted coconut oil instead of butter.
Flavor Twists: Add 1 teaspoon of anise seed or fennel seed to the dough for a more traditional flavor profile. Some regions of Mexico add a pinch of ground cloves or allspice. I’ve also made a version with 1/2 cup of dried cranberries mixed into the dough—not traditional at all, but delicious. For a chocolate version, replace 1/4 cup of the flour with unsweetened cocoa powder. The orange blossom glaze pairs surprisingly well with chocolate.
Different Glazes: If you can’t find orange blossom water, make a simple orange glaze with 1 cup powdered sugar, 3 tablespoons fresh orange juice, and 1 teaspoon vanilla. Or try a honey glaze: 1/4 cup honey mixed with 2 tablespoons warm water and a pinch of cinnamon. Brush it on while the bread is still warm for a sticky, shiny finish.
My personal favorite variation? I made a batch last year with a pinch of saffron soaked in the warm milk. The bread turned this gorgeous golden color, and the flavor was impossibly floral. It felt like a secret luxury. My friend Carlos said it was the best Pan de Muerto he’d ever had, and he grew up in Oaxaca. That comment still makes me smile.
Serving & Storage Suggestions
Pan de Muerto is best served the day it’s made, but it’s still wonderful for a few days after. Here’s how to handle it:
Serving: Serve at room temperature or slightly warm. The glaze should be set but still slightly sticky. Cut into wedges like you would a cake. Each slice should get a piece of the bone decoration. Pair it with a cup of Mexican hot chocolate, café de olla (cinnamon coffee), or a simple cup of black tea. For a truly special treat, serve it alongside a scoop of vanilla ice cream or a drizzle of dulce de leche.
Storage: Store the bread in an airtight container at room temperature for up to 3 days. Do not refrigerate—the fridge dries out bread faster than anything. If you live in a humid climate, the glaze might get sticky. That’s fine. Just eat it faster.
Freezing: This bread freezes beautifully. Wrap the cooled, unglazed loaf tightly in plastic wrap, then in foil. Freeze for up to 3 months. When you’re ready to serve, thaw at room temperature for 4 hours, then warm in a 300°F oven for 10 minutes. Make the glaze fresh and apply it after warming. Nobody will know it was frozen.
Reheating: If the bread has gone slightly stale, revive it by wrapping it in foil and warming it in a 300°F oven for 10 minutes. The steam softens the crumb and the glaze gets slightly melty again. Microwaving works in a pinch but will make the glaze weepy. Use the oven if you can.
The flavors actually deepen on the second day. The orange blossom note mellows out and blends with the vanilla and cinnamon. I’ve been known to save a slice for my morning coffee the next day. It’s a quiet little ritual that makes October mornings feel special.
Nutritional Information & Benefits
Let’s be honest—this is a treat, not a health food. But here’s what you’re working with per slice (assuming 12 slices per loaf):
- Calories: Approximately 280
- Carbohydrates: 48g
- Protein: 6g
- Fat: 7g
- Saturated Fat: 4g
- Fiber: 1g
- Sugar: 22g
Potential allergens: This recipe contains wheat (gluten), dairy (milk, butter), and eggs. It is not suitable for vegans or those with celiac disease unless modified as suggested above.
Health highlights: On the positive side, this bread does contain eggs, which provide protein and choline. The orange zest and juice offer a small amount of vitamin C. The cinnamon has anti-inflammatory properties. But honestly? The real benefit of this bread is emotional. It connects you to a tradition that celebrates remembering loved ones. That’s nourishment of a different kind.
I believe food should be enjoyed without guilt. One slice of Pan de Muerto isn’t going to derail your health goals. It’s going to make your kitchen smell amazing and give you something beautiful to share. That’s a net positive in my book.
Conclusion
This Traditional Pan de Muerto with Orange Blossom Glaze is more than a recipe. It’s a way to participate in a beautiful tradition, even if you’re not of Mexican heritage. It’s a way to fill your kitchen with the scent of orange and cinnamon and remember that food has the power to connect us across cultures and generations.
I still think about that afternoon with Rosa. She taught me that tradition isn’t about getting it perfect. It’s about showing up, making something with your hands, and sharing it with people you care about. Whether you’re making this for a Día de los Muertos altar or just because you want a really good sweet bread, I hope you feel that same warmth.
Don’t be afraid to make this your own. Add more orange zest if you love citrus. Skip the cinnamon if it’s not your thing. Let your kids shape the bones—they’ll look wonderfully weird and that’s perfect. The best Pan de Muerto is the one made with love, not the one that looks like it came from a bakery.
If you make this recipe, I’d love to hear about it. Drop a comment below and tell me how it turned out. Did you add your own twist? Did someone in your family suggest something unexpected that actually worked? Share your story. That’s what this bread is all about.
Now go preheat your oven. There’s bread to be made and memories to create.
Frequently Asked Questions
Can I make the dough ahead of time?
Yes! After the first rise, punch down the dough, wrap it tightly in plastic, and refrigerate for up to 24 hours. When you’re ready to bake, let it sit at room temperature for 30 minutes, then shape and proceed with the second rise. The cold fermentation actually adds more flavor.
Why did my bread turn out dense?
This usually happens for one of three reasons: your yeast was dead (did it foam?), you didn’t knead enough (the gluten needs development), or you rushed the second rise. Give the dough time. A dense loaf is still edible—try toasting it and spreading it with butter—but next time, be patient with the rising.
Can I use orange extract instead of orange blossom water?
You can, but the flavor will be different. Orange blossom water is floral and delicate, while orange extract is concentrated and can taste artificial. If you use extract, start with 1 teaspoon and add more to taste. The glaze will still be delicious, just less complex.
How do I know when the bread is fully baked?
The top should be deep golden brown, and the bottom should sound hollow when you tap it. The best way to check is with an instant-read thermometer—the internal temperature should reach 190°F (88°C) in the center. If you don’t have a thermometer, insert a skewer into the thickest part. If it comes out clean or with just a few moist crumbs, it’s done.
Can I make this without the bone decorations?
Absolutely. You can skip the decorations entirely and just bake a round loaf. Or you can shape the dough into smaller rolls for individual servings. The bread itself is what matters. The bones are traditional, but tradition is meant to be adapted to what works for you.
Pin This Recipe!
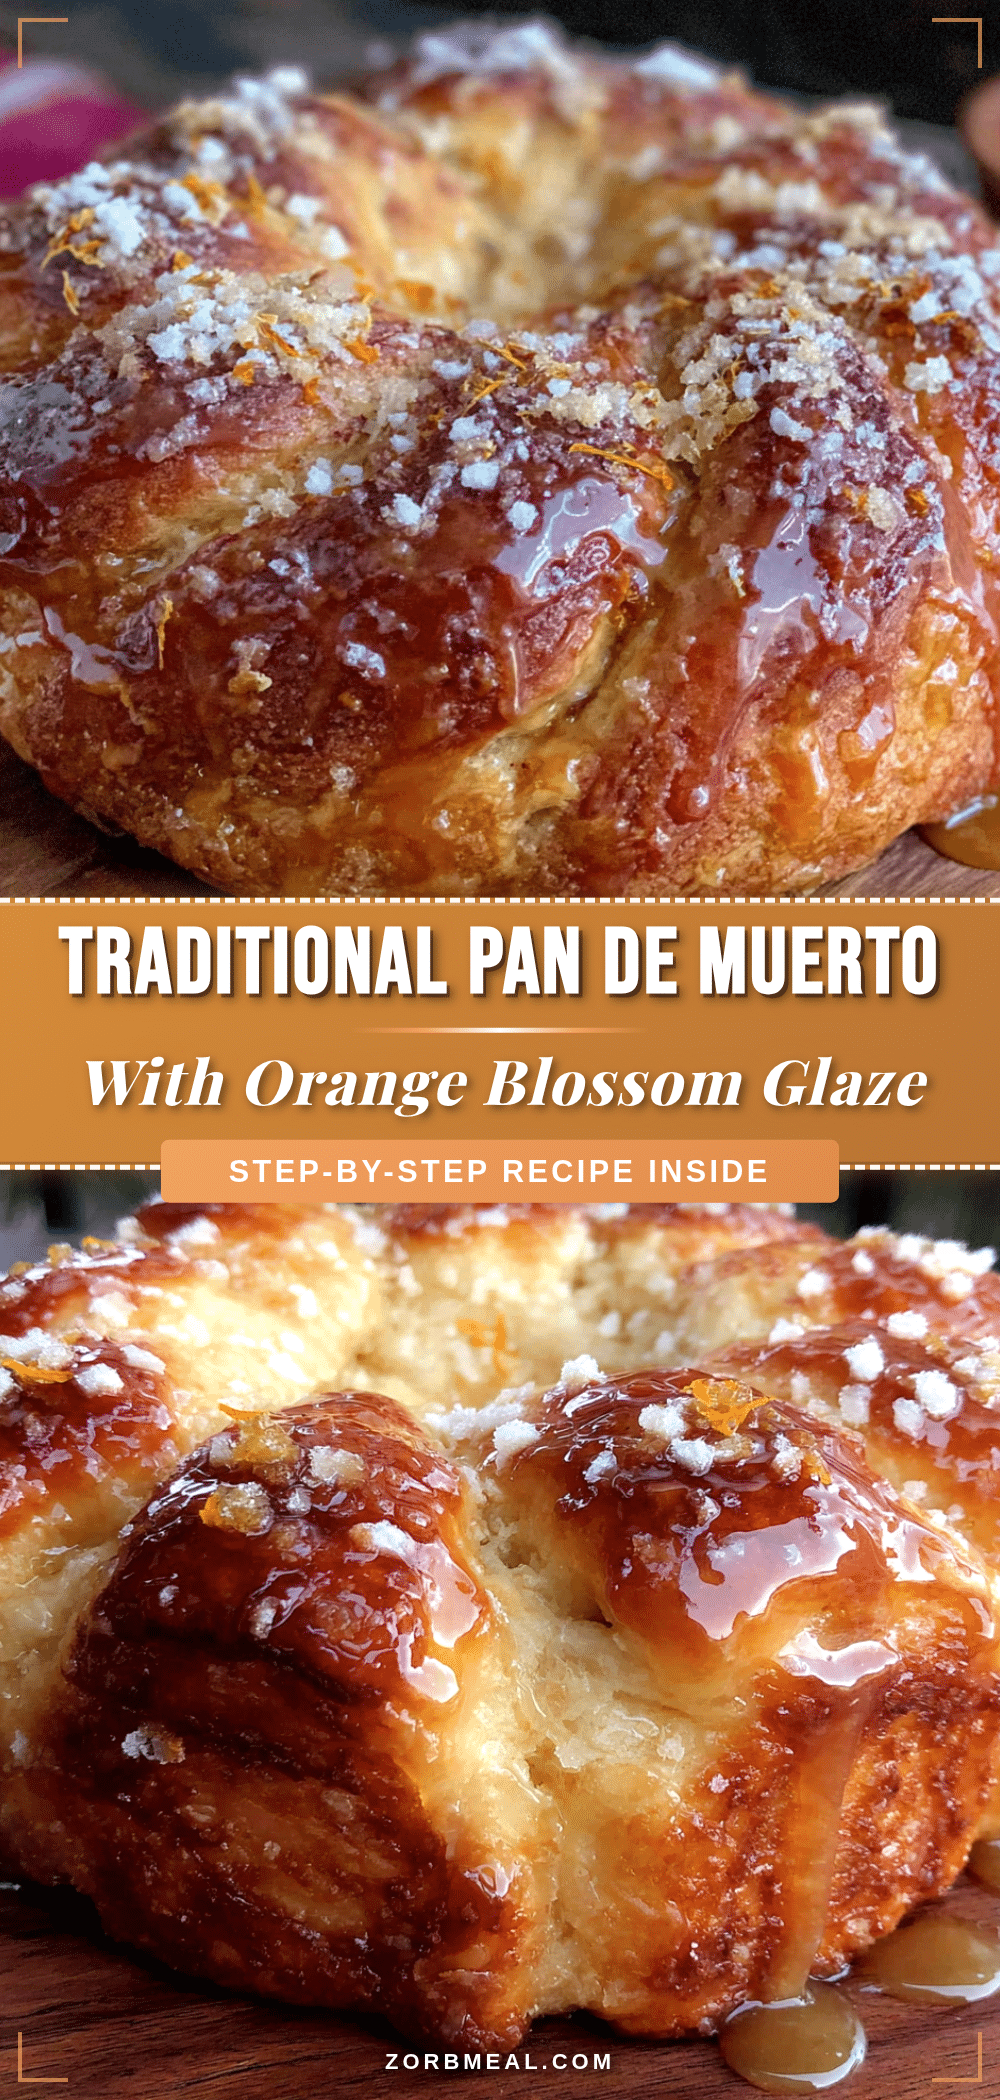
Traditional Pan de Muerto with Orange Glaze
A soft, slightly sweet bread traditionally made for Día de los Muertos, topped with a fragrant orange blossom glaze. This forgiving recipe honors tradition while inviting creativity and connection.
- Prep Time: 30 minutes
- Cook Time: 30 minutes
- Total Time: 3 hours
- Yield: 12 servings 1x
- Category: Bread
- Cuisine: Mexican
Ingredients
- 4 cups all-purpose flour (500 grams), plus extra for dusting
- 1/2 cup granulated sugar (100 grams)
- 1 packet active dry yeast (2 1/4 teaspoons)
- 1/2 cup whole milk (120 ml), warmed to about 110°F
- 1/4 cup unsalted butter (57 grams), softened
- 3 large eggs, room temperature
- 2 teaspoons vanilla extract
- 1 teaspoon orange zest
- 1/2 teaspoon salt
- 1 teaspoon ground cinnamon (optional)
- 1 cup powdered sugar (120 grams), sifted
- 2 tablespoons orange blossom water
- 1 tablespoon fresh orange juice
- 1 tablespoon melted butter
- Orange zest for garnish (optional)
- Additional sugar for sprinkling
- Extra flour for shaping
Instructions
- Bloom the yeast: In a large mixing bowl, combine warm milk (110°F) with 1 tablespoon of sugar and the yeast. Let sit for 5-10 minutes until foamy.
- Mix wet ingredients: Add softened butter, remaining sugar, eggs, vanilla extract, orange zest, and salt to the yeast mixture. Stir until butter is mostly broken up (mixture may look curdled).
- Add flour: Add flour and cinnamon (if using) one cup at a time, stirring with a wooden spoon. Switch to hands after the third cup. Dough should be slightly sticky but not wet; adjust with flour or milk as needed.
- Knead dough: Turn onto a lightly floured surface and knead for 8-10 minutes until smooth and springy (like an earlobe). Alternatively, use a stand mixer with dough hook on medium-low for 6 minutes.
- First rise: Shape dough into a smooth ball, place in a lightly greased bowl, cover with a clean towel, and let rise in a warm spot for 1.5 to 2 hours until doubled in size.
- Punch and shape: Gently punch down dough. Cut off about one-third and set aside for decorations. Shape the larger piece into a round loaf and place on a parchment-lined baking sheet.
- Make decorations: Divide reserved dough into 4 equal pieces. Roll each into a 6-inch rope, then shape into bones (thinner center, indented ends). Place two bones in an X across the loaf, and the other two parallel on each side. Press a small dough ball in the center.
- Second rise: Cover shaped loaf and let rise for 45 minutes to 1 hour until puffed but not doubled.
- Bake: Preheat oven to 350°F (175°C) during the last 20 minutes of second rise. Bake for 25-30 minutes, rotating halfway, until deep golden brown and internal temperature reaches 190°F (88°C). Tent with foil if browning too fast.
- Cool slightly: Let bread cool on baking sheet for 10 minutes, then transfer to a cooling rack. Cool for at least 20 more minutes before glazing.
- Make and apply glaze: Whisk together powdered sugar, orange blossom water, orange juice, and melted butter until smooth. Drizzle over warm bread, letting it drip down sides. Sprinkle with extra sugar and orange zest. Let set for 15 minutes before slicing.
Notes
Temperature is key: milk should be 110°F, eggs room temperature. Don’t skip the second rise for light texture. Glaze when bread is warm, not hot or cold. Bread freezes well (unglazed) for up to 3 months. For gluten-free, use a 1:1 gluten-free blend with xanthan gum. For dairy-free, use oat milk and vegan butter.
Nutrition
- Serving Size: 1 slice
- Calories: 280
- Sugar: 22
- Sodium: 150
- Fat: 7
- Saturated Fat: 4
- Carbohydrates: 48
- Fiber: 1
- Protein: 6
Keywords: Pan de Muerto, Day of the Dead bread, orange blossom glaze, Mexican sweet bread, Día de los Muertos, traditional bread, orange glaze