I was elbow-deep in a pile of vintage linens at a dusty antique shop in Hudson, New York, when the owner, a woman named Agnes who looked like she hadn’t smiled since 1987, suddenly barked at me from behind the counter. “You’re holding that napkin wrong,” she said, not unkindly. I was there for a chipped teapot, not cooking advice, but Agnes had other plans. She shuffled over, grabbed a tattered index card from a jar next to the cash register, and shoved it into my hand. “Butternut squash in mac and cheese,” she muttered. “My husband thought I was crazy. He was wrong.” The card was stained with what I hoped was butter and smelled faintly of sage. I wasn’t expecting a life-changing recipe from a grumpy antique dealer, but there I was, standing in a room full of old furniture, listening to her describe exactly how to make the silkiest, most comforting pasta dish I’d ever encountered. I mean, who gets their best recipe from a woman who polishes silverware for fun? Me, apparently.
That first batch I made at home was a disaster—I forgot the nutmeg and used the wrong kind of cheese, and it came out grainy. But I tweaked it, called Agnes (yes, she gave me her number), and she walked me through it again. “Patience, honey,” she said. “You can’t rush a good thing.” And now, honestly, this Butternut Squash Mac and Cheese with Crispy Sage is the recipe I turn to when the world feels a little too loud. It’s the dish I make on a cold Tuesday when I need a hug in a bowl. Maybe you’ve been there—that moment when only something creamy, cheesy, and deeply comforting will do. This is that recipe. And it all started with a grumpy antique dealer and a stained index card. You just never know where you’ll find gold.
Why You’ll Love This Recipe
This isn’t just another mac and cheese recipe. I’ve tested this version more times than I care to count, tweaking the ratio of squash to cheese, the type of pasta, and even the temperature of the oven. It’s been family-approved (my picky nephew ate three servings), and it’s the dish I bring to potlucks when I want to impress without stress. Here’s what makes it stand out:
- Quick & Easy: Comes together in about 45 minutes, most of which is hands-off roasting time. Perfect for a busy weeknight when you need comfort fast.
- Simple Ingredients: No fancy grocery trips needed. You likely have the pasta, cheese, and butter in your kitchen right now. The squash and sage are the only special items.
- Perfect for Cozy Nights: This is the ultimate cold-weather comfort food. Great for a slow evening at home, a snowy Sunday, or when you just need a little warmth.
- Crowd-Pleaser: Kids love the creamy, cheesy texture, and adults appreciate the subtle, sophisticated flavor of the squash and sage. It’s a guaranteed hit.
- Unbelievably Delicious: The combination of sweet roasted butternut squash, sharp cheddar, and crispy, earthy sage is pure magic. It’s the kind of dish that makes you close your eyes after the first bite.
What makes this recipe different from the rest? It’s the technique. Instead of just mashing the squash, I blend it into the cheese sauce for an ultra-smooth, velvety texture that clings to every piece of pasta. The crispy sage adds a textural contrast that takes it from good to unforgettable. It’s comfort food reimagined—a little healthier, a lot more flavorful, but with the same soul-soothing satisfaction.
What Ingredients You Will Need
This recipe uses simple, wholesome ingredients to deliver bold flavor and satisfying texture without the fuss. Most of these are pantry staples, with a couple of seasonal stars that make all the difference.
- Butternut Squash (1 medium, about 2 pounds or 900g, peeled and cubed): The star of the show. It adds natural sweetness and a creamy texture. Look for one that feels heavy for its size with firm, unblemished skin. I prefer to buy pre-cut cubes from the store when I’m short on time, but roasting a whole squash is easy too.
- Elbow Macaroni (1 pound or 450g): The classic choice. The small curves hold the sauce perfectly. You can use any short pasta—cavatappi, shells, or even penne work well.
- Sharp Cheddar Cheese (8 ounces or 225g, freshly grated): Use a good quality block of cheddar and grate it yourself. Pre-shredded cheese has anti-caking agents that prevent it from melting smoothly. I recommend Cabot or Tillamook for best flavor.
- Gruyere Cheese (4 ounces or 115g, freshly grated): Adds a nutty, creamy depth that cheddar alone can’t match. It melts like a dream. If you can’t find it, use more cheddar or some Swiss cheese.
- Unsalted Butter (4 tablespoons or 60g): Used for the roux and for crisping the sage. I use unsalted so I can control the salt level.
- All-Purpose Flour (3 tablespoons or 24g): Thickens the sauce. For a gluten-free option, use a 1:1 gluten-free flour blend.
- Whole Milk (2 cups or 480ml): Creates a rich, creamy sauce. You can use 2% if that’s what you have, but whole milk gives the best texture. For a dairy-free version, use unsweetened oat milk or full-fat coconut milk.
- Heavy Cream (1/2 cup or 120ml): Adds extra richness and body. You can substitute with more milk, but the sauce won’t be as luscious.
- Fresh Sage Leaves (about 20-25 leaves): These get fried in butter until crispy and are the perfect salty, earthy topping. Do not use dried sage here—it won’t crisp up.
- Dijon Mustard (1 teaspoon): A secret ingredient that brightens the sauce and cuts through the richness. You won’t taste it, but you’ll miss it if it’s gone.
- Nutmeg (1/4 teaspoon, freshly grated if possible): A classic pairing with butternut squash. It adds warmth and a subtle spice.
- Salt and Black Pepper (to taste): Essential for seasoning. I use kosher salt for its clean flavor.
- Panko Breadcrumbs (1/2 cup or 40g, optional for topping): Adds a crunchy, golden crust if you want to bake the mac and cheese. I use Japanese panko for the best texture.
Equipment Needed
You don’t need a professional kitchen to make this recipe, but having the right tools makes the process smoother. Here’s what you’ll need:
- Large Pot (6-8 quarts): For boiling the pasta. A heavy-bottomed pot works best for even heating.
- Medium Saucepan or Dutch Oven: For making the cheese sauce. A Dutch oven is great because you can also use it to bake the dish if you’re adding a breadcrumb topping.
- Baking Sheet: For roasting the butternut squash. Line it with parchment paper for easy cleanup.
- Immersion Blender or Regular Blender: For pureeing the roasted squash into a smooth sauce. An immersion blender is my favorite—it’s less cleanup and you can blend right in the pot.
- Box Grater or Microplane: For grating the cheese and nutmeg. Freshly grated cheese is non-negotiable for a smooth sauce.
- Small Skillet: For crisping the sage leaves in butter. A non-stick skillet works best.
- Wooden Spoon or Silicone Spatula: For stirring the roux and sauce. A silicone spatula is great for scraping the sides of the pot.
- 9×13-inch Baking Dish (optional): If you’re baking the mac and cheese with a breadcrumb topping. A 3-quart casserole dish works too.
If you don’t have an immersion blender, a regular blender works fine—just let the squash cool slightly before blending, and work in batches to avoid a mess. I’ve also used a potato masher in a pinch, but the texture won’t be as silky.
Preparation Method
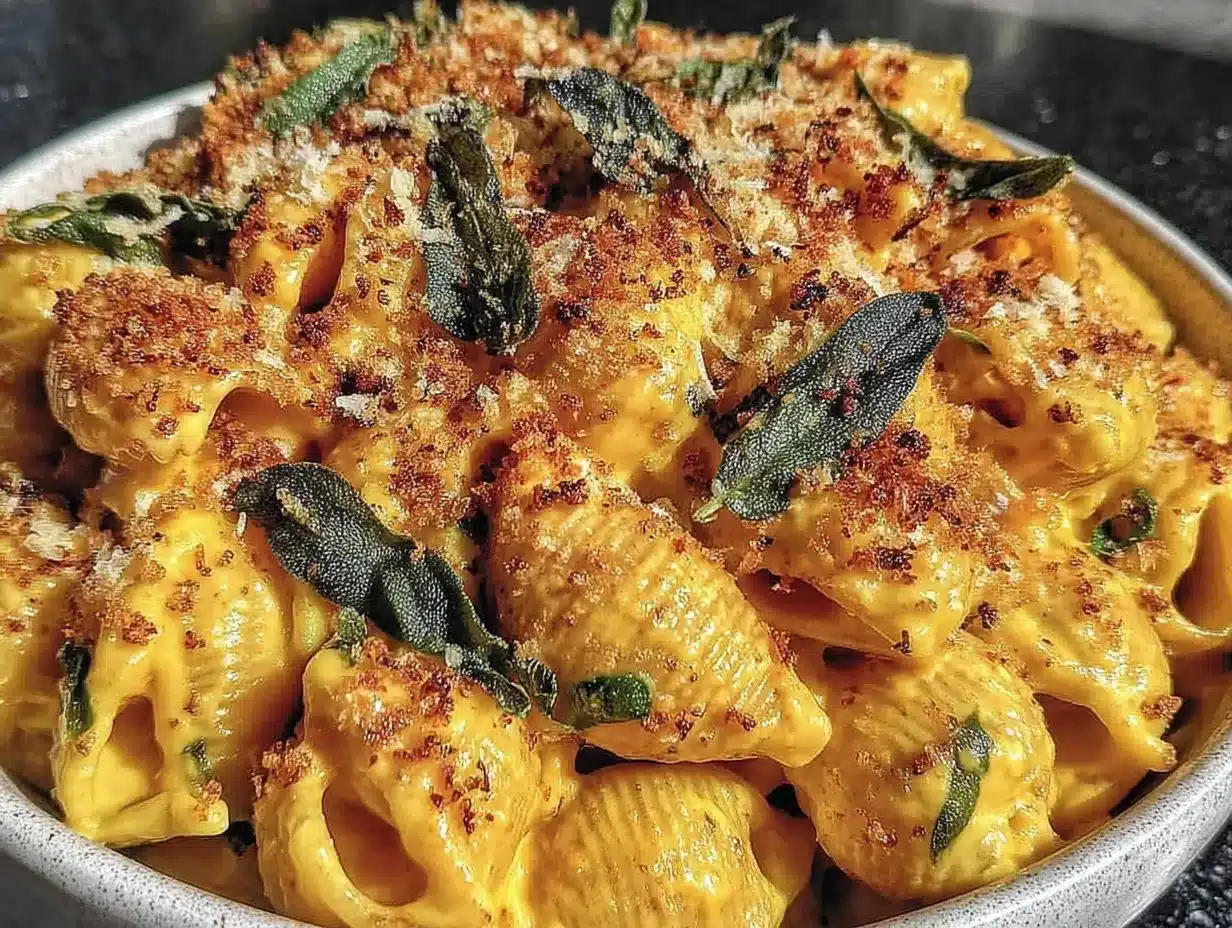
Let’s get cooking. This recipe is easier than it looks, and I’ll walk you through every step. The key is to roast the squash while you prep the other ingredients—it saves time and builds flavor.
- Preheat and Prep: Preheat your oven to 400°F (200°C). Line a baking sheet with parchment paper. Toss the cubed butternut squash with 1 tablespoon of olive oil, a pinch of salt, and a pinch of pepper. Spread it in a single layer on the baking sheet. Roast for 25-30 minutes, until the squash is tender and lightly caramelized on the edges. You should be able to pierce it easily with a fork. (Pro tip: Don’t overcrowd the pan—if the cubes are too close together, they’ll steam instead of roast.)
- Cook the Pasta: While the squash roasts, bring a large pot of salted water to a boil. Add the elbow macaroni and cook according to package directions until al dente, usually about 7-8 minutes. Reserve about 1 cup of pasta water before draining. Drain the pasta and set aside. (Don’t rinse the pasta—the starch helps the sauce stick.)
- Make the Roux: In a medium saucepan or Dutch oven, melt 3 tablespoons of butter over medium heat. Add the flour and whisk continuously for about 1-2 minutes, until the mixture is golden and smells nutty. This is your roux—it’s the foundation of the sauce. Don’t let it brown too much; you want a pale, blonde color.
- Build the Sauce: Slowly pour in the milk while whisking constantly to prevent lumps. Then add the heavy cream. Continue whisking until the mixture thickens slightly, about 3-4 minutes. It should coat the back of a spoon. Reduce the heat to low.
- Blend the Squash: Once the squash is done, transfer it to a blender or use an immersion blender directly in the pot. Add about 1/2 cup of the milk mixture (or the reserved pasta water) and blend until completely smooth. The mixture should be thick and velvety. If it’s too thick, add a splash more milk.
- Combine and Melt: Add the blended squash to the saucepan with the milk mixture. Whisk to combine. Add the Dijon mustard, nutmeg, and a generous pinch of salt and pepper. Taste and adjust seasoning. Now, gradually add the grated cheddar and gruyere, stirring constantly until the cheese is completely melted and the sauce is smooth. (If the sauce seems too thick, add a splash of the reserved pasta water to thin it out.)
- Mix in the Pasta: Add the drained pasta to the sauce and stir until every piece is coated. The sauce should be creamy and slightly loose—it will thicken as it sits. If you’re not baking it, serve immediately.
- Optional Baking: If you want a crunchy topping, preheat your oven to 375°F (190°C). Transfer the mac and cheese to a greased 9×13-inch baking dish. In a small bowl, melt 1 tablespoon of butter and mix it with the panko breadcrumbs. Sprinkle the breadcrumb mixture evenly over the top. Bake for 15-20 minutes, until the top is golden and the edges are bubbly.
- Crisp the Sage: While the mac and cheese bakes (or while it’s resting if you’re not baking), melt the remaining 1 tablespoon of butter in a small skillet over medium heat. Add the sage leaves in a single layer. Cook for 1-2 minutes per side, until they are crispy and dark green. Watch them closely—they burn quickly! Transfer to a paper towel-lined plate to drain.
- Serve: Spoon the mac and cheese into bowls, top with the crispy sage leaves, and enjoy immediately. The contrast between the creamy pasta and the crunchy sage is everything.
Cooking Tips & Techniques
I’ve made this recipe about a dozen times, and I’ve learned a few things the hard way. Here are my best tips to ensure success every time.
- Don’t skip the roux: I know it’s tempting to just dump cheese into milk and call it a day, but a proper roux is what gives this sauce its silky, stable texture. Cook the flour and butter together for at least a minute to get rid of the raw flour taste.
- Grate your own cheese: I cannot stress this enough. Pre-shredded cheese is coated with cellulose and starches that prevent it from melting smoothly. Your sauce will be grainy. Buy a block and grate it yourself—it takes five minutes and makes a world of difference.
- Season in layers: Add salt and pepper at every stage—when roasting the squash, when making the roux, and when finishing the sauce. This builds a more complex flavor than just seasoning at the end.
- Watch the sage: Crispy sage goes from perfect to burnt in about 10 seconds. Keep a close eye on it in the pan. It should be dark green and brittle, not brown. If it smells bitter, you’ve gone too far.
- Undercook the pasta slightly: If you’re baking the mac and cheese, cook the pasta a minute less than the package directions. It will finish cooking in the oven and won’t turn mushy.
- Use the pasta water: That starchy water you reserved is liquid gold. If your sauce seems too thick, add a splash to loosen it up. It helps the sauce cling to the pasta without making it greasy.
One time, I forgot to add the Dijon mustard, and the sauce tasted flat. It was a good reminder that every ingredient, even the small ones, plays a role. Don’t skip the nutmeg either—it’s subtle, but it makes the squash flavor sing.
Variations & Adaptations
This recipe is incredibly versatile. Here are some ways to make it your own.
- Make it Gluten-Free: Use gluten-free pasta and a 1:1 gluten-free flour blend for the roux. The rest of the ingredients are naturally gluten-free.
- Make it Dairy-Free: Use unsweetened oat milk or full-fat coconut milk in place of the milk and cream. Use a dairy-free butter (like Miyoko’s) and a dairy-free cheddar shreds (like Violife). The sauce won’t be as creamy, but it’s still delicious.
- Add Protein: Stir in some cooked, crumbled bacon, shredded rotisserie chicken, or even roasted chickpeas for a heartier meal. I love adding crispy pancetta on top alongside the sage.
- Change the Veggies: Swap half the butternut squash for roasted sweet potato or carrot for a different flavor profile. You can also add a handful of steamed broccoli or peas to the finished dish.
- Spice it Up: Add a pinch of cayenne pepper or red pepper flakes to the sauce for a little heat. Smoked paprika also works beautifully with the squash.
- Herb Swap: If you can’t find fresh sage, use fresh thyme or rosemary for the crispy topping. They crisp up just as nicely and offer a different earthy note.
My personal favorite variation is to add a handful of caramelized onions to the sauce before blending. It adds a sweet, savory depth that’s absolutely incredible. I tried it on a whim one night when I had leftover onions, and now I do it every time.
Serving & Storage Suggestions
This mac and cheese is best served immediately, while the sauce is still creamy and the sage is crispy. But it also holds up well for leftovers.
Serving: Spoon the mac and cheese into warm bowls and top with a generous scattering of crispy sage leaves. I like to add a little extra freshly grated black pepper on top for contrast. It pairs beautifully with a simple green salad dressed with a lemon vinaigrette—the acidity cuts through the richness. A glass of crisp white wine, like a Sauvignon Blanc, is a lovely accompaniment. For a cozy dinner, serve it alongside roasted chicken or a simple tomato soup.
Storage: Store leftovers in an airtight container in the refrigerator for up to 4 days. The sauce will thicken as it cools, but that’s okay. To reheat, add a splash of milk or water to loosen it up and warm it gently on the stovetop over low heat, stirring frequently. You can also microwave it in 30-second bursts, stirring in between. The crispy sage will soften, so I recommend making fresh sage for leftovers if you can.
Freezing: This mac and cheese freezes surprisingly well. Let it cool completely, then transfer it to a freezer-safe container. It will keep for up to 3 months. Thaw overnight in the refrigerator before reheating. The texture might be slightly less creamy after freezing, but a splash of milk and a good stir will bring it back to life.
Nutritional Information & Benefits
While this is definitely a comfort food, it has some surprising nutritional benefits thanks to the butternut squash. Here’s a rough estimate per serving (based on 8 servings, without the breadcrumb topping):
- Calories: ~450
- Fat: 22g
- Carbohydrates: 48g
- Protein: 16g
- Fiber: 4g
- Sugar: 8g
Butternut squash is packed with vitamin A (great for eye health), vitamin C (for immunity), and fiber (for digestion). The sage is also known for its anti-inflammatory properties. By using whole milk and real cheese, you’re getting a good dose of calcium and protein. It’s not a health food, but it’s a more nutrient-dense version of the classic. Plus, the squash adds natural sweetness, which means you can use less cheese without sacrificing flavor.
This recipe is naturally vegetarian and can be made gluten-free and dairy-free with the substitutions mentioned above. It contains dairy and gluten in its standard form.
Conclusion
This Butternut Squash Mac and Cheese with Crispy Sage is more than just a recipe—it’s a warm hug on a cold day, a reminder that comfort can come from the most unexpected places (like a grumpy antique dealer). It’s creamy, cheesy, and packed with the sweet, earthy flavor of roasted squash, all topped with those irresistible crispy sage leaves. I honestly think it’s the best mac and cheese I’ve ever made, and I hope it becomes a favorite in your kitchen too.
Don’t be afraid to make it your own. Add extra cheese, throw in some bacon, or go heavy on the sage. Cooking is about making something that feels good to you. I’d love to hear how it turns out—leave a comment below and let me know your favorite variation. And if you share a photo on Pinterest or Instagram, tag me so I can see your beautiful creation. Now go ahead, get cozy, and make yourself a bowl of this. You deserve it.
Frequently Asked Questions
Can I use frozen butternut squash instead of fresh?
Absolutely. Frozen butternut squash works great and saves you the prep time. Just thaw it slightly, pat it dry with a paper towel to remove excess moisture, and roast it as directed. It might take a couple of extra minutes to get tender.
Why is my cheese sauce grainy?
Grainy sauce is usually caused by using pre-shredded cheese or overheating the sauce. Always grate your own cheese from a block, and melt it over low heat, stirring constantly. If the sauce gets too hot, the proteins in the cheese can separate and become grainy.
Can I make this recipe ahead of time?
Yes! You can assemble the mac and cheese (without the breadcrumb topping) up to a day in advance. Store it in the refrigerator, then bring it to room temperature before baking. Add the breadcrumb topping just before baking to keep it crunchy.
What can I use instead of gruyere cheese?
If you can’t find gruyere, use extra sharp cheddar, gouda, or fontina. Each will give a slightly different flavor, but all will melt beautifully. Avoid using soft cheeses like mozzarella, as they can make the sauce stringy.
How do I make the crispy sage in advance?
Crispy sage is best made fresh, but you can make it a few hours ahead. Let it cool completely, then store it in an airtight container at room temperature. It will stay crispy for up to 6 hours. Do not refrigerate it, as moisture will make it soggy.
Pin This Recipe!
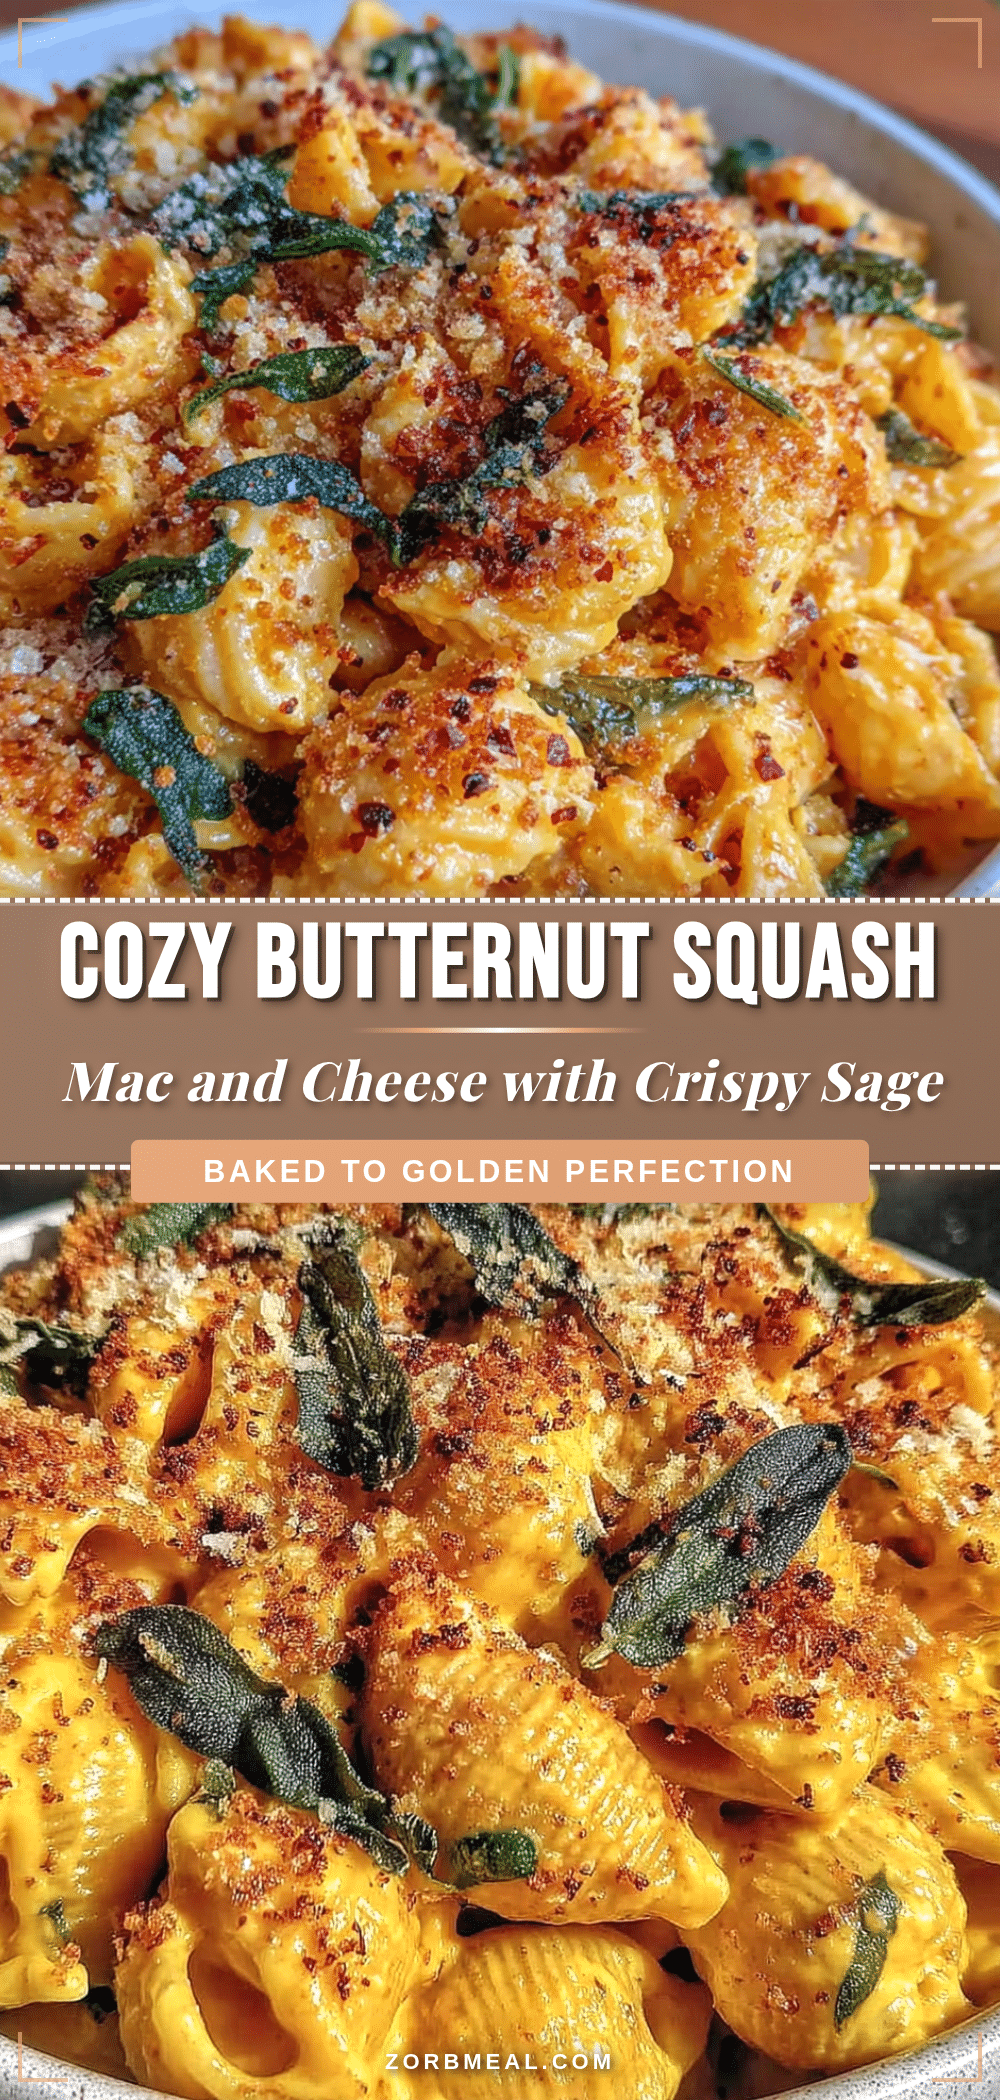
Best Butternut Squash Mac and Cheese with Crispy Sage

This creamy, cheesy mac and cheese gets a seasonal upgrade with roasted butternut squash and crispy sage. It’s the ultimate comfort food, perfect for cozy nights and guaranteed to be a crowd-pleaser.
- Prep Time: 15 minutes
- Cook Time: 30 minutes
- Total Time: 45 minutes
- Yield: 8 servings 1x
- Category: Main Course
- Cuisine: American
Ingredients
- 1 medium butternut squash (about 2 pounds or 900g), peeled and cubed
- 1 pound (450g) elbow macaroni
- 8 ounces (225g) sharp cheddar cheese, freshly grated
- 4 ounces (115g) Gruyere cheese, freshly grated
- 4 tablespoons (60g) unsalted butter
- 3 tablespoons (24g) all-purpose flour
- 2 cups (480ml) whole milk
- 1/2 cup (120ml) heavy cream
- 20–25 fresh sage leaves
- 1 teaspoon Dijon mustard
- 1/4 teaspoon freshly grated nutmeg
- Salt and black pepper to taste
- 1/2 cup (40g) panko breadcrumbs (optional for topping)
- 1 tablespoon olive oil
Instructions
- Preheat oven to 400°F (200°C). Line a baking sheet with parchment paper. Toss cubed butternut squash with 1 tablespoon olive oil, a pinch of salt, and a pinch of pepper. Spread in a single layer on the baking sheet. Roast for 25-30 minutes until tender and lightly caramelized.
- While squash roasts, bring a large pot of salted water to a boil. Cook elbow macaroni according to package directions until al dente (about 7-8 minutes). Reserve 1 cup of pasta water before draining. Do not rinse the pasta.
- In a medium saucepan or Dutch oven, melt 3 tablespoons butter over medium heat. Add flour and whisk continuously for 1-2 minutes until golden and nutty (do not brown).
- Slowly pour in milk while whisking constantly to prevent lumps. Add heavy cream. Continue whisking until mixture thickens slightly, about 3-4 minutes. Reduce heat to low.
- Transfer roasted squash to a blender or use an immersion blender. Add about 1/2 cup of the milk mixture (or reserved pasta water) and blend until completely smooth.
- Add blended squash to the saucepan with the milk mixture. Whisk to combine. Add Dijon mustard, nutmeg, and a generous pinch of salt and pepper. Gradually add grated cheddar and Gruyere, stirring constantly until melted and smooth. If sauce is too thick, add a splash of reserved pasta water.
- Add drained pasta to the sauce and stir until every piece is coated. Serve immediately if not baking.
- Optional baking: Preheat oven to 375°F (190°C). Transfer mac and cheese to a greased 9×13-inch baking dish. Melt 1 tablespoon butter and mix with panko breadcrumbs. Sprinkle over top. Bake for 15-20 minutes until golden and bubbly.
- While mac and cheese bakes (or rests), melt remaining 1 tablespoon butter in a small skillet over medium heat. Add sage leaves in a single layer. Cook for 1-2 minutes per side until crispy and dark green. Transfer to a paper towel-lined plate.
- Spoon mac and cheese into bowls, top with crispy sage leaves, and serve immediately.
Notes
Don’t skip the roux—it ensures a silky sauce. Always grate your own cheese for smooth melting. Watch the sage closely as it burns quickly. Undercook pasta slightly if baking. Use reserved pasta water to adjust sauce consistency.
Nutrition
- Serving Size: 1 serving (about 1 c
- Calories: 450
- Sugar: 8
- Sodium: 480
- Fat: 22
- Saturated Fat: 12
- Carbohydrates: 48
- Fiber: 4
- Protein: 16
Keywords: butternut squash mac and cheese, crispy sage, comfort food, fall recipe, vegetarian mac and cheese


