The power went out halfway through what was supposed to be a full batch of pumpkin bars for a neighborhood get-together. I had my mixer going, the pumpkin was already opened, and I was about three minutes into creaming the butter when everything just… stopped. The kitchen went dark, the mixer went quiet, and I stood there in the sudden silence holding a rubber spatula, wondering if this was some kind of cosmic sign that I should just order pizza instead.
I couldn’t see much, but I could feel the half-mixed butter and sugar sitting there in the bowl, and I knew if I didn’t do something fast, I’d lose the whole thing. So I grabbed a fork, a smaller bowl, and started scaling everything down by feel — half the pumpkin, half the flour, half the sugar. I figured if nothing else, I’d have a tiny pan of something to snack on while I waited for the lights to come back. Honestly, I was annoyed. I had plans. Big plans for those bars.
What came out of the oven an hour later (when the power finally flickered back on) was nothing like the full batch I’d originally planned. It was better. The texture was somehow lighter, almost tender in a way the bigger batch never quite achieved. And the maple cream cheese frosting? I only had enough cream cheese for a small amount, so I had to thin it with a little extra maple syrup — a happy accident that made it silkier and more flavorful than my usual recipe. Maybe you’ve been there, where a kitchen disaster forces you to simplify, and the simpler version turns out to be the one you keep coming back to. That’s this recipe. It’s the one I make now even when the power is working just fine.
Why You’ll Love This Recipe
These light small-batch pumpkin bars are proof that you don’t need a crowd to justify making dessert. They’re perfectly portioned for when you want something sweet but don’t want a whole sheet pan staring at you from the counter for days.
- Quick & Easy : From start to finish, you’re looking at about 35 minutes. The bars bake in just 18-20 minutes, and the frosting comes together while they cool.
- Simple Ingredients : You likely have most of these on hand already — canned pumpkin, flour, sugar, eggs, and cream cheese. No special trips to three different stores.
- Perfect for Cozy Evenings : These hit the spot when you’re craving fall flavors but don’t want to commit to a whole pie or a dozen cupcakes.
- Surprisingly Light : I swapped in Greek yogurt for some of the oil, and the result is a bar that feels indulgent but doesn’t weigh you down. It’s comfort food you can feel good about.
- Unbelievably Delicious : The pumpkin is warm and spiced, the bar is tender, and that maple cream cheese frosting is honestly the best part — tangy, sweet, and impossibly smooth.
What makes these different from every other pumpkin bar recipe out there is the yogurt swap and the small-batch approach. I’ve tested this at least six times to get the ratios right, and I can tell you with confidence that this is the version you want. It’s not just another pumpkin bar — it’s the one that makes you close your eyes after the first bite.
What Ingredients You Will Need
This recipe relies on simple, wholesome ingredients that work together to create a tender, flavorful bar without any fuss. Most of these are pantry staples, and the few that aren’t are easy to find at any grocery store.
For the Pumpkin Bars
- All-purpose flour, 1/2 cup (60g) — gives the bars structure without making them heavy
- Granulated sugar, 1/3 cup (65g) — just enough sweetness to complement the pumpkin
- Pumpkin pie spice, 1 teaspoon — I use McCormick, but any blend works; you can also make your own with cinnamon, nutmeg, ginger, and cloves
- Baking powder, 1/2 teaspoon — helps the bars rise just a bit for a soft texture
- Baking soda, 1/4 teaspoon — balances the acidity from the yogurt
- Salt, 1/4 teaspoon — enhances all the flavors
- Pumpkin puree, 1/2 cup (120g) — not pumpkin pie filling; make sure you grab the plain canned pumpkin
- Greek yogurt, 1/4 cup (60g) — plain, full-fat or 2% works best for moisture and tenderness
- Egg, 1 large, at room temperature — binds everything together
- Coconut oil or vegetable oil, 2 tablespoons, melted — keeps the bars moist; I prefer coconut oil for a subtle flavor
- Vanilla extract, 1/2 teaspoon — adds warmth and depth
For the Maple Cream Cheese Frosting
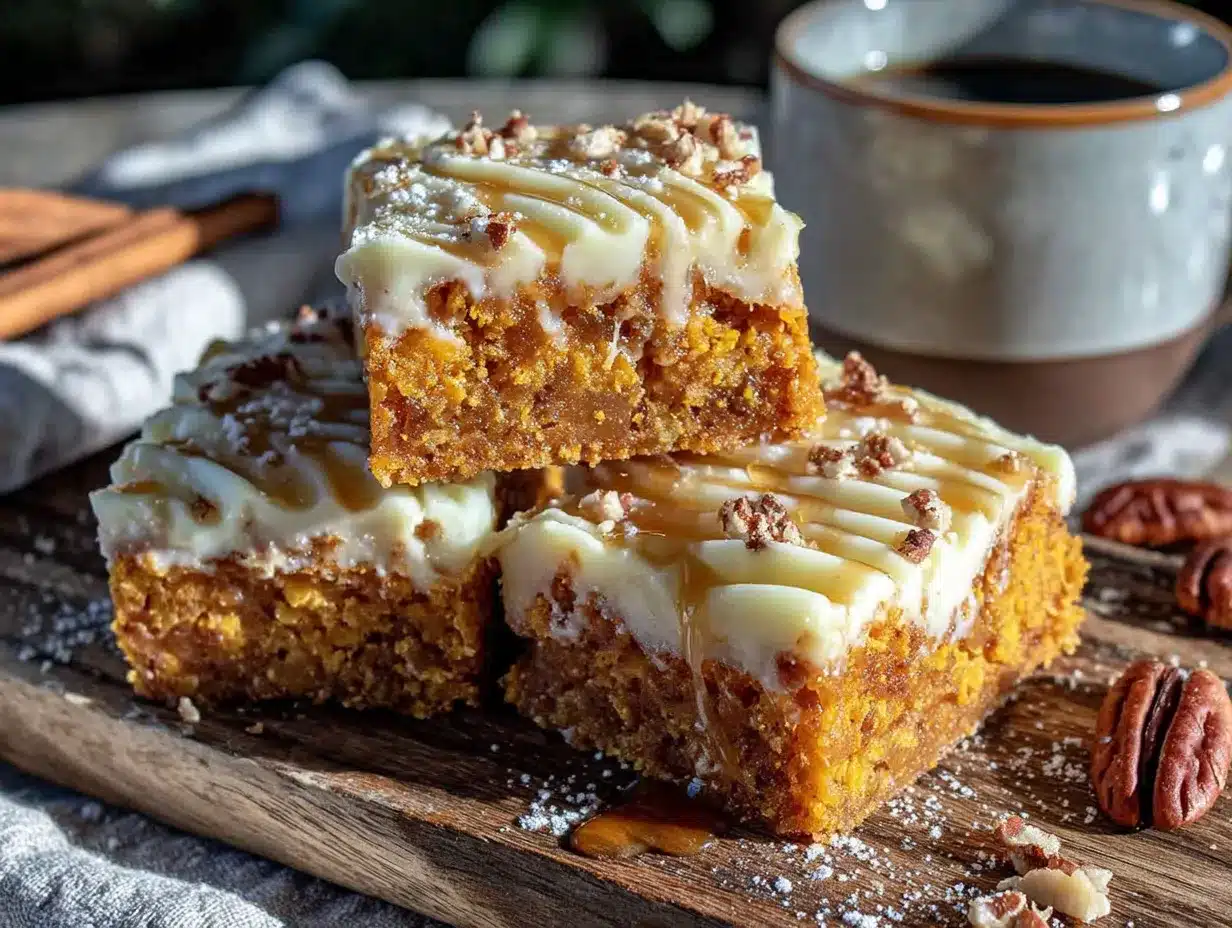
- Cream cheese, 4 ounces (113g), softened — the foundation of the frosting; let it sit out for 30 minutes before starting
- Powdered sugar, 1/2 cup (60g) — gives the frosting sweetness and body
- Pure maple syrup, 2 tablespoons — use the real stuff, not pancake syrup; it makes a difference in flavor
- Vanilla extract, 1/4 teaspoon — rounds out the maple flavor
- Pinch of salt — cuts the sweetness and balances the tanginess
A quick note on the pumpkin: I always stock up on Libby’s when it goes on sale in the fall. It’s consistently thick and not watery, which means your bars won’t turn out soggy. If you’re using a different brand, just give it a quick stir in the can before measuring to make sure it’s uniform.
Equipment Needed
You don’t need a fully stocked kitchen to make these bars, which is part of the beauty of this recipe.
- 8×4-inch loaf pan — this is the perfect size for a small batch; if you don’t have one, an 8×8 pan will work but the bars will be thinner and bake faster (check at 14 minutes)
- Mixing bowls — one medium and one small
- Whisk and rubber spatula — for combining dry ingredients and folding the batter
- Hand mixer or stand mixer — for the frosting; you can do it by hand with a whisk if you’re patient, but a mixer makes it much easier
- Parchment paper — line the pan for easy removal; I’ve forgotten this step before and spent 20 minutes scraping bars out of the pan
- Cooling rack — essential for even cooling so the frosting doesn’t melt
If you don’t have a loaf pan, you can also use a 6-cup muffin tin and make pumpkin muffin tops instead — just reduce the baking time to 12-14 minutes. I’ve done this when I wanted a more portable option, and it worked great.
Preparation Method
- Preheat your oven to 350°F (175°C) and line your 8×4-inch loaf pan with parchment paper, leaving a little overhang on the long sides. This makes lifting the bars out so much easier later. Lightly grease the parchment with a spritz of cooking spray.
- Mix the dry ingredients. In a medium bowl, whisk together the flour, sugar, pumpkin pie spice, baking powder, baking soda, and salt. Make sure everything is evenly distributed — nobody wants a pocket of baking soda in their bar.
- Combine the wet ingredients. In a small bowl, whisk the pumpkin puree, Greek yogurt, egg, melted coconut oil, and vanilla extract until smooth. The mixture should be a deep orange color and smell warmly spiced already.
- Fold the wet into the dry. Pour the wet mixture into the dry ingredients and fold gently with a rubber spatula until just combined. A few streaks of flour are okay — overmixing will make the bars tough. The batter will be thick and slightly fluffy, like a muffin batter.
- Transfer to the pan. Scrape the batter into the prepared loaf pan and spread it evenly with the spatula. It won’t fill the pan completely — that’s normal for a small batch.
- Bake for 18-20 minutes, or until a toothpick inserted in the center comes out clean or with just a few moist crumbs. The edges should be pulling away from the parchment slightly, and the top should be a warm golden brown. My oven runs hot, so I always check at 17 minutes just to be safe.
- Cool completely. Let the bars cool in the pan on a wire rack for 10 minutes, then lift them out using the parchment overhang and transfer directly to the rack. They need to be completely cool before frosting — warm bars will turn your beautiful frosting into a melty mess. I’ve made that mistake before, and it’s heartbreaking.
- Make the frosting. While the bars cool, beat the softened cream cheese in a medium bowl with a hand mixer until smooth and creamy, about 2 minutes. Add the powdered sugar, maple syrup, vanilla, and a pinch of salt, then beat on low speed until combined. Increase to medium-high and beat for another 2 minutes until the frosting is light, fluffy, and spreadable. If it seems too thick, add a teaspoon of milk or extra maple syrup; if too thin, add a tablespoon more powdered sugar.
- Frost and slice. Spread the frosting evenly over the cooled bars. I like to leave a rustic, slightly swirled top rather than a perfectly smooth finish. Slice into 6 even bars, wiping the knife clean between cuts for neat edges.
Cooking Tips & Techniques
One thing I learned the hard way: don’t skip the parchment paper. I thought I could get away with just greasing the pan once, and I spent a good 15 minutes chiseling those bars out with a butter knife. Trust me on this one.
For the most tender texture, make sure your egg and yogurt are at room temperature before mixing. Cold ingredients can make the batter seize up, resulting in denser bars. If you forgot to take them out ahead of time, place the egg in a bowl of warm water for 5 minutes and let the yogurt sit on the counter while you prep the dry ingredients.
When measuring your pumpkin puree, give it a stir in the can first. Sometimes the liquid separates and settles at the top, and if you scoop from the top without stirring, you’ll end up with less pumpkin and more water — which throws off the whole recipe. I always stir mine vigorously with a fork before measuring.
If you’re testing for doneness and the toothpick comes out with wet batter, give it another 2 minutes and check again. But if it comes out with just a few moist crumbs, pull it out immediately. The bars continue to cook slightly from residual heat as they cool, so pulling them a touch early is better than overbaking.
And here’s a tip for the frosting that took me too many batches to figure out: make sure your cream cheese is truly softened. If it’s still cold, you’ll end up with lumpy frosting no matter how long you beat it. I let mine sit out for at least 30 minutes, sometimes 45 if my kitchen is cool.
Variations & Adaptations
One of my favorite things about this recipe is how easily it adapts to different needs and cravings.
Gluten-Free Version : Swap the all-purpose flour for a 1:1 gluten-free baking blend. I’ve used Bob’s Red Mill with great results. The texture will be slightly more crumbly, so handle the bars gently when slicing.
Dairy-Free Adaptation : Use a dairy-free cream cheese alternative (I like Kite Hill) and replace the Greek yogurt with an equal amount of unsweetened applesauce or dairy-free yogurt. The bars will be a touch denser but still delicious.
Spice It Up : If you want a bolder pumpkin spice flavor, add an extra 1/4 teaspoon of cinnamon and a pinch of ground ginger to the dry ingredients. I did this once when I was feeling extra autumnal, and it was fantastic.
Nutty Addition : Fold in 1/4 cup of chopped pecans or walnuts before baking for a little crunch. Toast them first for even more flavor — just 5 minutes in a dry pan over medium heat does the trick.
Pumpkin Chocolate Chip Bars : Stir in 1/4 cup of dark chocolate chips along with the wet ingredients. The chocolate and pumpkin are a match made in heaven, and it turns these into a more dessert-like treat.
I’ve tried the chocolate chip version myself, and honestly, it might be my new favorite. Something about the warm spices with the dark chocolate just works.
Serving & Storage Suggestions
These bars are best served at room temperature or slightly chilled. If you’ve frosted them, let them sit out for about 15 minutes after coming out of the fridge to take the chill off — the frosting softens just enough to be perfectly creamy.
For a cozy fall presentation, I like to arrange the bars on a wooden board and dust them with a tiny sprinkle of cinnamon or pumpkin pie spice. A drizzle of extra maple syrup over the top is also lovely if you’re feeling fancy.
They pair beautifully with a hot cup of coffee or chai tea. I’ve also served them alongside a scoop of vanilla bean ice cream for an easy dessert that feels more special than it is.
Storage : Keep the bars in an airtight container in the refrigerator for up to 5 days. The frosting stays firm and the bars stay moist. If you’re stacking them, place a sheet of parchment paper between layers to prevent the frosting from sticking.
Freezer Instructions : You can freeze the unfrosted bars for up to 3 months. Wrap them tightly in plastic wrap, then foil, and thaw overnight in the refrigerator. Make the frosting fresh when you’re ready to serve — it only takes 5 minutes and tastes so much better than frozen-thawed frosting.
One thing I’ve noticed: the flavors actually deepen after a day in the fridge. The spices meld together, and the pumpkin becomes even more pronounced. So if you can wait, these are even better on day two.
Nutritional Information & Benefits
Per bar (based on 6 servings, with frosting): approximately 210 calories, 9g fat, 30g carbohydrates, 4g protein, 2g fiber, 18g sugar.
These bars are lighter than traditional pumpkin bars thanks to the Greek yogurt swap, which cuts down on oil while adding protein and calcium. Pumpkin itself is packed with vitamin A (great for eye health and immunity) and fiber, which helps keep you full and satisfied.
The maple cream cheese frosting uses real maple syrup instead of all powdered sugar, so you get a more complex sweetness with a lower glycemic impact. Plus, maple syrup contains antioxidants and minerals like zinc and manganese — a small bonus in an already delicious treat.
If you’re watching your sugar intake, you can reduce the granulated sugar in the bars to 1/4 cup without sacrificing texture. The frosting will still provide plenty of sweetness. And for a lower-fat option, use Neufchâtel cream cheese instead of regular — it has about a third less fat but the same creamy texture.
I personally love that these bars feel indulgent but don’t leave me feeling heavy or sluggish afterward. They’re the kind of dessert that satisfies a craving without derailing a healthy week.
Conclusion
These light small-batch pumpkin bars with maple cream cheese frosting are proof that sometimes the best recipes come from kitchen mishaps. What started as a power-outage frustration turned into my go-to fall dessert — one that’s perfectly portioned, surprisingly light, and absolutely packed with cozy flavor.
I love that I can make these on a random Tuesday night when I’m craving something sweet but don’t want a whole batch of cookies staring at me. They feel special enough for company but simple enough for a quiet evening at home. And that maple cream cheese frosting? I could eat it with a spoon, honestly.
If you give these a try, I’d love to hear how they turn out. Did you add chocolate chips? Go the gluten-free route? Or maybe you discovered another happy accident in your own kitchen? Drop a comment below and let me know — your tweaks might just inspire someone else’s next favorite recipe.
Happy baking, friends. And remember: sometimes the best things happen when plans go sideways.
Frequently Asked Questions
Can I use fresh pumpkin instead of canned?
Yes, you can. Just make sure to cook and puree the pumpkin first, then drain any excess liquid through a cheesecloth or fine-mesh strainer. Fresh pumpkin tends to be more watery than canned, so draining is essential to avoid soggy bars.
Can I make these bars without a mixer?
Absolutely. The bar batter comes together easily with a whisk and spatula. For the frosting, you can beat the cream cheese by hand with a wooden spoon — it just takes a little more elbow grease and patience to get it smooth.
How do I know when the bars are done baking?
Insert a toothpick into the center of the bars. If it comes out clean or with just a few moist crumbs, they’re done. If it comes out with wet batter, bake for another 2 minutes and check again. The edges should also be pulling away from the parchment slightly.
Can I double this recipe?
Yes, you can easily double the ingredients and bake the bars in a 9×9-inch square pan. Increase the baking time to 25-30 minutes, checking for doneness with a toothpick. The frosting recipe can also be doubled — just use a whole 8-ounce block of cream cheese.
What if I don’t have pumpkin pie spice?
You can make your own by mixing 1/2 teaspoon cinnamon, 1/4 teaspoon nutmeg, 1/8 teaspoon ginger, and a pinch of cloves. That will give you roughly 1 teaspoon of homemade pumpkin pie spice. I’ve done this plenty of times when I’ve run out of the pre-mixed blend.
Pin This Recipe!
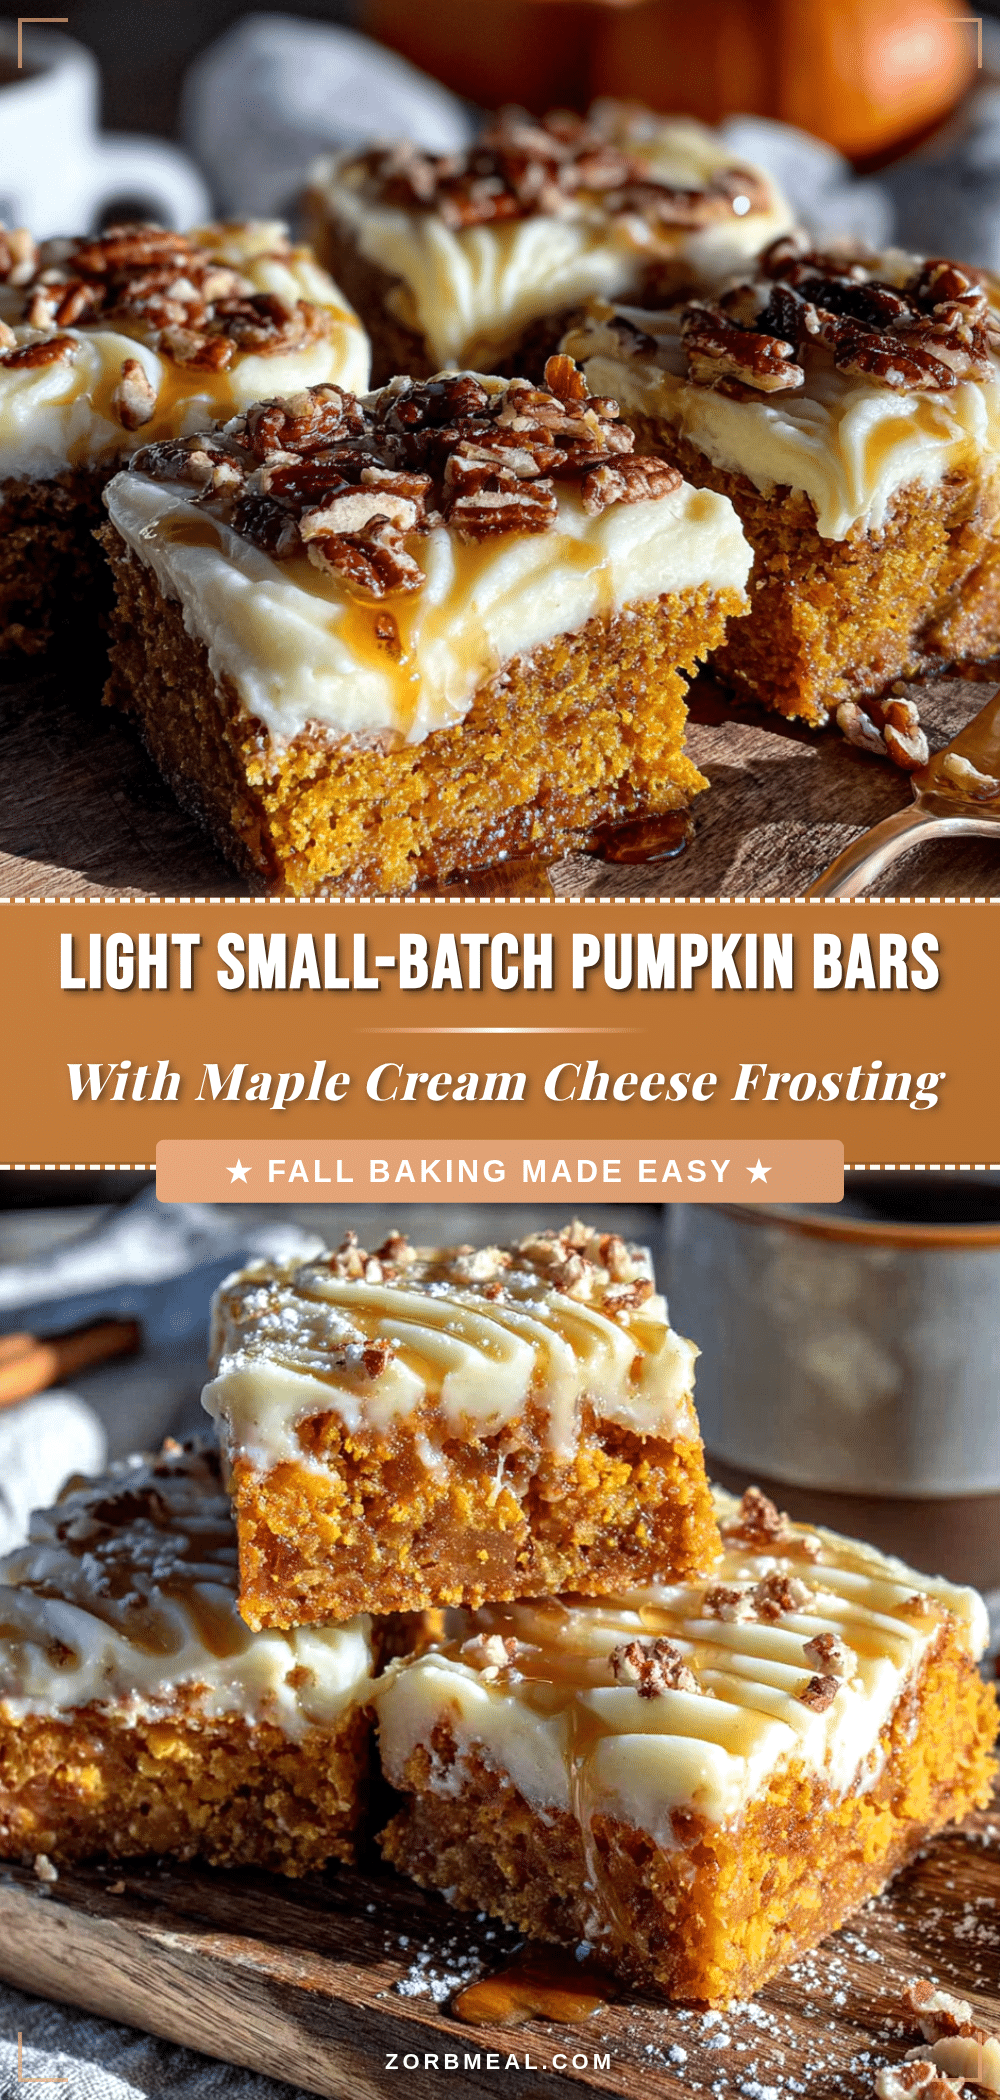
Light Small-Batch Pumpkin Bars with Maple Cream Cheese Frosting
These light small-batch pumpkin bars are perfectly portioned for when you want something sweet but don’t want a whole sheet pan staring at you from the counter for days. They’re tender, spiced, and topped with a silky maple cream cheese frosting that came from a happy accident.
- Prep Time: 15 minutes
- Cook Time: 20 minutes
- Total Time: 35 minutes
- Yield: 6 servings 1x
- Category: Dessert
- Cuisine: American
Ingredients
- 1/2 cup (60g) all-purpose flour
- 1/3 cup (65g) granulated sugar
- 1 teaspoon pumpkin pie spice
- 1/2 teaspoon baking powder
- 1/4 teaspoon baking soda
- 1/4 teaspoon salt
- 1/2 cup (120g) pumpkin puree (not pumpkin pie filling)
- 1/4 cup (60g) plain Greek yogurt (full-fat or 2%)
- 1 large egg, at room temperature
- 2 tablespoons melted coconut oil or vegetable oil
- 1/2 teaspoon vanilla extract
- 4 ounces (113g) cream cheese, softened
- 1/2 cup (60g) powdered sugar
- 2 tablespoons pure maple syrup
- 1/4 teaspoon vanilla extract
- Pinch of salt
Instructions
- Preheat your oven to 350°F (175°C) and line an 8×4-inch loaf pan with parchment paper, leaving overhang on the long sides. Lightly grease the parchment with cooking spray.
- In a medium bowl, whisk together the flour, sugar, pumpkin pie spice, baking powder, baking soda, and salt.
- In a small bowl, whisk the pumpkin puree, Greek yogurt, egg, melted coconut oil, and vanilla extract until smooth.
- Pour the wet mixture into the dry ingredients and fold gently with a rubber spatula until just combined. A few streaks of flour are okay.
- Scrape the batter into the prepared loaf pan and spread evenly.
- Bake for 18-20 minutes, or until a toothpick inserted in the center comes out clean or with just a few moist crumbs. Cool in the pan on a wire rack for 10 minutes, then lift out and cool completely.
- While the bars cool, beat the softened cream cheese with a hand mixer until smooth, about 2 minutes. Add powdered sugar, maple syrup, vanilla, and a pinch of salt. Beat on low until combined, then on medium-high for 2 minutes until light and fluffy.
- Spread the frosting evenly over the cooled bars. Slice into 6 even bars.
Notes
Don’t skip the parchment paper for easy removal. Make sure cream cheese is truly softened to avoid lumpy frosting. For gluten-free, use a 1:1 gluten-free baking blend. For dairy-free, use dairy-free cream cheese and replace Greek yogurt with unsweetened applesauce. Bars can be stored in the refrigerator for up to 5 days. Unfrosted bars can be frozen for up to 3 months.
Nutrition
- Serving Size: 1 bar
- Calories: 210
- Sugar: 18
- Sodium: 180
- Fat: 9
- Saturated Fat: 5
- Carbohydrates: 30
- Fiber: 2
- Protein: 4
Keywords: pumpkin bars, small batch, maple cream cheese frosting, fall dessert, easy pumpkin recipe


