Dropping the last tortilla onto the stack when I realized—I had exactly zero lunchbox ideas for the next morning. The fridge held a package of turkey, some cheese slices, and a half-used tub of cream cheese staring back at me like a challenge. Not exactly gourmet territory, but I needed something fast that my kid would actually eat, not trade away.
I started rolling. Literally. Slathered that cream cheese across a flour tortilla, layered turkey and cheese, rolled it tight like I knew what I was doing, and sliced it into little spirals. The kids grabbed them before I could even pack them. And honestly? That’s how these easy turkey and cheese pinwheel roll-ups for lunchboxes were born—out of pure last-minute desperation and a fridge that refused to cooperate.
What I love about these roll-ups is how they turned a boring lunch into something that feels special. No cooking required, no fancy ingredients, just a little rolling and slicing. They’ve become our go-to for school lunches, afternoon snacks, and even party platters. If you’re tired of the same old sandwich routine, these little spirals might just change your lunchbox game.
Why You’ll Love This Recipe
Let me tell you why these pinwheels have earned a permanent spot in my weekly meal prep rotation. I’ve tested this recipe more times than I can count, tweaking the cream cheese spread and figuring out the perfect roll technique so they don’t fall apart by lunchtime.
- Ready in 10 Minutes : No joke. From fridge to lunchbox in under ten minutes flat. Perfect for those mornings when you hit snooze one too many times.
- Simple Ingredients : You probably have everything already. Tortillas, deli turkey, cheese slices, and cream cheese. That’s it. No fancy grocery store runs.
- Perfect for Lunchboxes : These hold up beautifully in a lunchbox. No sogginess, no falling apart. Just perfect little spirals that kids actually look forward to eating.
- Crowd-Pleaser : I’ve served these at playdates, birthday parties, and even book club. Adults grab them just as fast as kids do.
- Endlessly Customizable : Swap the turkey for ham, add some veggies, switch up the cheese—this recipe bends to whatever you have on hand.
What makes these different from every other pinwheel recipe out there? It’s the technique. I learned the hard way that spreading cream cheese all the way to the edges prevents the roll from sealing properly. Leave a small border, and everything holds together like magic. Also, room temperature cream cheese is non-negotiable. Cold cream cheese tears the tortilla every single time. Trust me on this one—I’ve ruined plenty of tortillas learning that lesson.
These roll-ups are the kind of recipe that makes you feel like a superhero parent without actually doing much work. They’re comforting, satisfying, and somehow feel like a treat even though they’re just turkey and cheese wrapped in a tortilla. That’s real lunchbox magic right there.
What Ingredients You Will Need
This recipe uses simple, everyday ingredients that work together to create something surprisingly delicious. No weird specialty items or obscure pantry staples here—just honest food that tastes great.
- Flour tortillas (8-inch) : Look for soft, pliable tortillas. I prefer Mission brand or the store-brand burrito-size ones. Avoid the thin-style tortillas—they crack when you roll them. Burrito-size works best for nice thick pinwheels. You can use whole wheat or spinach tortillas for a color change.
- Cream cheese (8 ounces, softened) : This is your glue. Let it sit on the counter for 30 minutes before starting. Philadelphia cream cheese gives the smoothest spread, but any brand works. For a lighter version, use Neufchâtel cheese—it spreads just as well with less fat.
- Deli turkey (about 8 slices) : Oven-roasted or smoked turkey both work great. I like getting thick-sliced from the deli counter—it holds up better than the pre-packaged stuff. You can also use leftover roasted turkey if you have it.
- Cheese slices (about 8 slices) : Provolone, cheddar, Swiss, or mozzarella all work beautifully. I usually go with provolone because it’s mild and rolls nicely. Avoid super thin slices that tear easily.
- Salt and pepper (optional) : A tiny pinch of salt and a crack of pepper in the cream cheese spread adds a subtle depth. Not necessary but nice.
- Optional add-ins : Thinly sliced cucumber, shredded lettuce, bell pepper strips, or even a smear of pesto or ranch dressing. Get creative!
That’s genuinely all you need. The beauty of these easy turkey and cheese pinwheel roll-ups for lunchboxes is their simplicity. You don’t need a dozen ingredients to make something your kids will actually eat. When I’m meal prepping for the week, I’ll grab a pack of tortillas and some cream cheese, and I know I’ve got lunch sorted for days.
One tip I picked up from my mom—she always added a tiny sprinkle of dried dill or everything bagel seasoning to her cream cheese spread. It sounds weird, but it adds this little flavor pop that makes the pinwheels taste more interesting. Try it once and you’ll see what I mean.
Equipment Needed
You don’t need fancy kitchen gadgets for this recipe. Here’s what you’ll need:
- Cutting board : Any size works. I prefer a large wooden board for rolling, but plastic works fine.
- Butter knife or offset spatula : For spreading the cream cheese. An offset spatula gives you the smoothest, most even layer.
- Sharp chef’s knife or serrated knife : A sharp knife makes clean cuts without squishing the roll. A serrated knife works wonders here—it saws through the tortilla without crushing it.
- Plastic wrap or parchment paper : Wrapping the rolls tightly before chilling helps them hold their shape. I use plastic wrap because it’s what I always have.
- Large plate or baking sheet : For holding the rolled tortillas while they chill in the fridge.
- Toothpicks (optional) : For securing the rolls if you’re transporting them. Not necessary for lunchboxes, but helpful for parties.
If you don’t have a serrated knife, use your sharpest chef’s knife and clean the blade between cuts. This prevents the cream cheese from smearing everywhere. I learned this after making a sticky mess my first time. A clean knife makes all the difference.
For budget-friendly options, a basic butter knife and any sharp kitchen knife will get the job done. No need to rush out and buy specialty equipment. This recipe is forgiving that way.
Preparation Method
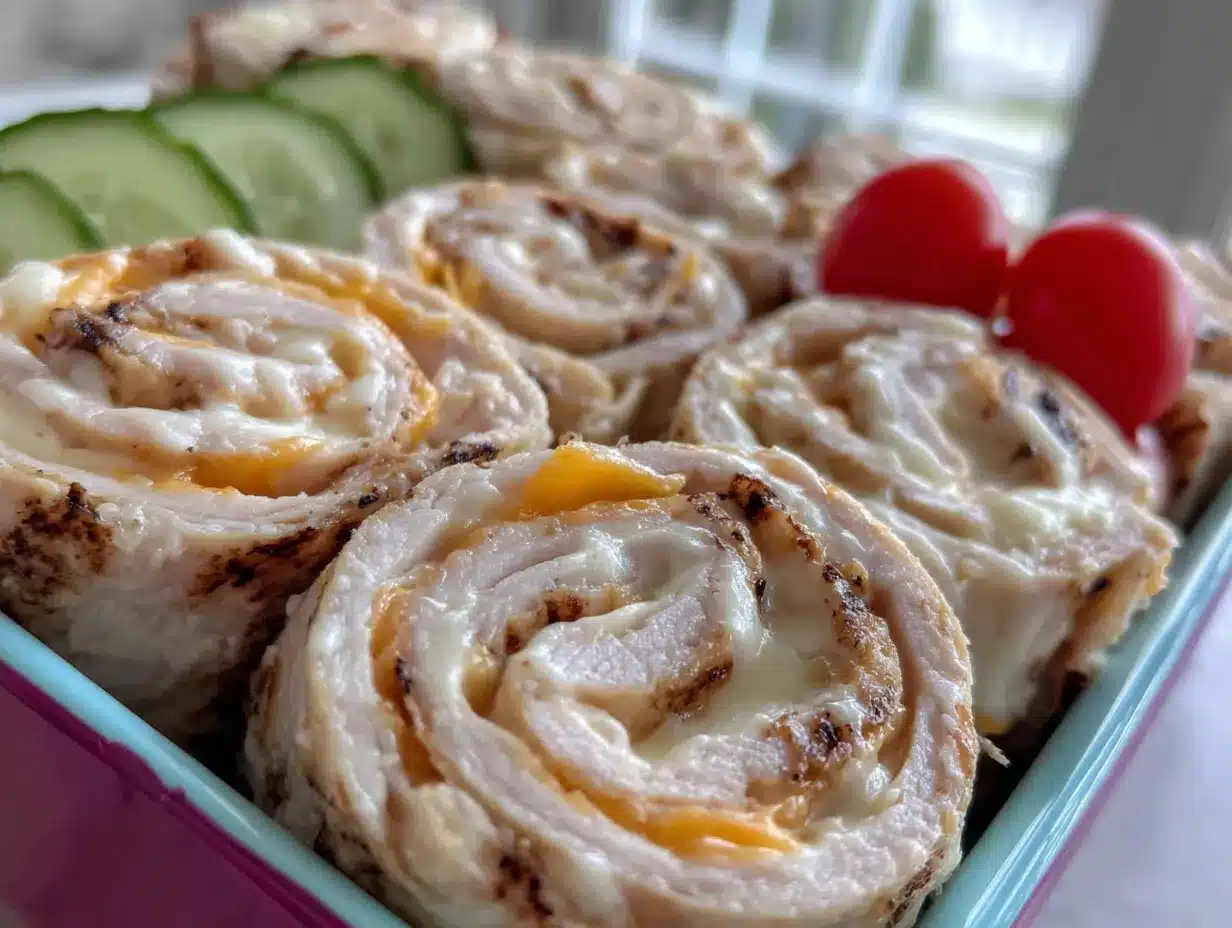
Let me walk you through exactly how I make these. I’ve refined this method over dozens of lunchbox-packed mornings, so these steps are tested and true.
- Soften the cream cheese : Take your cream cheese out of the fridge about 30 minutes before you start. It should be soft enough that a knife slides through easily. If you’re in a hurry, microwave it for 10-15 seconds—but watch it carefully. Nobody wants melted cream cheese.
- Prepare your work surface : Lay a flour tortilla flat on your cutting board. Make sure it’s at room temperature—cold tortillas crack when you roll them. If yours are straight from the fridge, let them sit for 5 minutes.
- Spread the cream cheese : Using your butter knife or offset spatula, spread a thin, even layer of cream cheese over the entire surface of the tortilla. Leave about a half-inch border around the edges. This border is crucial—it helps the roll seal properly. Too much cream cheese makes everything slide around.
- Season the cream cheese : Sprinkle a tiny pinch of salt and pepper over the cream cheese if you’re using it. This step is small but makes a difference. You can also add dried herbs or everything bagel seasoning here.
- Layer the turkey : Place 2-3 slices of turkey evenly over the cream cheese, overlapping slightly. Make sure the turkey covers most of the tortilla but doesn’t extend past the cream cheese border. If your turkey slices are huge, tear them in half to fit better.
- Add the cheese : Lay 2 slices of cheese over the turkey. If using provolone or Swiss, fold the slices in half to fit. The cheese should be completely covered by the turkey—this prevents it from melting weirdly or sticking to the knife later.
- Roll it tight : Starting from one edge, roll the tortilla tightly but gently. Use your fingers to keep the filling tucked in as you go. Roll like you’re rolling a sleeping bag—firm and even. Don’t squeeze too hard or the filling will squish out the ends.
- Wrap and chill : Once rolled, wrap the tortilla tightly in plastic wrap or parchment paper. Twist the ends like a candy wrapper to secure it. Place it seam-side down on a plate or baking sheet. Repeat with remaining tortillas. Refrigerate for at least 30 minutes—this step is non-negotiable. Chilling sets the cream cheese and makes slicing much cleaner.
- Slice into pinwheels : After chilling, unwrap each roll and place it on your cutting board. Using a sharp serrated knife, slice into 1-inch thick rounds. Use a gentle sawing motion—don’t press straight down or you’ll squish the roll. Clean the knife blade between cuts for the neatest slices.
- Arrange and serve : Place the pinwheels in your lunchbox or serving platter cut-side up. They should hold their shape beautifully. If any unroll slightly, just press them back together.
You’ll know you’ve done it right when you see those perfect spirals—cream cheese, turkey, and cheese all layered in neat concentric circles. The smell is subtle but inviting, like a fresh deli sandwich waiting to be enjoyed. And honestly, the first time you nail that perfect roll, you’ll feel like a lunch-packing pro.
For meal prep, I make a batch of 4-5 rolls on Sunday evening, chill them overnight, and slice them in the morning. They stay fresh in the fridge for up to 3 days. Just keep them wrapped tightly so they don’t dry out.
Cooking Tips & Techniques
Over the years, I’ve made every mistake possible with these pinwheels. Here’s what I’ve learned so you don’t have to repeat my failures.
Room temperature ingredients matter : Cold cream cheese tears tortillas. Cold tortillas crack when rolled. Give everything 20-30 minutes on the counter before you start. This single tip will save you more frustration than anything else.
Don’t overfill : I know it’s tempting to pile on the turkey and cheese, but too much filling makes the roll bulge and fall apart. Stick to 2-3 turkey slices and 1-2 cheese slices per tortilla. Less really is more here.
The chilling step is sacred : I’ve skipped the 30-minute chill when I was in a rush, and every single time I regretted it. The rolls squish, the filling slides out, and you end up with sad, messy pinwheels. Give them time to set. Your future self will thank you.
Sharp knife, clean cuts : A dull knife is your enemy. It crushes the roll instead of slicing through it. Use a serrated knife and clean it between cuts. I keep a damp paper towel nearby and wipe the blade after every 2-3 slices.
Toast the tortillas for extra crunch : If you want a slightly different texture, lightly toast the tortillas in a dry skillet for 30 seconds per side before assembling. This gives the pinwheels a subtle crunch that holds up even after a few hours in a lunchbox. My kids actually prefer them this way now.
Make-ahead strategy : Assemble and roll the tortillas the night before. Keep them wrapped in the fridge. Slice them in the morning while your coffee brews. That’s 5 minutes of work for a week’s worth of lunches.
I once brought these to a potluck and forgot to chill them. Let’s just say the pinwheels looked more like tortilla blobs than neat spirals. Everyone still ate them, but presentation-wise? Total fail. Learn from my chaos.
Variations & Adaptations
These pinwheels are basically a blank canvas. Here are some of my favorite variations I’ve tested over the years:
Ham and Swiss Roll-Ups : Swap the turkey for honey ham and use Swiss cheese. Add a thin smear of honey mustard or Dijon mustard to the cream cheese for a tangy kick. This is my husband’s favorite version.
Veggie Cream Cheese Pinwheels : Skip the meat entirely. Spread the cream cheese, then layer thinly sliced cucumber, bell pepper strips, shredded carrots, and fresh spinach leaves. Add a sprinkle of everything bagel seasoning. These are surprisingly filling and perfect for meatless lunches.
Buffalo Chicken Style : Mix a tablespoon of buffalo sauce into your softened cream cheese before spreading. Use rotisserie chicken instead of deli turkey, and add a slice of provolone. This version is spicy, creamy, and absolutely addictive. If you love bold flavors, try my creamy buffalo chicken dip for another buffalo-inspired snack idea.
Low-Carb Wrap Version : Use low-carb tortillas or large lettuce leaves instead of flour tortillas. The technique is the same, but you’ll need to be extra gentle with lettuce wraps. They hold up surprisingly well for a few hours.
Gluten-Free Option : Gluten-free tortillas work beautifully here. Just make sure they’re at room temperature before rolling, as they tend to be more fragile. Corn tortillas are too small and stiff—stick with gluten-free flour-style wraps.
Pesto Turkey Pinwheels : Spread a thin layer of pesto over the cream cheese before adding the turkey. The basil flavor pairs beautifully with turkey and provolone. I make these when I want something that feels a little fancier.
My personal favorite variation? The everything bagel version. I mix a tablespoon of everything bagel seasoning into the cream cheese, use smoked turkey, and add a slice of cheddar. It tastes like a bagel sandwich in pinwheel form. My kids steal these from my lunchbox constantly.
Serving & Storage Suggestions
These pinwheels are incredibly versatile when it comes to serving. Here’s how I handle them:
Serving temperature : Serve them cold or at room temperature. Straight from the fridge is fine, but letting them sit for 5-10 minutes takes the chill off and makes the flavors pop. They’re perfect for lunchboxes because they don’t need reheating.
Presentation ideas : Arrange them cut-side up on a platter in concentric circles for parties. For lunchboxes, pack them snugly in a container so they don’t roll around. Add a side of cherry tomatoes, apple slices, or baby carrots for a complete lunch.
Complementary dishes : These pair beautifully with fresh caprese skewers for a party platter, or alongside grilled street corn salad for a summer lunch. For a heartier meal, serve them with a cup of tomato soup or a simple green salad.
Storage instructions : Keep assembled and sliced pinwheels in an airtight container in the refrigerator for up to 3 days. Place a slightly damp paper towel over the top before sealing to prevent them from drying out. Do not leave them at room temperature for more than 2 hours.
Freezer option : You can freeze the unsliced rolls for up to 1 month. Wrap each roll tightly in plastic wrap, then place in a freezer bag. Thaw overnight in the fridge before slicing. The texture is slightly softer after freezing but still delicious.
Reheating tips : Honestly, these are best cold. But if you want a warm version, pop them in a dry skillet over medium heat for 1-2 minutes per side. The tortilla gets slightly crispy while the cheese warms up. Not traditional, but surprisingly tasty.
The flavors actually get better after a few hours in the fridge. The cream cheese melds with the turkey and cheese, creating this cohesive flavor experience that’s greater than the sum of its parts. That’s why they’re so perfect for make-ahead lunches.
Nutritional Information & Benefits
Here’s the approximate nutritional breakdown for one serving (about 4-5 pinwheels, depending on thickness):
- Calories : 280-320
- Protein : 18-22 grams
- Carbohydrates : 22-26 grams
- Fat : 14-18 grams
- Fiber : 2-3 grams
- Sodium : 650-800 mg
These numbers vary based on your specific ingredients and portion sizes. Using reduced-fat cream cheese and low-sodium turkey will lower the calories and sodium significantly.
Health benefits worth noting : Turkey is an excellent lean protein source that keeps kids full and focused through the school day. The cream cheese provides calcium for strong bones, and the tortilla offers carbohydrates for sustained energy. Adding veggies like spinach or bell peppers boosts the vitamin content without adding many calories.
Dietary considerations : This recipe can be made gluten-free with GF tortillas and lower in fat with reduced-fat dairy. It’s naturally nut-free, egg-free, and soy-free (check your tortilla labels to be sure). For a lower-carb version, use lettuce wraps or low-carb tortillas.
Potential allergens : Contains dairy (cream cheese and cheese) and gluten (tortillas). Check your deli meat labels for potential additives if you have sensitivities.
I love that these pinwheels pack protein and carbs in a way that doesn’t feel heavy. They’re satisfying without being greasy, which is exactly what you want in a lunchbox snack. Plus, the portion control is built right in—each pinwheel is a perfect bite-sized serving.
Conclusion
These easy turkey and cheese pinwheel roll-ups for lunchboxes have saved me more mornings than I can count. They’re the kind of recipe that proves you don’t need complicated techniques or exotic ingredients to make something your family will actually enjoy. Just good food, rolled up tight, and sliced into something special.
I love how adaptable they are. Some weeks I make them exactly as written, and other weeks I throw in whatever leftovers are hanging around the fridge. The basic technique stays the same, but the possibilities are endless. That’s the mark of a truly great recipe—one that becomes your own through repetition and experimentation.
If you try these, I’d love to hear how they turned out. Did your kids love them? Did you come up with a variation I haven’t tried? Drop a comment below and share your pinwheel adventures. And if you’re looking for more lunchbox-friendly ideas, check out my creamy deviled eggs with bacon crumbles or these one-pan honey garlic chicken and vegetables for more quick meal inspiration.
Here’s to less stressful mornings and more happy lunchbox moments. Happy rolling, friends!
Frequently Asked Questions
Can I make these pinwheels ahead of time?
Absolutely! Assemble and roll the tortillas up to 3 days in advance. Keep them wrapped tightly in plastic wrap in the refrigerator. Slice them right before serving for the best texture and appearance.
Why are my pinwheels falling apart?
This usually happens for a few reasons: too much filling, not enough chilling time, or a dull knife. Make sure you leave a border around the cream cheese, chill the rolls for at least 30 minutes, and use a sharp serrated knife with a gentle sawing motion.
Can I use different types of tortillas?
Yes! Flour tortillas work best, but whole wheat, spinach, tomato, or gluten-free tortillas all work. Just make sure they’re pliable and at room temperature before rolling. Avoid corn tortillas—they’re too small and stiff.
How do I keep pinwheels from getting soggy in a lunchbox?
Pat your deli turkey dry with a paper towel before assembling to remove excess moisture. Also, spread the cream cheese all the way to the edges (except for the border) to create a barrier that prevents the tortilla from absorbing moisture from the fillings.
Can I freeze turkey and cheese pinwheels?
Yes, but freeze them before slicing. Wrap each rolled tortilla tightly in plastic wrap, then place in a freezer bag. Thaw overnight in the refrigerator and slice before serving. The texture will be slightly softer, but they’re still delicious and perfect for busy mornings.
Pin This Recipe!
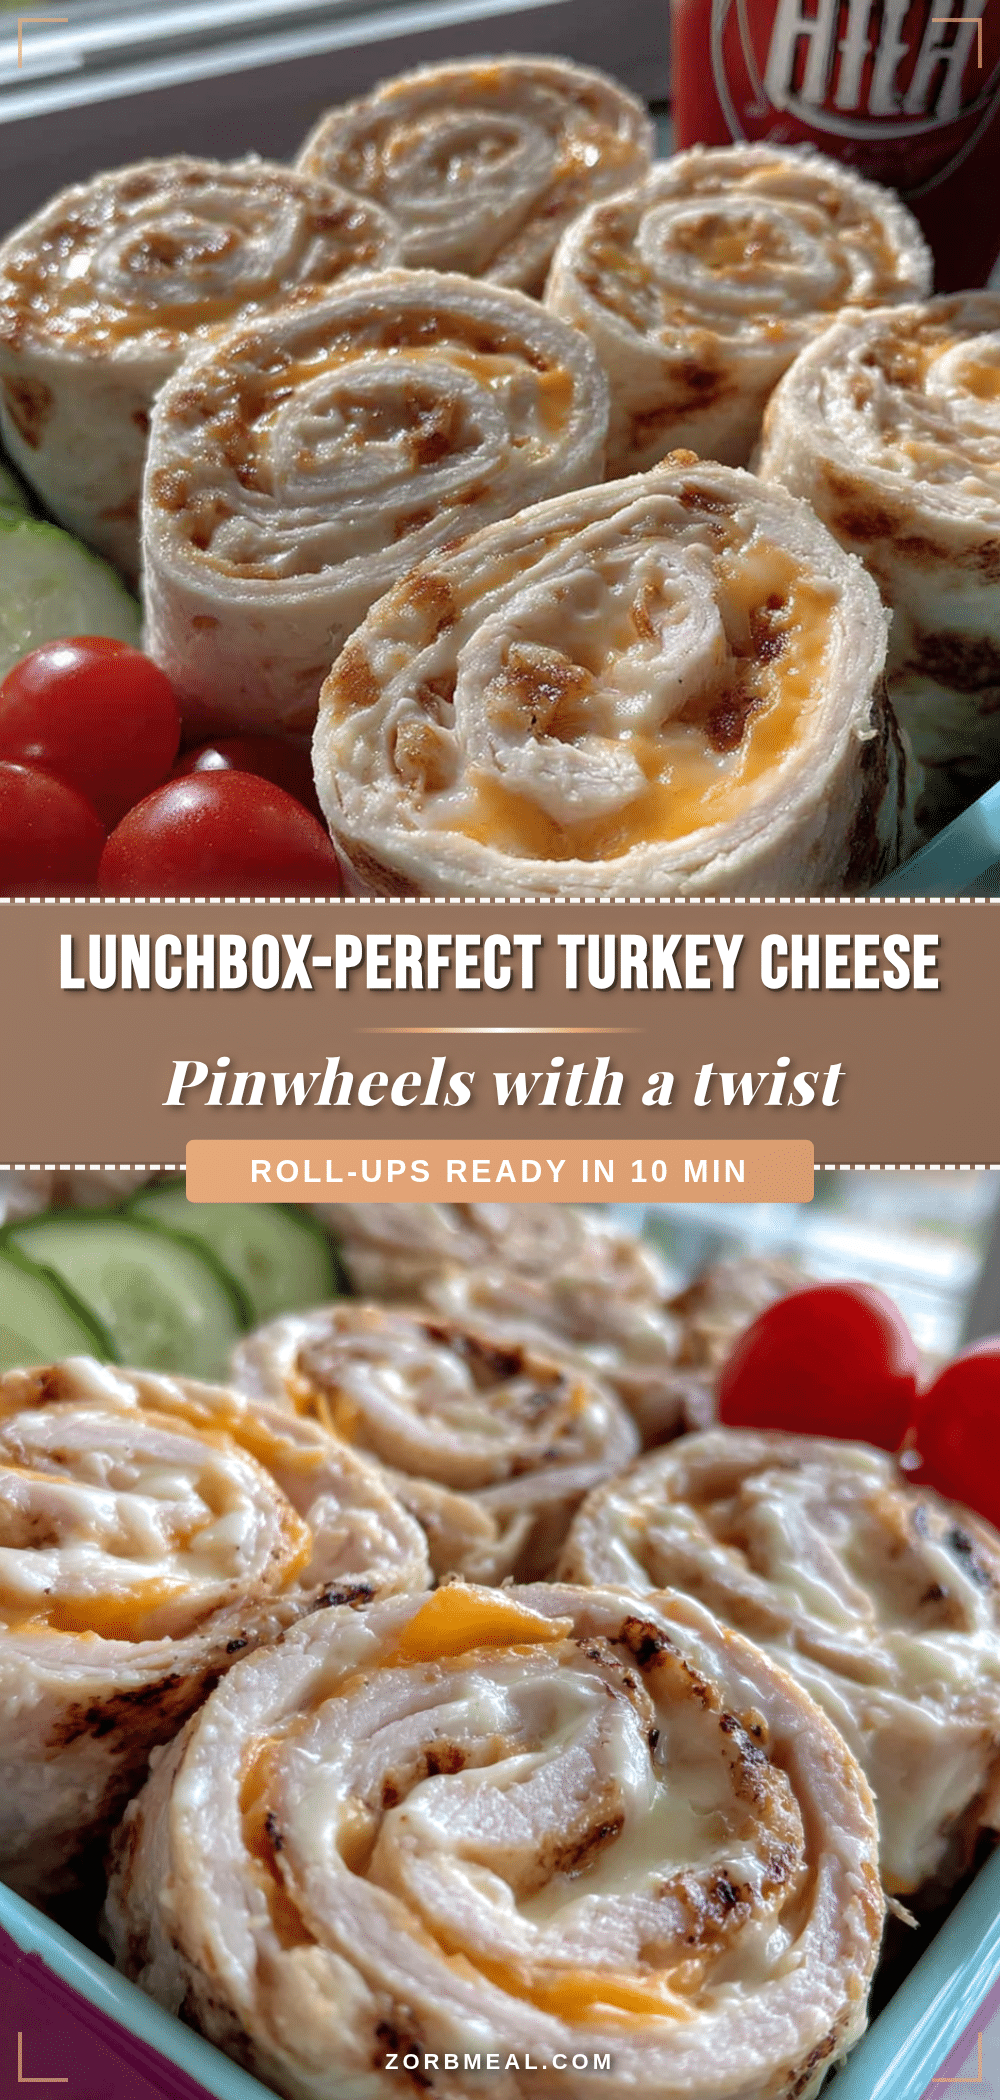
Easy Turkey & Cheese Pinwheel Roll-Ups: Best Lunchbox Snack

These easy turkey and cheese pinwheel roll-ups are the perfect lunchbox snack, made with simple ingredients like tortillas, deli turkey, cheese, and cream cheese. Ready in 10 minutes, they hold up beautifully and are endlessly customizable.
- Prep Time: 10 minutes
- Cook Time: 0 minutes
- Total Time: 40 minutes (includes 30 minutes chilling time)
- Yield: 4 servings (about 4-5 pinwheels per serving) 1x
- Category: Snack
- Cuisine: American
Ingredients
- 4 (8-inch) flour tortillas (soft and pliable, burrito-size recommended)
- 8 ounces cream cheese, softened (room temperature for 30 minutes)
- 8 slices deli turkey (oven-roasted or smoked, thick-sliced preferred)
- 8 slices cheese (provolone, cheddar, Swiss, or mozzarella)
- Salt and pepper to taste (optional)
- Optional add-ins: thinly sliced cucumber, shredded lettuce, bell pepper strips, pesto, ranch dressing, dried dill, or everything bagel seasoning
Instructions
- Soften the cream cheese: Remove cream cheese from the fridge about 30 minutes before starting. It should be soft enough that a knife slides through easily. If in a hurry, microwave for 10-15 seconds, but watch carefully.
- Prepare your work surface: Lay a flour tortilla flat on a cutting board. Ensure it’s at room temperature to prevent cracking.
- Spread the cream cheese: Using a butter knife or offset spatula, spread a thin, even layer of cream cheese over the entire tortilla, leaving about a half-inch border around the edges. This border helps the roll seal properly.
- Season the cream cheese: Sprinkle a tiny pinch of salt and pepper over the cream cheese if desired. You can also add dried herbs or everything bagel seasoning.
- Layer the turkey: Place 2-3 slices of turkey evenly over the cream cheese, overlapping slightly. Ensure the turkey covers most of the tortilla but doesn’t extend past the cream cheese border.
- Add the cheese: Lay 2 slices of cheese over the turkey. If using large slices, fold them in half to fit. The cheese should be completely covered by the turkey.
- Roll it tight: Starting from one edge, roll the tortilla tightly but gently, using your fingers to keep the filling tucked in. Roll firmly and evenly, like rolling a sleeping bag.
- Wrap and chill: Once rolled, wrap the tortilla tightly in plastic wrap or parchment paper, twisting the ends like a candy wrapper. Place seam-side down on a plate or baking sheet. Refrigerate for at least 30 minutes to set the cream cheese.
- Slice into pinwheels: After chilling, unwrap each roll and place on a cutting board. Using a sharp serrated knife, slice into 1-inch thick rounds using a gentle sawing motion. Clean the knife blade between cuts for neat slices.
- Arrange and serve: Place the pinwheels in a lunchbox or serving platter cut-side up. They should hold their shape beautifully.
Notes
Room temperature cream cheese is non-negotiable to prevent tearing tortillas. Leave a half-inch border of cream cheese for proper sealing. Chilling for at least 30 minutes is essential for clean slicing. For meal prep, assemble and roll tortillas the night before, then slice in the morning. Store in an airtight container in the fridge for up to 3 days. Freeze unsliced rolls for up to 1 month.
Nutrition
- Serving Size: 4-5 pinwheels
- Calories: 300
- Sugar: 3
- Sodium: 725
- Fat: 16
- Saturated Fat: 8
- Carbohydrates: 24
- Fiber: 2
- Protein: 20
Keywords: turkey and cheese pinwheels, lunchbox snacks, easy roll-ups, no-cook recipe, kid-friendly lunch, meal prep snacks, party appetizers