Introduction
“Wait, did you just brown the butter? That’s the secret?” — and that was it. I remember the exact moment my cousin, who’s usually skeptical about cookie experiments, paused mid-bite and asked that. It happened during an impromptu cookie swap at a family gathering. The kitchen smelled like toasted nuts and caramel, and the cookies were crisp at the edges but chewy in the center, with that deep, nutty flavor you don’t expect from your average chocolate chip cookie. Honestly, it changed how I think about baking cookies altogether.
It’s funny how something as simple as browning butter—a step that sounds fancy but is really just melting it until it’s golden and fragrant—can transform the whole vibe of a cookie. You get this lovely toasty depth beneath the sweet chocolate chips that makes you want to close your eyes and savor each bite. That’s exactly why this recipe for crispy and chewy bakery-style brown butter chocolate chip cookies stuck with me.
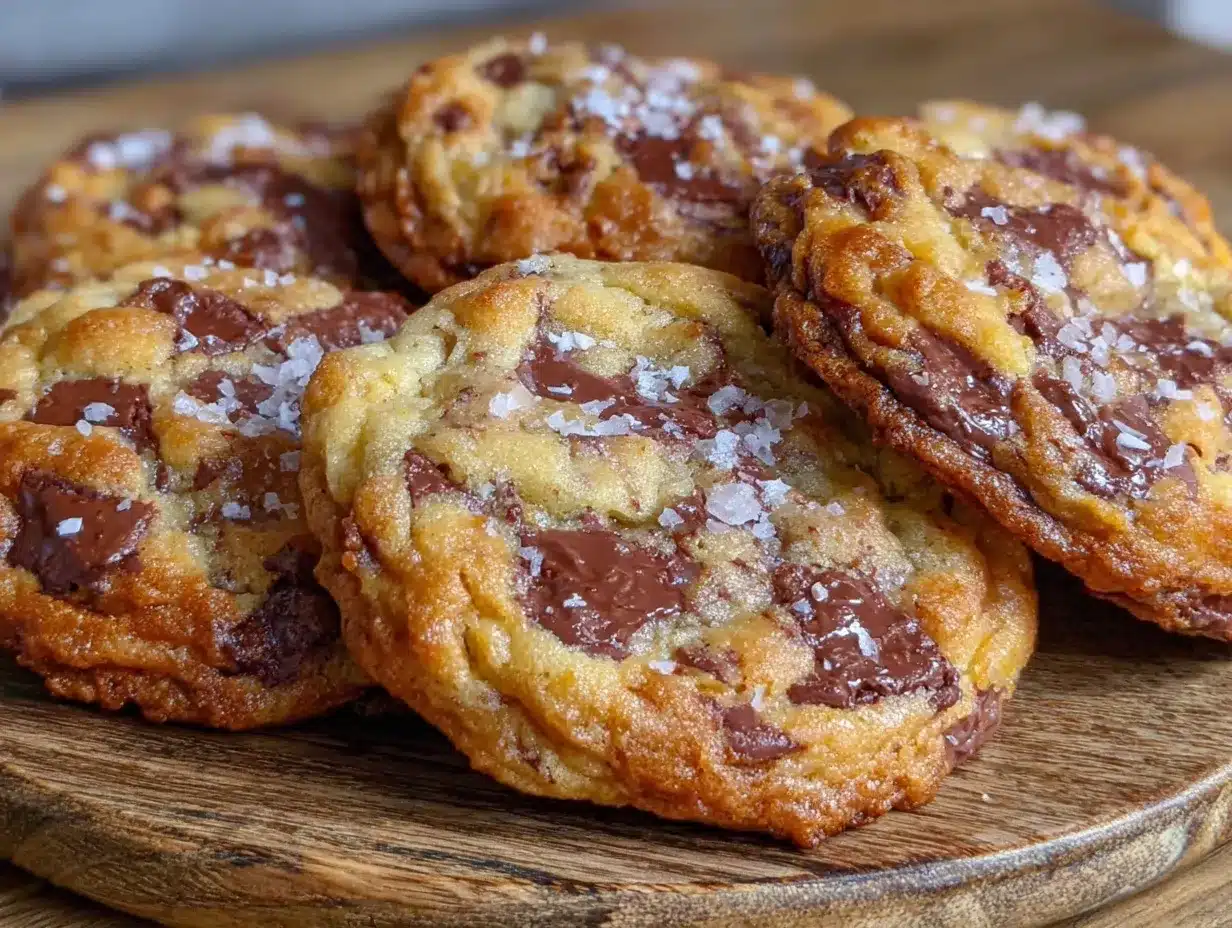
These cookies aren’t just about nostalgia or comfort (though they have plenty of that). They’re about nailing that perfect texture balance: crisp edges that snap just right, and a chewy, almost gooey middle that’s like the cookie version of a warm hug. And trust me, once you master the brown butter technique here, you’ll find yourself craving these cookies long after the last crumb disappears.
It’s one of those recipes that you’ll reach for when you want something impressive but don’t want to fuss with complicated steps. And if you’ve ever wondered how to get bakery-style cookies at home without the mystery ingredients or special equipment, this one’s for you—straight from my kitchen to yours.
Why You’ll Love This Recipe
After testing countless chocolate chip cookie recipes (and yes, eating my fair share of burnt or underbaked batches), I can confidently say this is my go-to for that crispy and chewy bakery-style magic. Here’s what makes these cookies stand out:
- Quick & Easy: From browning the butter to pulling fresh cookies from the oven, the whole process takes under 40 minutes. Perfect for those last-minute sweet tooth emergencies!
- Simple Ingredients: No weird chemicals or odd flours here. Just everyday staples you probably already have, plus a few pantry must-haves like vanilla and brown sugar.
- Perfect for Any Occasion: Whether you’re heading to a potluck, surprising guests after dinner, or just need a cozy pick-me-up, these cookies fit right in.
- Crowd-Pleaser: I’ve shared these at everything from casual get-togethers to holiday gatherings and they always disappear fast—kids and adults alike can’t get enough.
- Unbelievably Delicious: That browned butter flavor deepens the cookie’s richness, giving you a toasty, caramel-like note that pairs so well with melty chocolate chips. It’s comfort food with a little twist.
What really sets this recipe apart is the technique of browning the butter before mixing it with sugars and flour. That step alone amps up the flavor to a level that’s just not possible with plain melted butter. Plus, the balance of sugars—both white and brown—helps create that coveted crispy edge while keeping the centers soft and chewy.
Honestly, this recipe feels like the perfect bridge between homemade coziness and bakery-quality indulgence. If you’ve ever wished for cookies that taste just like your favorite bakery’s best batch, you’re going to want to keep this recipe handy.
What Ingredients You Will Need
This recipe uses simple, wholesome ingredients to deliver bold flavor and satisfying texture without the fuss. Most are pantry staples, so you can whip these up anytime without a special grocery run.
- Unsalted butter, 1 cup (227 g) – browned slowly to get that nutty aroma
- Granulated sugar, ¾ cup (150 g) – for crisp edges
- Light brown sugar, 1 cup packed (220 g) – adds moisture and chewiness
- Large eggs, 2, room temperature – helps bind and tenderize
- Pure vanilla extract, 2 teaspoons – for depth and warmth
- All-purpose flour, 2 ¼ cups (280 g) – the backbone of the cookie
- Baking soda, 1 teaspoon – for just enough lift and spread
- Salt, 1 teaspoon – balances sweetness and intensifies flavors
- Chocolate chips, 2 cups (340 g), semi-sweet or a mix of semi-sweet and dark – melty and rich
Ingredient notes:
- Use high-quality butter for best flavor; I like Plugrá or Kerrygold when I want a really rich result.
- For a gluten-free option, swap all-purpose flour with a 1:1 gluten-free baking flour blend.
- In summer, I sometimes add chopped toasted pecans or walnuts for a bit of crunch and extra nuttiness.
- Feel free to substitute the chocolate chips with chunks of your favorite chocolate bars for gooier pockets.
Equipment Needed
- Medium saucepan or skillet for browning butter – a light-colored pan helps you watch the color change without burning.
- Mixing bowls – at least two: one for wet ingredients, one for dry.
- Hand mixer or stand mixer – optional but helpful for creaming sugars with butter and eggs to get that smooth, aerated dough.
- Measuring cups and spoons – accurate measuring helps maintain consistent texture.
- Baking sheets lined with parchment paper or silicone baking mats – prevents sticking and promotes even baking.
- Cooling rack – for letting cookies cool evenly without sogginess.
If you don’t have a mixer, no worries! You can mix by hand with a sturdy wooden spoon or spatula. Just take your time to blend the sugars well with the browned butter before adding eggs.
For browning butter, I’ve found that a stainless steel skillet is easier to control heat with compared to non-stick, but any will do as long as you watch it closely.
Preparation Method
- Browning the butter: Place 1 cup (227 g) of unsalted butter in a medium saucepan over medium heat. Stir constantly with a heat-proof spatula as the butter melts. It will start foaming, then the milk solids will begin to brown and smell nutty. This usually takes around 5–7 minutes. Watch closely — when it turns golden amber and you see brown specks, remove from heat immediately to avoid burning. Transfer the browned butter to a heatproof bowl and let it cool for 10 minutes.
- Mixing sugars and butter: To the cooled browned butter, add ¾ cup (150 g) granulated sugar and 1 cup (220 g) light brown sugar. Using a hand mixer or stand mixer on medium speed, beat until combined and slightly fluffy, about 2 minutes.
- Adding eggs and vanilla: Crack in 2 large eggs, one at a time, beating well after each addition. Stir in 2 teaspoons pure vanilla extract. The mixture should feel smooth and glossy.
- Combining dry ingredients: In a separate bowl, whisk together 2 ¼ cups (280 g) all-purpose flour, 1 teaspoon baking soda, and 1 teaspoon salt. This ensures even distribution of leavening and seasoning.
- Bringing dough together: Slowly add the dry ingredients to the wet mixture in batches, mixing on low speed just until no flour streaks remain. Be careful not to overmix here — you want tender cookies, not tough.
- Folding in chocolate chips: Gently fold 2 cups (340 g) of chocolate chips into the dough using a spatula. Make sure they’re evenly distributed but avoid breaking them up.
- Chilling the dough (optional but recommended): Cover the dough with plastic wrap and chill for at least 30 minutes. This step helps the flavors mature and controls spread for thicker, chewier cookies.
- Prepping to bake: Preheat your oven to 350°F (175°C). Line baking sheets with parchment paper or silicone mats.
- Shaping cookies: Using a cookie scoop or tablespoon, drop dough balls spaced about 2 inches apart on the baking sheets. For a more bakery-style look, gently flatten each dough ball slightly with your fingers.
- Baking: Bake for 10–12 minutes until edges are golden brown and centers look just set but still soft. The cookies will firm up as they cool.
- Cooling: Let cookies rest on the baking sheet for 5 minutes before transferring to a wire rack to cool completely. This prevents them from breaking apart and helps develop that perfect chewy texture.
Pro tip: If your cookies are spreading too thin, chill the dough longer or reduce oven temperature slightly. If they’re too thick and doughy, try flattening the dough balls more before baking.
Cooking Tips & Techniques
Browning butter is the star technique here, but it can be tricky if you’re new to it. Stir constantly to avoid burning, and pull the pan off the heat the moment you smell a deep, toasty aroma. Remember, the butter will keep cooking slightly from residual heat.
Mixing the sugars with the browned butter while it’s warm helps dissolve the sugars slightly, giving a nice texture contrast — crisp edges with chewy middles. Don’t skip chilling the dough. That little wait makes a big texture difference and helps flavor meld.
Watch your baking time closely. Oven temperatures vary, and a minute or two can be the difference between chewy and overbaked. The cookies should look soft in the middle when you take them out.
When folding in chocolate chips, be gentle to keep the dough aerated. Overmixing develops gluten, which can make cookies tough — and nobody wants that.
Last, if you want to impress guests with a full spread, these cookies pair wonderfully with a fresh batch of creamy buffalo chicken dip for savory contrast or a refreshing bite like fresh caprese skewers with sweet balsamic drizzle. It’s a combo that surprises and delights!
Variations & Adaptations
- Nutty twist: Add ½ cup chopped toasted pecans or walnuts for extra crunch and complement the brown butter flavor.
- Salted caramel: Sprinkle a pinch of flaky sea salt on top of cookies right after baking. The sweet-salty combo makes these irresistible.
- Gluten-free option: Swap the all-purpose flour for a 1:1 gluten-free baking blend. The cookies still turn out chewy and delicious.
- Dairy-free adaptation: Use a dairy-free butter substitute that can brown well (like Earth Balance). The flavor is slightly different but still tasty.
- Chocolate chunk upgrade: Instead of chips, chop a high-quality chocolate bar (dark, milk, or a combo). The melty chunks create pockets of gooey chocolate.
Personally, I once added a teaspoon of espresso powder to the dough—it didn’t make the cookies taste like coffee but deepened the chocolate flavor beautifully. That little trick is great if you love chocolate chip cookies with a grown-up twist.
Serving & Storage Suggestions
These cookies are best served slightly warm or at room temperature, when the centers are still soft but the edges have that satisfying crunch. They pair amazingly with a cold glass of milk, but I’ve also enjoyed them alongside a cup of strong coffee or hot tea for an afternoon treat.
For storage, keep cookies in an airtight container at room temperature for up to 4 days—if they last that long! For longer storage, freeze baked cookies in a sealed freezer bag for up to 3 months. To reheat, pop them in the microwave for 10–15 seconds or warm briefly in a low oven to regain that fresh-baked feel.
Fun fact: letting the cookies rest overnight after baking can actually improve the chewiness and flavor as the ingredients settle. So if you can resist, give them some time—it’s worth it.
Nutritional Information & Benefits
Each cookie (based on 24 cookies per batch) contains roughly 180–200 calories, with around 10 grams of fat and 20 grams of carbohydrates. The brown butter adds some healthy fats from the butter’s milk solids, while the chocolate chips provide antioxidants (especially if you use dark chocolate).
This recipe is naturally gluten-containing unless flour is swapped, and contains dairy and eggs, so keep that in mind for allergies. It’s not a health food, but it’s a comfort food that offers a satisfying treat without complicated ingredients.
From a wellness perspective, I appreciate that the brown butter technique lets you get maximum flavor with minimal ingredients, meaning you don’t have to add extra sugars or fats to get that bakery-quality taste.
Conclusion
If you’re after cookies that hit that perfect balance between crispy edges and chewy centers with a deep, nutty flavor, these crispy and chewy bakery-style brown butter chocolate chip cookies are exactly what you need in your baking arsenal. The browned butter step might seem small, but it’s a game-changer—trust me, your taste buds will notice.
Feel free to tweak the recipe to suit your style—add nuts, sea salt, or even a dash of espresso powder like I do. Baking is as much about making it your own as it is about following a recipe.
I love this recipe because it’s reliable, approachable, and consistently delivers that warm, homemade feeling with just a hint of bakery magic. When you make them, I hope they bring you the same quiet satisfaction they bring me.
Don’t forget to share your cookie adventures in the comments—I’m always curious how you customize this classic. Happy baking!
FAQs
How do I brown butter without burning it?
Use a light-colored pan over medium heat and stir constantly. Watch for the butter to foam, then turn golden with brown specks and a nutty aroma. Remove immediately from heat once browned.
Can I make this cookie dough ahead of time?
Yes! Chilling the dough for at least 30 minutes or up to 24 hours helps develop flavor and texture. Just cover tightly and store in the fridge.
Why are my cookies spreading too much?
Your dough might be too warm or the oven temperature too low. Chill the dough longer, reduce butter slightly, or increase oven temperature by 5–10 degrees Fahrenheit.
Can I use brown butter in other cookie recipes?
Absolutely! Brown butter adds a rich, nutty flavor to most cookies, especially sugar cookies, snickerdoodles, and oatmeal cookies.
What’s the best way to store leftover cookies?
Store at room temperature in an airtight container for up to 4 days. For longer storage, freeze baked cookies in a sealed bag for up to 3 months.
Pin This Recipe!
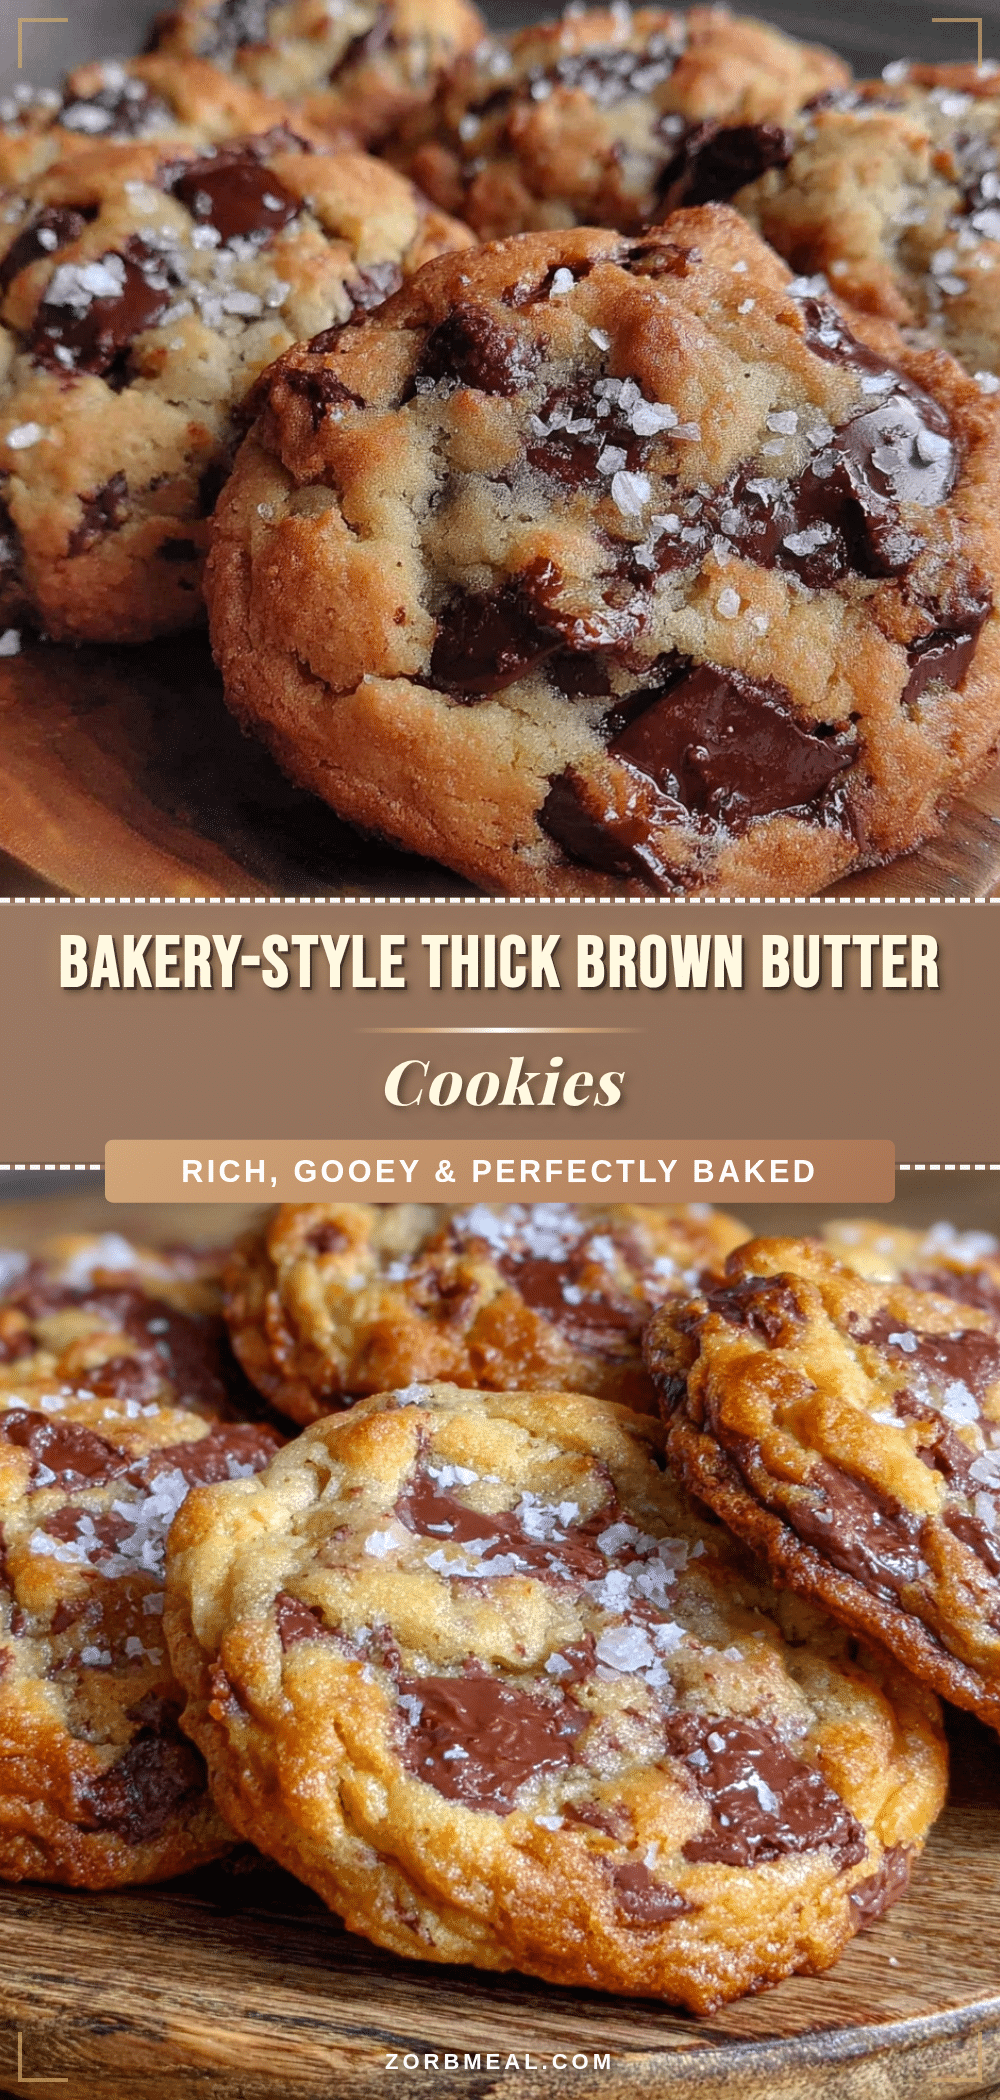
Crispy and Chewy Brown Butter Chocolate Chip Cookies

These bakery-style cookies feature a perfect balance of crispy edges and chewy centers, enhanced by the rich, nutty flavor of browned butter and melty chocolate chips.
- Prep Time: 15 minutes
- Cook Time: 12 minutes
- Total Time: 40 minutes
- Yield: 24 cookies 1x
- Category: Dessert
- Cuisine: American
Ingredients
- 1 cup (227 g) unsalted butter, browned
- 3/4 cup (150 g) granulated sugar
- 1 cup packed (220 g) light brown sugar
- 2 large eggs, room temperature
- 2 teaspoons pure vanilla extract
- 2 1/4 cups (280 g) all-purpose flour
- 1 teaspoon baking soda
- 1 teaspoon salt
- 2 cups (340 g) semi-sweet chocolate chips or a mix of semi-sweet and dark
Instructions
- Place 1 cup (227 g) of unsalted butter in a medium saucepan over medium heat. Stir constantly with a heat-proof spatula as the butter melts. It will foam, then the milk solids will brown and smell nutty, about 5–7 minutes. When golden amber with brown specks, remove from heat immediately. Transfer to a heatproof bowl and let cool for 10 minutes.
- Add 3/4 cup (150 g) granulated sugar and 1 cup (220 g) light brown sugar to the cooled browned butter. Beat with a hand mixer or stand mixer on medium speed until combined and slightly fluffy, about 2 minutes.
- Add 2 large eggs one at a time, beating well after each addition. Stir in 2 teaspoons pure vanilla extract until smooth and glossy.
- In a separate bowl, whisk together 2 1/4 cups (280 g) all-purpose flour, 1 teaspoon baking soda, and 1 teaspoon salt.
- Slowly add dry ingredients to the wet mixture in batches, mixing on low speed just until no flour streaks remain. Avoid overmixing.
- Gently fold in 2 cups (340 g) chocolate chips using a spatula, ensuring even distribution without breaking them.
- Optional: Cover dough with plastic wrap and chill for at least 30 minutes to mature flavors and control spread.
- Preheat oven to 350°F (175°C). Line baking sheets with parchment paper or silicone mats.
- Using a cookie scoop or tablespoon, drop dough balls spaced about 2 inches apart on baking sheets. Gently flatten each dough ball slightly with fingers for a bakery-style look.
- Bake for 10–12 minutes until edges are golden brown and centers look just set but still soft. Cookies will firm up as they cool.
- Let cookies rest on baking sheet for 5 minutes, then transfer to a wire rack to cool completely.
Notes
Use a light-colored pan for browning butter to monitor color changes and avoid burning. Chilling dough for at least 30 minutes improves texture and flavor. If cookies spread too thin, chill dough longer or reduce oven temperature slightly. Flatten dough balls for a bakery-style look. For gluten-free, substitute flour with a 1:1 gluten-free baking blend. For dairy-free, use a dairy-free butter substitute that browns well.
Nutrition
- Serving Size: 1 cookie
- Calories: 190
- Sugar: 14
- Sodium: 150
- Fat: 10
- Saturated Fat: 6
- Carbohydrates: 20
- Fiber: 1
- Protein: 2
Keywords: brown butter, chocolate chip cookies, crispy edges, chewy center, bakery style, easy cookies, homemade cookies


